How to Remove Bathtub Faucet Handles
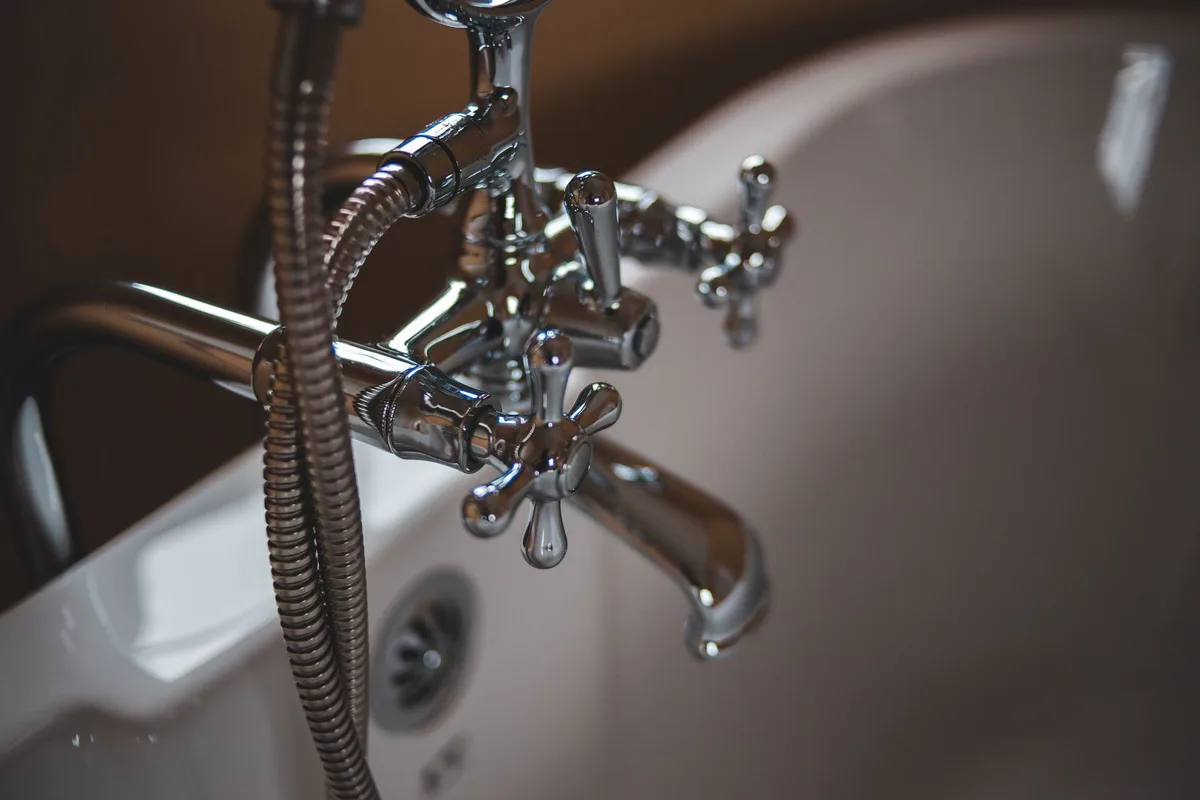
Dealing with a stubborn bathtub faucet handle is a common household issue. Whether you’re upgrading your fixtures, fixing a leaky tap, or just need to do some deep cleaning, knowing how to remove those handles is a crucial DIY skill. It might seem straightforward, but there are a few common pitfalls that can turn a simple task into a frustrating ordeal.
In this guide, my goal is to walk you through the entire process, from identifying the type of handle you have to safely detaching it. I’ll cover the tools you’ll need, common issues you might encounter, and offer practical advice to make the job as smooth as possible. We’re focusing solely on bathtub faucet handles, so you can get back to enjoying your bathroom without unnecessary headaches.
Understanding Your Faucet Handle Types
Before you grab a wrench, take a moment to look at your faucet handles. They aren’t all manufactured the same way. Identifying the type of handle will dictate the specific steps and tools required for removal.
Most bathtub faucet handles can be broadly categorized into a few common designs. This initial assessment is key to a successful and damage-free removal.
Compression Faucet Handles
Compression faucets are older in design but still found in many homes. They work by using a rubber washer to stop the flow of water. At the top of the handle, you’ll usually find a decorative cap.
Underneath this cap, there’s a screw holding the handle in place.
Cartridge Faucet Handles
Cartridge faucets are very common in modern homes. These have a more streamlined look. The handle typically controls a cartridge that regulates water flow and temperature.
Similar to compression faucets, there’s often a decorative cap or a small set screw that needs to be loosened.
Ball Faucet Handles
Ball faucets, recognizable by their single handle that moves on a ball mechanism, are less common in bathtubs compared to sinks, but they do exist. These can sometimes be trickier to deal with, as the internal mechanism is a bit more complex. You’ll usually find a set screw located at the base or the rear of the handle.
Disk Faucet Handles
Disk faucets are durable and known for their ease of use. They have two handles, much like compression faucets, but they utilize ceramic disks to control water flow. Removal often involves a decorative cover and a screw, similar in principle to cartridge handles.
Essential Tools for Handle Removal
Gathering the right tools before you start can save you a lot of time and prevent damage to your faucet. You likely have most of these items around the house already. Having them at the ready makes the process much more efficient.
- Screwdrivers: You’ll need a Phillips head and a flathead screwdriver. Make sure they are of various sizes, as screw heads can vary.
- Allen Wrench Set (Hex Keys): Many modern faucets use set screws that require an Allen wrench. Having a comprehensive set ensures you’ll have the right size.
- Pliers: Adjustable pliers (like Channel Locks) or needle-nose pliers can be helpful for gripping parts that are stuck.
- Utility Knife or Flathead Screwdriver: For prying off decorative caps.
- Penetrating Oil: For loosening stubborn, corroded screws.
- Rag or Towel: To protect the sink and tub from dropped tools and to wipe away any debris or water.
- Gloves: To protect your hands.
Step-by-Step: How to Remove Bathtub Faucet Handles
Alright, let’s get to the core of it. This is where we’ll break down the actual process. I’ll guide you through each stage, focusing on clarity and practical advice.
Step 1: Turn Off the Water Supply
This is non-negotiable. Before you do anything else, you must turn off the water supply to your bathtub. Look for the shut-off valves behind the access panel on your tub wall, or if those aren’t accessible, you’ll need to shut off the main water supply to your house.
This prevents any accidental flooding and makes working on the faucet much safer.
Step 2: Identify and Remove Decorative Caps
Most faucet handles have a decorative cap. This cap often hides the screw that secures the handle to the faucet stem.
- Look for a small indentation or seam. You can usually carefully pry this cap off.
- Use a flathead screwdriver or a utility knife. Gently insert the tip under the edge of the cap and slowly lever it upwards. Be patient; you don’t want to scratch the handle or the faucet body.
- Some caps are screw-on. If you don’t see a seam for prying, try gently twisting it counter-clockwise.
Image source: Pexels / Erik Mclean (Pexels License)
Step 3: Locate and Unscrew the Handle Screw
Once the decorative cap is off, you’ll see the screw.
- Phillips Head or Flathead Screw: Most commonly, you’ll find a Phillips head screw. Use the correct size screwdriver to loosen it. Turn it counter-clockwise.
- Set Screw: Some handles, especially on more modern faucets, use a small set screw. These are often located on the underside or the back of the handle. You’ll need an Allen wrench (hex key) for these. Again, turn it counter-clockwise to loosen.
Pro Tip: If the screw is tight or feels stripped, apply a small amount of penetrating oil and let it sit for a few minutes before trying again.
Step 4: Remove the Handle
With the screw removed, the handle should now be loose.
- Pull Straight Up: In most cases, you can simply pull the handle straight up and off the faucet stem.
- Wiggle Gently: If it’s stuck, try wiggling it gently side to side while pulling up. Avoid yanking forcefully, as this can damage the faucet stem or the handle itself.
- Stuck Handles: If the handle is still stubborn, you might need a handle puller tool. These specialized tools are designed to grip the handle and provide leverage for removal without causing damage. You can usually rent or purchase these from hardware stores.
Step 5: Address Specific Faucet Types (Cartridge/Disk Handles)
For cartridge and disk faucets, there might be an additional step after removing the handle.
- Exposed Stem/Bonnet Nut: Sometimes, once the handle is off, you’ll see a retaining nut or bonnet nut holding the cartridge in place. You might need a wrench to unscrew this. Be careful not to overtighten when reassembling.
- Cartridge Removal: If your goal is to replace the cartridge, it will typically pull straight out of the valve body once the retaining nut is removed. There might be pliers needed to grip the top of the cartridge stem.
Common Problems and How to Solve Them
Even with the best intentions, you might run into a few snags. Here’s how to tackle some of the most frequent issues.
Stripped Screw Heads
This happens when the screwdriver slips and damages the slots in the screw head, making it impossible to get a grip.
- Rubber Band Trick: Place a wide rubber band over the stripped screw head. Insert your screwdriver into the rubber band and screw head. The rubber provides extra grip.
- Screw Extractor Kit: For severely stripped screws, a screw extractor kit is your best bet. This specialized tool drills into the screw and then grips it for removal.
- Dremel Tool: In extreme cases, you can use a Dremel tool with a cut-off wheel to carefully cut a new slot into the screw head, allowing you to use a flathead screwdriver. This requires a steady hand and caution.
Corroded or Stuck Screws
Years of moisture can cause screws to rust or calcify, making them incredibly difficult to turn.
- Penetrating Oil: As mentioned, this is your first line of defense. Apply liberally and let it soak.
- Heat: Sometimes, applying gentle heat with a hairdryer (not a torch!) can expand the metal around the screw, helping to break the corrosion. Be cautious with heat around plastic parts.
- Tapping: Gently tap the area around the screw with the handle of your screwdriver. This vibration can help break the rust bond.
Stuck Handles
If a handle refuses to budge after the screw is removed, it’s likely fused to the stem due to mineral buildup or corrosion.
- Gentle Wiggling and Tapping: Sometimes patience is key. Gently rock the handle back and forth while pulling upwards.
- Handle Puller: As I mentioned, a dedicated handle puller is the safest and most effective tool for stubborn handles. They exert even pressure to lift the handle without damaging the faucet.
Scratching or Damaging Fixtures
Accidents happen, but you can minimize damage.
- Protective Materials: Always use rags or towels around the work area to protect the finish of your tub, sink, and faucet.
- Correct Tool Size: Ensure you are using the correct size screwdriver or wrench to avoid slipping and stripping.
- Patience: Rushing the process is the quickest way to make a mistake. Take your time.
When to Call a Professional
While most faucet handle removals are straightforward DIY jobs, there are times when it’s best to step back and call a plumber.
- You’re Unsure About the Faucet Type: If you’re confused by the design or can’t identify screws or caps, a professional can quickly assess the situation.
- You’ve Tried Everything and It’s Still Stuck: If you’ve followed these steps and the handle won’t come off, or if you’ve accidentally damaged a part, a plumber has specialized tools and experience.
- You’re Replacing the Entire Faucet: If you’re not just removing handles but undertaking a more extensive faucet replacement, it might be worth the cost to have a professional handle the entire job and ensure proper installation.
- You Don’t Want to Risk Damage: If you’re not comfortable with DIY work or worried about causing expensive damage to your plumbing, a plumber is a wise investment.
Maintaining Your Faucet After Handle Removal
Once you’ve successfully removed the handles, it’s a good opportunity to do some basic maintenance or cleaning.
- Clean the Stem: Wipe down the faucet stem to remove any mineral deposits or debris. This ensures the new handles will fit easily.
- Check O-rings and Washers: If you’re replacing the faucet cartridge, inspect any O-rings or washers for wear and tear. Replacing these small parts can often fix minor leaks. It’s similar to how you might check filter replacements for your vacuum cleaner to keep it running efficiently. how often should you replace vacuum filter
- Inspect Valve Body: Look inside the faucet valve body for any signs of corrosion or damage.
Conclusion
Removing bathtub faucet handles is a very manageable DIY task with the right knowledge and tools. By understanding your faucet type, gathering your supplies, and following these step-by-step instructions, you can confidently tackle this common plumbing issue. Remember to always turn off the water supply first and proceed with patience.
Most of the time, it’s a simple process of uncovering a screw and unscrewing it. But if you encounter a stubborn problem, don’t hesitate to use a specialized tool or call in a professional.
This guide should give you the confidence to take on this task. Whether you’re doing a quick repair or a full bathroom update, knowing how to remove those handles is a handy skill to have. For more home improvement tips and advice, feel free to explore our blog.


Similar Posts



















