How to Stop a Kitchen Faucet From Dripping After Turned Off
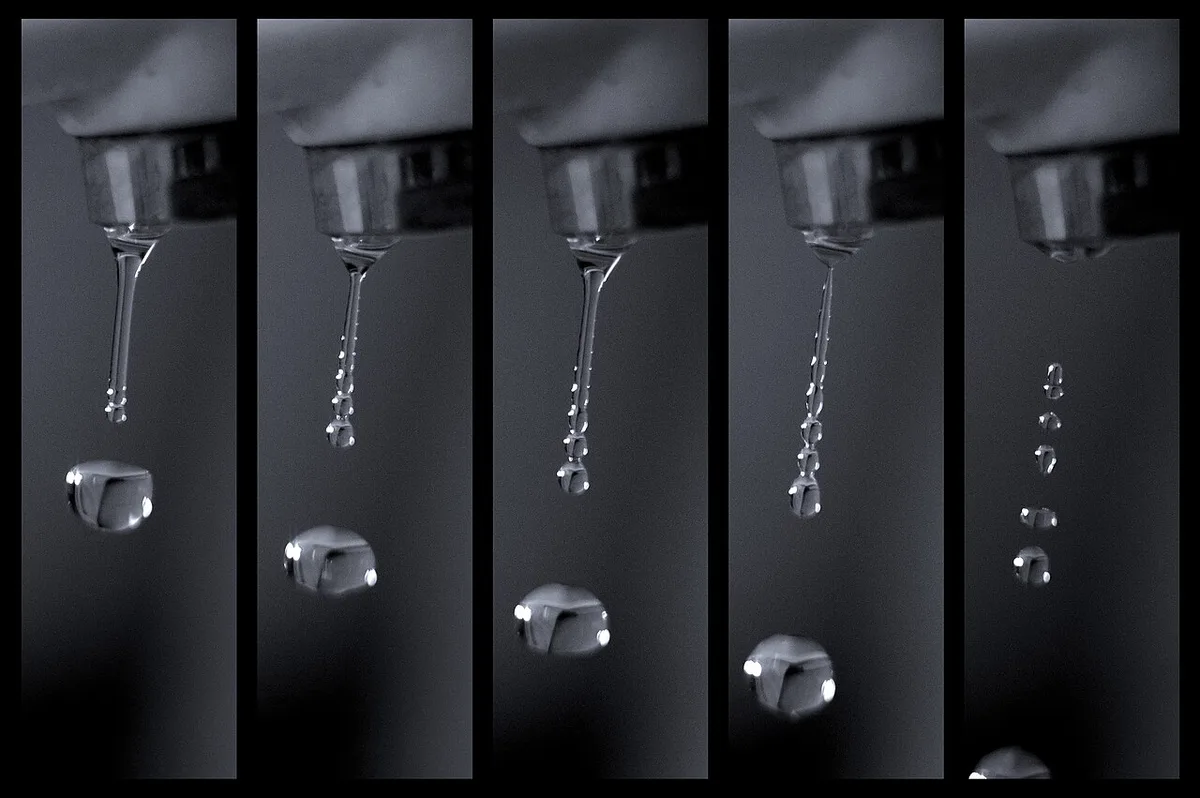
That incessant drip… drip… drip from your kitchen faucet isn’t just annoying; it’s a silent thief stealing water and your peace of mind. It can drive anyone loopy, especially late at night. But here’s the good news: most of the time, a dripping kitchen faucet is a fixable problem.
You don’t always need to call a plumber.
Image source: Wikimedia Commons / Jan Bambach (CC BY-SA)
Often, a simple DIY repair can get your faucet back to its silent, water-saving self. We’ll walk you through exactly what’s causing the drip and how to stop it, step by step. We’ll cover everything from identifying the problem to making the fix.
Why Is My Kitchen Faucet Dripping?
A dripping faucet usually points to a worn-out part inside. The most common culprits are:
- Worn-out washers: These rubber gaskets create a seal. Over time, they can harden, crack, or wear down.
- Faulty O-rings: Similar to washers, O-rings are small rubber rings that seal and prevent leaks around the faucet handle.
- Damaged valve seats: This is the part where the stem and handle connect to the faucet body. Corrosion or mineral buildup can damage it, preventing a proper seal.
- Cracked cartridges (for cartridge faucets): Modern faucets often use cartridges that control water flow. If this part cracks or wears out, it will leak.
The type of faucet you have dictates which part is likely to blame. We’ll talk about the different types and how to diagnose them.
Before You Start: Safety First and Preparation
You wouldn’t dive into a repair without the right tools, and a dripping faucet is no different. Before you twist a single wrench, take a few important steps.
Turn Off the Water Supply
This is the absolute first thing you must do. Find the shut-off valves under your sink. There should be one for hot water and one for cold.
Turn them clockwise until they stop. If you can’t find valves under the sink, or they don’t work, you’ll need to shut off the main water supply to your house. This is usually located in your basement, garage, or utility closet.
Gather Your Tools and Supplies
Having everything ready prevents frustration. You’ll likely need:
- Adjustable wrench
- Phillips and flathead screwdrivers
- Pliers (needle-nose and standard)
- Penetrating oil (like WD-40), for stubborn parts
- Replacement parts (washers, O-rings, cartridge), it’s best to have an idea of your faucet model to get the right ones.
- Plumber’s grease/silicone lubricant
- Rag or towel (to catch drips and protect the sink)
- Small bowl or container (to hold small parts)
Cover the Drain
To avoid losing small screws or parts down the drain, cover it with a rag or a drain stopper. Trust me, you’ll thank yourself later.
Diagnosing the Dripping Faucet: Common Types and Fixes
Kitchen faucets aren’t all the same. Knowing what kind you have helps you pinpoint the problem. The most common types are:
1. Compression Faucets
These are older types of faucets. They use rubber washers to stop water flow. When you turn the handle, it presses the washer down onto the valve seat.
How to Identify: They usually have two separate handles, one for hot and one for cold, that you have to turn multiple times to fully open or close.
Common Cause of Drip: Worn-out rubber washer.
Fixing a Compression Faucet Drip:
- Turn off the water supply (remember, under the sink or the main).
- Remove the handle. You’ll usually find a decorative cap on top of the handle. Pry this off gently with a flathead screwdriver. Then, unscrew the screw holding the handle in place. Pull the handle off. You might need to wiggle it a bit.
- Unscrew the packing nut. This is the hexagonal nut just below where the handle was. Use an adjustable wrench.
- Remove the stem. Carefully pull or unscrew the stem from the faucet body.
- Replace the washer. At the bottom of the stem, you’ll see a screw holding a rubber washer. Unscrew this, remove the old washer, and put in a new one. Make sure it’s the correct size.
- Inspect the valve seat. Look down into the faucet body where the stem was. You might see a small brass or metal seat. If it’s corroded or pitted, you might need a valve seat dresser tool to smooth it out, or a new valve seat.
- Reassemble. Put everything back in reverse order. Apply a bit of plumber’s grease to the stem threads.
- Turn the water back on slowly and check for leaks.
2. Cartridge Faucets
These faucets use a movable stem cartridge that controls both volume and temperature. They can have one or two handles.
How to Identify: They usually have a single handle that moves up and down for volume and left/right for temperature. Some two-handle models also use cartridges.
Common Cause of Drip: Worn-out or cracked cartridge.
Fixing a Cartridge Faucet Drip:
- Turn off the water supply.
- Remove the handle. Look for a small screw, often hidden under a decorative cap or plug. Pry off the cap and unscrew. Pull off the handle.
- Remove the retaining clip or nut. You’ll see a cartridge sticking out. There might be a clip holding it in place. Pull it out with pliers. Some faucet types have a nut that needs to be unscrewed using a wrench.
- Pull out the cartridge. You might need to use pliers to grip the stem and gently twist and pull it out. Some cartridges need to be rotated in a specific direction to release.
- Replace the cartridge. Take the old cartridge to the hardware store to get an exact match. Install the new cartridge, making sure it’s oriented correctly.
- Reassemble. Put the retaining clip/nut, handle, and screw back in.
- Turn water on slowly and check for the drip.
3. Ball Faucets
These are characterized by a single handle that moves over a rounded cap on top of the faucet body. They use a plastic or metal ball to control water flow.
How to Identify: Single handle, often with a dome-shaped cap.
Common Cause of Drip: Worn-out springs, O-rings, or seals that sit under the ball.
Fixing a Ball Faucet Drip:
- Turn off the water supply.
- Loosen the setscrew. You’ll find a small setscrew on the side or back of the handle. Loosen it with an Allen wrench.
- Lift off the handle.
- Unscrew the cap. Use channel-lock pliers to unscrew the large cap that covers the ball mechanism. You might need a rag to get a good grip.
- Lift out the ball. The ball should lift right out.
- Remove springs and seals. Look inside the faucet body. You’ll see rubber seats and coiled springs. Carefully remove these. They are often the cause of the leak.
- Replace parts. Install new springs and seals. Make sure they are seated properly. It’s often best to buy a repair kit for ball faucets.
- Reassemble. Place the ball back in, then screw on the cap. Reattach the handle and tighten the setscrew.
- Turn water on to test.
4. Ceramic Disc Faucets
These are modern and durable. They use two ceramic discs that slide against each other to control water flow.
How to Identify: Usually a single lever handle. They’re known for their smooth operation and longevity.
Common Cause of Drip: Damaged ceramic discs or worn inlet seals.
Fixing a Ceramic Disc Faucet Drip:
- Turn off the water supply.
- Remove the handle. Similar to cartridge faucets, look for a screw or set screw.
- Unscrew the escutcheon cap. This is the decorative piece below the handle.
- Remove the disc cylinder. You’ll see a cylinder containing the ceramic discs. There might be screws holding it in place. Remove them.
- Inspect and replace seals. The issue is often with the rubber seals at the bottom of the cylinder or the inlet seals where water enters the faucet. Carefully remove these and replace them with new ones.
- Clean discs. If the discs themselves appear damaged or scored, you might need to replace the entire disc cylinder. Gently clean any debris from the discs.
- Reassemble. Put everything back together.
- Turn water on and check.
When to Call a Professional Plumber
While many faucet drips are DIY-friendly, there are times when you should hand the job over to a pro:
- You’re not comfortable with the repairs.
- You can’t identify your faucet type.
- Parts are seized and won’t budge.
- The faucet body itself is corroded or damaged.
- You’ve tried the fixes and the drip persists.
A plumber has the experience and tools to handle complex issues, and they can ensure the repair is done correctly, preventing future problems. For instance, if your faucet needs new parts, understanding how to replace a vacuum breaker or the right washer size matters. Checking vacuum breaker function might seem unrelated, but plumbing systems share common principles.
Maintenance Tips to Prevent Future Drips
A little preventative care goes a long way in keeping your faucet drip-free.
- Soft Water is Key: Hard water minerals can build up and cause wear on faucet parts. If you have hard water, consider a water softener.
- Regular Cleaning: Periodically clean your faucet, paying attention to mineral deposits around the spout and handles. A vinegar soak can help dissolve buildup.
- Don’t Overtighten: Ever seen someone really lean into shutting off a faucet? Their thinking might be like topping up the oil on a lawn mower, more is better. But for faucets, this can damage washers and seals faster. Turn handles until they are snug, not forced.
- Know Your Faucet Brand: If you know your faucet brand (e.g., Moen, Delta, Kohler), you can often find specific repair guides and parts diagrams online. This is invaluable when you need to find the right replacement parts. Buying quality parts is also a good move. For some home repairs, proper maintenance can significantly extend the life of your fixtures.
Conclusion: Enjoy Your Quiet Kitchen
A dripping faucet is a common household annoyance, but it’s one that’s usually within your reach to fix. By understanding your faucet type and following these steps, you can silence that drip, save water, and regain your kitchen’s tranquility. Remember to always prioritize safety by turning off the water supply before you begin any repair.
If you find yourself stuck or dealing with more significant issues, don’t hesitate to call a qualified plumber. Happy fixing!


Similar Posts




















[…] Stuck: If a handle won’t budge, consider a specialized faucet handle puller. These are designed to safely remove stuck handles without damaging the […]