How to Replace a Broken Pull Cord on a Sconce
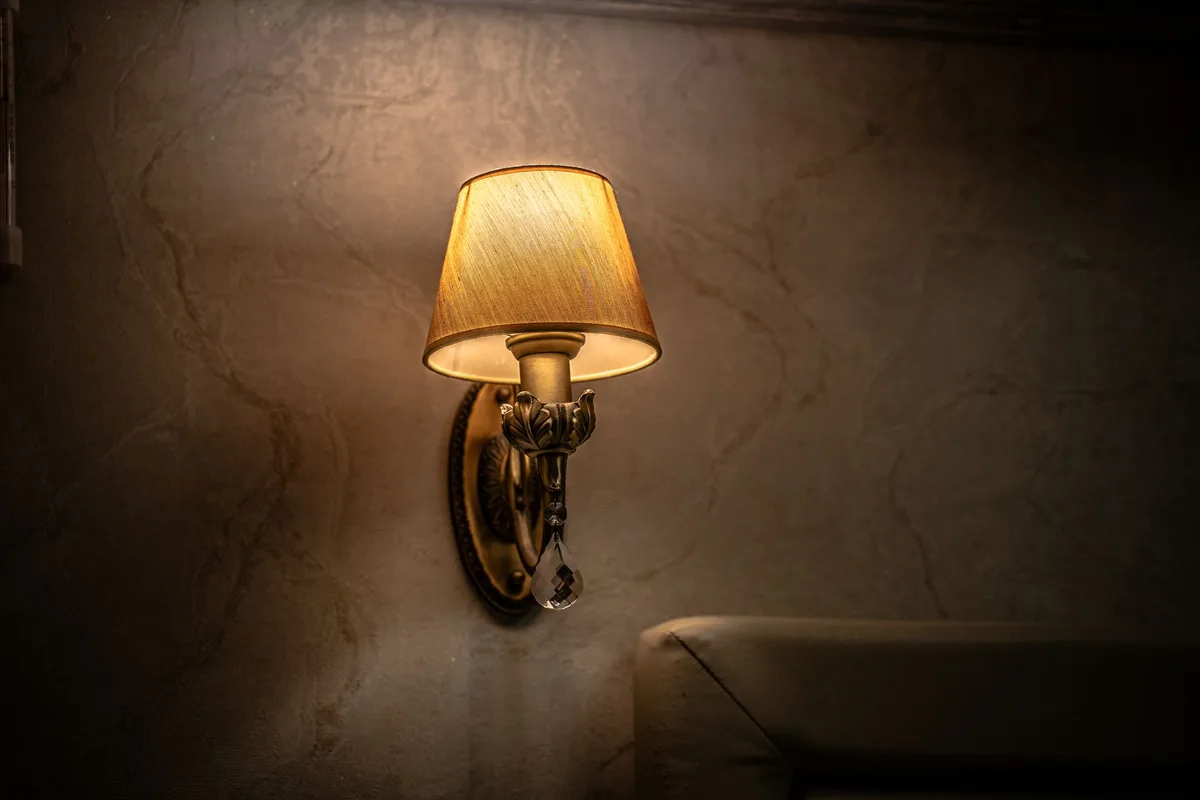
Sconce pull cords are a common feature, offering a convenient way to control lighting without needing to reach for a wall switch. When one breaks, it can leave your sconce unusable and looking a bit unfinished. Thankfully, replacing a broken pull cord on a sconce is a straightforward DIY job that most homeowners can tackle with a few basic tools and a little patience.
This guide will walk you through everything you need to know, from identifying the type of pull cord you have to successfully installing a new one.
Don’t let a broken pull cord cast a shadow over your home’s ambiance. With this comprehensive guide, you’ll restore your sconce to full functionality in no time.
Understanding Your Sconce Pull Cord
Before you can replace your pull cord, you need to understand what you’re dealing with. Sconces typically use one of two main types of pull cord mechanisms: cord-and-ball or a continuous loop. Each has its own nuances when it comes to replacement.
Cord-and-Ball Mechanism
This is the most common type. It involves a decorative ball at the end of the cord, which hangs down. Pulling the cord a certain way engages a switch inside the sconce, turning the light on or off.
You might have a single pull cord for one light setting, or two cords if your sconce has multiple brightness levels or bulb options.
When this type breaks, it’s usually the cord itself that snaps, often near the ball or where it enters the sconce housing. The “pull” action relies on an internal mechanism that clutches or releases the cord.
Continuous Loop Cord Mechanism
Less common for wall sconces but found on some ceiling lights and older fixtures, this uses a looped cord where you tug on one part of the loop to activate the switch. It often has a decorative fastener or a specific knot to indicate where to pull.
If this type breaks, it’s likely the cord itself has frayed or snapped. The mechanism here operates similarly to the cord-and-ball, just with a different user interface.
Tools and Materials You’ll Need
Gathering your supplies beforehand makes the process much smoother. You won’t need a whole workshop for this, just a few common household items.
- Replacement Pull Cord: Ensure it’s the right length and material. Many hardware stores sell universal replacement cords.
- Small Flathead Screwdriver: Useful for gently prying open covers or releasing clips.
- Needle-Nose Pliers: For gripping small parts, pulling out old cord remnants, or holding the new cord in place.
- Scissors or Craft Knife: To cut the new cord to the correct length if it’s too long.
- Wire Strippers (Optional): If your new cord has internal wires you need to access.
- Small Pot or Container: To catch any small parts that might fall out.
- Ladder or Stool: If your sconce is out of easy reach.
- Gloves (Optional): To keep your hands clean.
- Safety Glasses (Recommended): Always a good idea when working with tools, especially if there’s a chance of dislodged dust or small parts.
Choosing the Right Replacement Cord
The most critical material is the replacement pull cord itself.
- Length: Measure the old cord from where it emerges from the sconce to the bottom of the pull mechanism or ball. Add a few extra inches to be safe, as you can always trim it.
- Material: Most cords are made of braided fabric or plastic. For aesthetics, match the original material if possible. Durability is also a factor; a slightly thicker, more robust cord might last longer.
- Compatibility: Ensure the cord is designed for electrical switches. Some decorative cords aren’t suitable for this purpose.
- Attachments: If you have a cord-and-ball system, you might need a new ball as well, or ensure your new cord can be easily threaded through the old one if it’s intact. Many replacement kits include a new ball and sometimes a retainer clip.
Step-by-Step: Replacing a Broken Sconce Pull Cord
Here’s how to get your sconce back in working order. We’ll focus on the most common cord-and-ball mechanism, but the principles apply to other types too.
Step 1: Safety First – Turn Off Power
This is non-negotiable. Before you touch anything electrical, ensure the power to the sconce is completely shut off.
- Locate the Switch: Find the wall switch that controls the sconce. Turn it to the “off” position.
- Test: Flip the sconce’s pull cord a few times to confirm the light doesn’t turn on.
- Breaker Box (For Extra Assurance): If you have any doubts or if the wall switch seems unreliable, go to your home’s electrical panel (breaker box) and flip the breaker that controls the circuit for that room or sconce. Labeling your breaker box is a lifesaver here; if it’s not labeled, you might have to flip breakers one by one until the light goes out and stays out.
Step 2: Remove the Old Pull Cord
Now, you can safely access the broken cord.
- Access the Sconce Housing: Most sconces have a decorative cover or glass shade that needs to be removed to get to the internal mechanism. This often involves unscrewing a finial, a locking ring, or sometimes small screws at the base or top of the sconce. Gently place any removed parts, especially glass, in a safe place where they won’t roll away or get damaged.
- Locate the Cord Exit Point: Observe where the existing pull cord enters the sconce body.
- Detach the Cord End: If the cord broke above the switch mechanism, you might just need to pull the broken piece out from where it exits the sconce. If it broke lower down, you may see a knot, a clip, or wires connected to the switch.
- Cord-and-Ball: The cord is often held in place by a simple knot tied behind a small plastic or metal clutch that engages the switch. You might need to use needle-nose pliers to hold the clutch mechanism steady while you untie or cut the knot holding the broken cord.
- Continuous Loop: There might be a small screw or clip holding the loop in place.
- Remove Remnants: If a piece of the old cord is stuck inside the mechanism, use needle-nose pliers or a small screwdriver to gently pull it out. Be careful not to force anything, as you could damage the delicate switch.
Step 3: Prepare the New Pull Cord
You’ve got your new cord. Now, get it ready for installation.
- Measure and Cut: Hold the new cord up against the old one (or the opening where it should hang) and estimate the correct length. Remember, you want it to hang comfortably at a reachable height. It’s better to have it slightly too long than too short. Use scissors or a craft knife to make a clean cut.
- Prepare the End: For a cord-and-ball system, you’ll typically need to tie a secure knot at the very end of the new cord. This knot will act as a stopper inside the sconce’s pull mechanism. You might also need to thread the cord through a decorative ball or a pre-made connector.
- Tying the Knot: A simple overhand knot or a double overhand knot is usually sufficient. Make sure it’s tight and won’t slip through the clutch mechanism. If your replacement cord came with a specific stopper or connector, follow its instructions.
Step 4: Install the New Pull Cord
This is where you thread the new cord into the sconce.
- Thread the Cord: Carefully feed the new pull cord into the sconce through the same opening the old one exited. If you’re using a new decorative ball, thread the cord through it first before feeding it into the sconce.
- Engage the Switch Mechanism: Once the cord is inside, you need to connect it to the internal pull switch. This is usually a plastic or metal clutch or lever.
- Cord-and-Ball Clutch: The knot you tied should be positioned so that when you pull the cord, the knot catches on the clutch, activating the switch. Gently tug the cord to feel how it engages. You might need to adjust the knot’s position or size slightly to get the right tension and feel. The goal is for a short pull to turn the light on, and another pull to turn it off, without the cord feeling loose or overly tight.
- Continuous Loop: Secure the loop according to the original design, perhaps with a small screw or clip.
- Secure the Cord: If there was a specific retainer clip or screw holding the old cord in place, re-secure the new cord with it. If it was just a knot, ensure the knot is properly seated within the mechanism.
Step 5: Reassemble the Sconce
Now, put everything back together.
- Replace Shade/Cover: Carefully reattach the sconce’s glass shade or decorative cover. Make sure any fixtures, like finials or locking rings, are tightened securely but without overtightening, which could crack glass or strip threads.
- Check for Loose Parts: Do a quick look-over to ensure no small screws or decorative elements were left out.
Step 6: Test the New Cord
Power back on and see your work in action.
- Restore Power: If you turned off the breaker, flip it back on. Then, turn the wall switch back to the “on” position.
- Test the Pull: Gently pull the new cord. The light should turn on. Pull it again, and it should turn off. Test it a few times to ensure smooth operation.
- Check the Length: See if the length is comfortable for reaching. If it’s too long and a tripping hazard, you can now disconnect power again, remove the shade, and trim the cord to a better length, re-tying the knot.
Image source: Pexels / Александр (Pexels License)
Troubleshooting Common Issues
Even with the best intentions, you might encounter a hitch. Here are a few common problems and their solutions.
The Light Won’t Turn On or Off
- Power Issue: Double-check that the power is definitely on at both the wall switch and the breaker.
- Incorrect Knot Placement: The knot inside the mechanism might be too small, too large, or positioned incorrectly. It needs to catch the clutch precisely. You might need to pop the shade off again and adjust the knot.
- Faulty Switch: It’s possible the internal pull switch itself has failed. If you’ve tried everything else and the cord seems correctly installed but doesn’t work, the switch may need replacement, which is a more involved repair.
- Cord Too Loose/Tight: If the cord feels slack, the knot isn’t engaging the switch. If it feels extremely tight and hard to pull, the knot might be jamming the mechanism. Adjust the knot accordingly.
The New Cord Slips or Feels Flimsy
- Insufficient Knot: The knot might not be substantial enough to catch the switch mechanism. Try a firmer knot, like a double overhand.
- Wrong Cord Type: Ensure you used a cord designed for electrical switches, not just a decorative cord that might be too smooth or lack the friction needed to engage the switch.
- Worn Mechanism: The internal clutch mechanism might be worn out. In this case, the cord might be fine, but the part that grips it is no longer effective. You might need to replace the entire switch assembly.
The Decorative Ball Won’t Stay On
- Secure Knot: Make sure the knot inside the mechanism is tied securely enough to prevent the cord from pulling through the ball’s opening or whatever connector is used.
- Correct Attachment: If the ball is a separate piece, ensure it’s designed to be threaded onto the cord and secured. Some may require a dab of adhesive, but this is rare for standard sconce pull cords.
When to Call a Professional
While replacing a sconce pull cord is usually a simple fix, there are instances where it’s best to enlist professional help.
- Complex Wiring: If your sconce has intricate wiring, multiple switches within a single unit, or if you’re uncomfortable with any part of the electrical system, it’s safer to call an electrician.
- Damaged Fixture: If the sconce housing itself is cracked, rusted, or appears damaged in a way that might compromise electrical safety, don’t attempt repairs yourself.
- Uncertainty About the Switch: If you can’t identify how the pull cord mechanism works or if it seems unusual, a professional will have the experience to diagnose and fix it.
- Persistent Issues: If you’ve followed all the steps and the problem persists, it’s likely a deeper issue with the fixture or its wiring that requires expert attention.
Maintaining Your Sconce Pull Cords
Proper care can extend the life of your sconce’s pull cord and keep it functioning smoothly.
- Gentle Pulling: Avoid yanking or jerking the cord. Pull it with a steady, moderate pressure. This reduces stress on the cord and the internal switch mechanism.
- Regular Cleaning: Dust and grime can accumulate on the cord and around the sconce opening. Gently wipe the cord with a soft, dry cloth periodically. If it’s a fabric cord, you might be able to spot clean minor marks with a slightly damp cloth, but avoid soaking it.
- Inspect for Wear: Occasionally, check the cord for any signs of fraying, fraying, or thinning, especially near the knot or the point where it enters the sconce. Addressing minor wear early can prevent a complete break.
- Avoid Moisture: Keep the pull cord and the sconce itself away from excessive moisture or humidity, which can degrade materials over time and potentially affect electrical components.
- Secure if Pets or Children are Present: If pets or small children are around, it’s worth considering how the pull cord is positioned. Dangling cords can be a temptation for chewing or playing, which can lead to damage. If this is a persistent issue, you might consider a cord shortener or, in the long run, a different type of sconce control.
Frequently Asked Questions About Sconce Pull Cords
How long should a pull cord be?
The ideal length depends on where the sconce is mounted and how tall the users are. Generally, it should hang at a height that’s comfortable and easy to reach without straining. A good starting point is to measure the old cord and aim for something similar, keeping it at least 6 inches off the floor if it’s a low-mounted sconce, or at a convenient height around waist-level if it’s higher up.
Can I use any string as a replacement pull cord?
No, it’s crucial to use a cord specifically designed for electrical light switches. These cords are made with materials and construction that can safely handle the mechanical action and, importantly, are not flammable or conductive in a dangerous way. Decorative craft cords might look similar, but they often lack the necessary safety ratings and durability for this application.
My sconce has two pull cords. Does that make replacement harder?
Not necessarily. Many sconces with dual-purpose switches (like on/off and dimmer, or controlling two bulbs) will have two separate cords. The replacement process is usually the same for each cord.
Just ensure you’re working on one at a time and match the length and type of each replacement cord to its original. If they operate different functions, take note of which cord controls what before you start.
What’s the difference between a cord-and-ball and a continuous loop pull?
A cord-and-ball system has a distinct pull cord, often with a decorative ball at the end. Pulling it activates a switch. A continuous loop system uses a loop of cord, where you tug on one part of the loop to engage the switch.
Both work on similar internal clutching or tripping mechanisms but offer a different user experience.
Is it safe to work on the pull cord if the light bulb is removed?
While removing the bulb eliminates the immediate risk of light, it’s still essential to cut the power at the breaker. The wiring inside the sconce is still live when power is supplied to the fixture, regardless of whether a bulb is installed. Always prioritize cutting the main power source for safety.
Conclusion
Replacing a broken pull cord on a sconce is a satisfying DIY project that restores both the functionality and the aesthetic appeal of your lighting fixture. By following these steps carefully and prioritizing safety, you can easily tackle this task and enjoy your sconce for years to come. Remember, if at any point you feel unsure or uncomfortable, don’t hesitate to reach out to a qualified electrician.


Similar Posts



















