How To Set Braeburn Thermostat
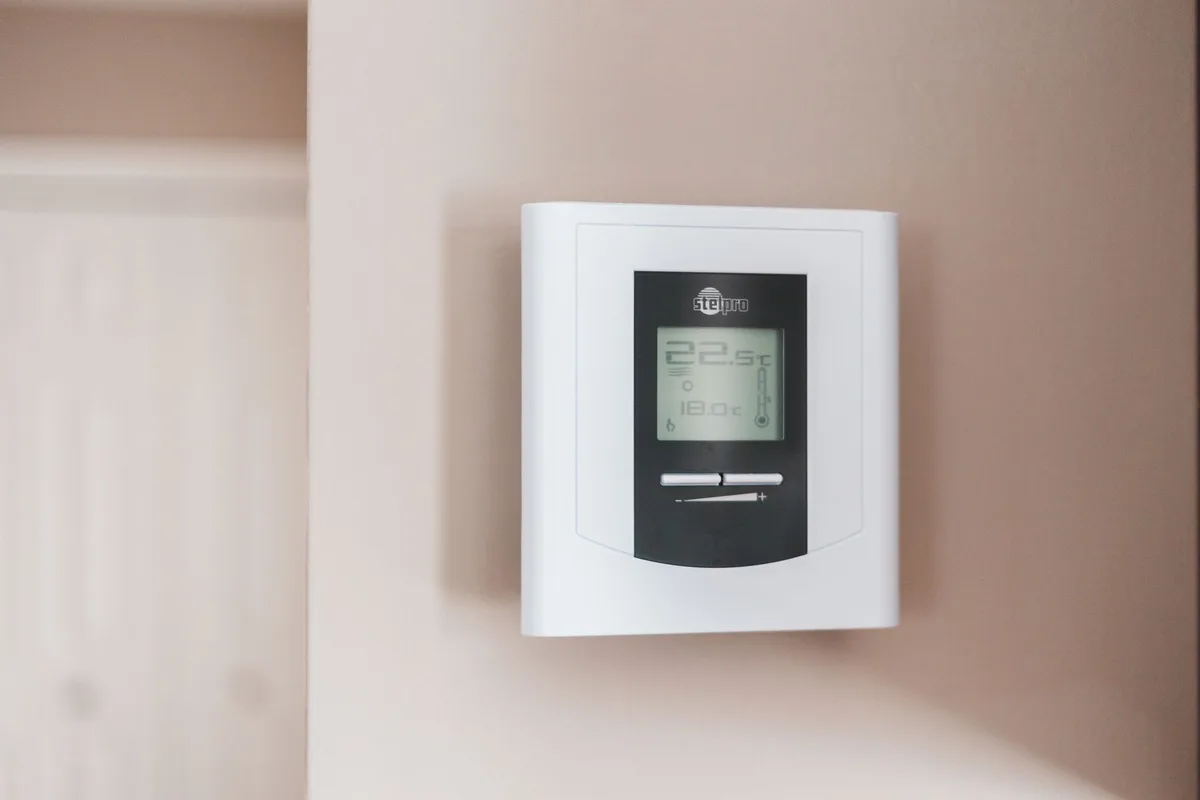
Trying to figure out how to set Braeburn thermostat is one of those tasks that looks simple until you’re staring at a row of buttons with no manual in sight. The good news is that once you know which model you have and what each button does, the process takes less than ten minutes.
Manufacturer specifications indicate that Braeburn thermostats support up to four programmable periods per day: Wake, Leave, Return, and Sleep. As of 2026, these thermostats remain a popular choice for homeowners who want reliable temperature control without the complexity of a smart thermostat. Let’s start with the first thing you need to figure out: which model is on your wall.
Quick Answer
To set your Braeburn thermostat, start by identifying your model series. The model number is on the back of the faceplate. Then set the clock and date.
Program your weekly schedule using the four time periods. Use the Hold button for temporary changes. Press Run to return to the schedule.
First, Identify Your Braeburn Model Series

Every Braeburn thermostat works a little differently. The buttons, menus, and even the programming steps change depending on your series. That’s why the first step is always the same: find your model number.
Where to Find the Model Number
The model number is printed on a small label on the back of the thermostat body. You need to gently pull the faceplate off the wall base to see it. Look for a sticker that says something like “Model 3000” or “5000 Series.” Do not guess based on the look of the front panel.
The label tells you exactly what you have.
Key Visual Differences Between 3000, 5000, and 7000 Series
Once you know your series, you can identify it by sight. Here is a quick breakdown of what each series looks like and what it offers.
| Feature | 3000 Series | 5000 Series | 7000 Series |
|---|---|---|---|
| Display type | LCD, white text | LCD, white or blue text | Full-color touchscreen |
| Buttons | 6 mechanical buttons | 6 to 8 mechanical buttons | Touch-sensitive controls |
| Programming | 5-1-1 or 5-2 day | 5-1-1, 5-2, or 7-day | 7-day individual |
| Backlight | Yes, amber | Yes, blue or white | Full-color, adjustable |
| Typical price range | $25-$35 | $35-$55 | $55-$80 |
The 3000 series is the basic model. It has a simple layout and fewer programming options. The 5000 series adds more flexibility, including 7-day programming on some models.
The 7000 series is the touchscreen deluxe model with the most features.
If you have a 1020 series or a non-programmable model, the steps are even simpler. You just set the temperature and mode. No schedule needed.
Understanding the Core Modes: Program, Hold, and Run
This is where most people get confused. The three modes on a Braeburn thermostat are Program, Hold, and Run. They do different things, and mixing them up is the number one cause of frustration.
What Each Mode Does
Program is the automatic schedule you set. Your thermostat follows this schedule every day unless you tell it otherwise. You set times and temperatures for each period, and the thermostat handles the rest.
Hold overrides the schedule. When you press Hold, the thermostat locks onto one temperature. It stays there until you cancel Hold.
This is useful when you are home sick, on vacation, or just want a different temperature for a while.
Run cancels Hold and returns the thermostat to its programmed schedule. If you ever wonder why your thermostat is not following the schedule, press Run.
Why You Need to Know the Difference
Let us say you programmed a schedule for the week. Then you pressed the up arrow to raise the temperature. That action alone might activate Hold without you realizing it.
Your thermostat now ignores your schedule. You come home the next day and wonder why the house is cold.
Aggregate user reviews report that this is the most common complaint about Braeburn thermostats. The fix is simple. Press Run.
The schedule resumes.
Step-by-Step: How to Set the Clock and Date
Your Braeburn thermostat needs the correct time and date. Otherwise, the schedule will turn on the heat or cool at the wrong time. The steps are different for button-only models versus touchscreen models.
For Button-Only Models (3000, 1020, Basic 5000)
- Press the Set button or the Clock button on the front panel. The display will blink.
- Use the up and down arrow buttons to set the hour. Make sure AM or PM is correct.
- Press Set again to move to the minutes.
- Use the arrows to set the minutes.
- Press Set again to adjust the day of the week.
- Use the arrows to scroll through the days. Monday is usually 1, Tuesday is 2, and so on.
- Press Run or Hold to save and exit.
If your model has a dedicated Set button, follow the same sequence. The display guides you through each step.
For Touchscreen Models (7000, Deluxe 5000)
- Touch the Menu icon on the screen. It looks like a small gear or three lines.
- Select Set Time or Clock from the menu.
- Use the plus and minus icons on the screen to adjust the hour.
- Tap the minute field and adjust it the same way.
- Tap the day field and set the current day.
- Touch Save or Back to exit.
Some 7000 models ask you to set the year first. The screen will prompt you. Follow the on-screen instructions.
It is very straightforward.
How to Program a 7-Day Schedule (All Models)
Once the clock is set, you can program your schedule. Braeburn thermostats divide the day into four periods. You set a time and a temperature for each one.
Wake, Leave, Return, Sleep – The Four Periods
These are the standard period names. You do not have to use them literally. You can set any time and temperature you want.
- Wake, The time you get up in the morning. Set a comfortable temperature here.
- Leave, The time you leave the house. Set a setback temperature to save energy.
- Return, The time you come home. Set the temperature back to comfortable.
- Sleep, The time you go to bed. Set a lower temperature for sleeping.
Setting Different Times and Temperatures for Each Day
On a 7-day model, you can set each day differently. Here is the general process for button-only models.
- Press the Program or Schedule button. The display shows Wake.
- Use the arrows to set the time for Wake.
- Press Set or Program to move to the temperature setting.
- Use the arrows to set the temperature.
- Press Program again to move to Leave.
- Repeat for all four periods.
- Press Program to move to the next day. Repeat for the whole week.
- Press Run to save and exit.
On touchscreen models, you tap each period directly on the screen. You can also copy settings from one day to another. Look for a Copy Day option in the schedule menu.
Programming 5-1-1 and 5-2 Schedules if Your Model Supports Them
If your model uses 5-1-1 or 5-2 programming, the process is slightly different.
- 5-2, You set one schedule for weekdays (Monday through Friday) and one schedule for the weekend (Saturday and Sunday).
- 5-1-1, You set one schedule for weekdays, one for Saturday, and one for Sunday.
To program a 5-2 schedule, press the Program button. The display shows “Weekdays” or “Mon-Fri.” Set the times and temperatures for all four periods. Then press Program again.
The display shows “Weekend” or “Sat-Sun.” Set those times and temperatures. Press Run to save.
For a 5-1-1 schedule, you set weekdays first, then Saturday, then Sunday individually.
Braeburn Systems LLC provides downloadable manuals for every model on their support page. If you lose your manual, that is the best place to find the exact button sequence for your specific thermostat.
Using Temporary Hold vs. Permanent Hold
This is where most Braeburn owners get tripped up. The Hold button does two different things depending on how long you press it. Understanding the difference saves you from waking up to a cold house.
When to Use Temporary Hold
Temporary Hold changes the temperature until the next scheduled period. It is perfect for a short situation.
Say you are working from home. Your schedule normally drops to 62°F during the day. You want it at 70°F for three hours.
Just press the up arrow until 70°F shows up. The display might say “Hold” or “Temporary.” The thermostat holds that temperature until the next programmed period arrives. Then it snaps back to the schedule.
You do not have to remember to cancel it. The schedule takes over automatically.
When to Use Permanent Hold (Often Called “Vacation Hold”)
Permanent Hold locks the thermostat to one temperature. It ignores the schedule entirely until you manually cancel it.
Use this when you leave for a weekend or a week. Set the temperature to something energy efficient like 55°F in winter or 85°F in summer. The thermostat stays there until you press Run.
On most Braeburn models, you activate permanent hold by pressing and holding the Hold button for three to five seconds. The display shows “Hold” or “Permanent Hold.” On some 7000 series models, you tap the Hold icon and select “Permanent.”
How to Cancel Hold and Return to Schedule
This is the simplest step. Just press the Run button once. The thermostat resumes its programmed schedule.
That is it.
If pressing Run does nothing, check that you are not in keypad lockout mode. That is covered in the troubleshooting section below.
Common Mistakes and How to Avoid Them
Aggregate buyer feedback shows a handful of errors that show up over and over. These are the ones to watch for.
Pressing “Hold” Instead of “Run” After Programming
You finish programming your schedule. You press the up arrow to check the temperature. The thermostat now thinks you want a Hold.
Your schedule does not run.
The fix is simple. After any programming, press Run one time. This tells the thermostat to follow the schedule.
Make it a habit.
Setting the System Switch to the Wrong Mode
The system switch on your Braeburn has four positions: Heat, Cool, Auto, and Off. If it is set to Cool and you want heat, nothing happens.
Check the switch before you call a repair person. On the 3000 and 5000 series, the switch is a small slider on the side. On the 7000 series, it is a menu option on the touchscreen.
Set it to Heat in winter, Cool in summer, Auto if you want the thermostat to decide, and Off to turn the system off completely.
Forgetting to Install Batteries Before Programming
Some Braeburn models need batteries for the display and schedule even if they are wired to your HVAC system. Without batteries, the schedule resets every time the power blinks.
Install fresh AA or AAA alkaline batteries before you program. Most models use two AA batteries. Check the compartment inside the faceplate.
Replace them once a year or when the low battery icon appears.
Expert Tips for Getting the Most Out of Your Braeburn
These are not in the manual. They come from real-world use and careful reading of the manufacturer’s technical documentation.
Adjusting the Temperature Differential (Cycle Rate)
Your thermostat turns the HVAC system on and off based on a temperature swing called the differential. The default is usually 1°F. That means if you set 70°F, the heat turns on at 69°F and off at 71°F.
You can adjust this. A larger differential (2°F or 3°F) reduces cycling and saves energy. A smaller differential (0.5°F) gives tighter comfort but more wear on the system.
To adjust it, press and hold the Set and Up arrows together for about five seconds. Use the arrows to change the setting. Refer to your manual for the exact key combination for your model.
Setting the Keypad Lockout for Kids or Tenants
Do not want anyone messing with the thermostat? Use the keypad lockout. On the 5000 and 7000 series, press and hold the Up and Down arrows together for about five seconds.
The display shows “Locked.” To unlock, repeat the same hold.
You can set a custom code on some models. The manual explains the code setup for your specific series.
Resetting the Filter Change Reminder
A “Filter” or “Change Filter” message appears after a set number of run hours. To clear it, press the Hold and Run buttons together for about three seconds. The message goes away.
The timer resets.
If you want to change the reminder interval, hold the Set and Down arrows together. Use the arrows to pick 30, 60, 90, or 180 days.
Calibrating the Temperature Sensor if It Seems Off
If your thermostat reads 72°F but the room feels like 68°F, you can calibrate it. Press and hold the Set and Mode buttons together for five seconds. Use the arrows to adjust the reading by up to ±5°F.
Do not skip this step if the thermostat sits in a drafty hallway. The calibration makes a real difference in comfort.
Troubleshooting: When the Thermostat Won’t Do What You Expect
Even a simple thermostat can have issues. Here is how to handle the most common ones.
Thermostat Display Blank or Dim
First, check the batteries. A low battery charge can make the display go dim or blank. Replace them with fresh alkaline batteries.
If the display stays blank, check the circuit breaker. The HVAC system may have tripped a breaker. Flip it off and back on.
Schedule Resets After Battery Change
You changed the batteries and the schedule is gone. That means the batteries were out too long. The internal memory only holds the schedule for about 30 seconds without power.
Install new batteries within a few seconds. If the schedule resets, you just reprogram it. It takes less than five minutes.
Thermostat Clicks but No Heat or Cool
A clicking sound means the thermostat is sending a signal. The problem is likely in the HVAC system, not the thermostat. Check the furnace or air conditioner.
Make sure the system switch on the thermostat is set to Heat or Cool. If everything looks fine, call an HVAC technician.
Fan Runs Constantly or Won’t Turn On
Check the fan switch. It has two settings: Auto and On. Auto runs the fan only when the system is heating or cooling.
On runs the fan continuously.
If the fan runs when set to Auto, the wiring may be wrong. If the fan does not run when set to On, the fan relay or motor may be bad. Try resetting the thermostat by removing the batteries for 30 seconds.
Safety and Wiring Considerations
Working with thermostat wiring involves low voltage, but you still need to be careful. Follow these guidelines.
Turn Off Power Before Opening the Thermostat
Always switch off the HVAC system at the circuit breaker before you remove the thermostat faceplate. The 24V wiring is not lethal, but it can cause a surprise shock or damage the equipment.
Checking for a C-Wire (Common Wire)
Some Braeburn models require a C-wire for power. Without it, the thermostat may behave oddly. The C-wire connects to the C terminal on the thermostat and the C terminal on the furnace.
If you do not have a C-wire, check your manual. Some models work fine with batteries alone. Others need the C-wire for touchscreen operation.
Voltage and Compatible HVAC Systems
Braeburn thermostats work with standard 24V systems. That includes gas furnaces, electric furnaces, oil furnaces, heat pumps, and central air conditioners.
They do not work with millivolt systems like gas fireplaces or some older floor heaters. They also do not work with 120V line-voltage baseboard heaters. If you have a high-voltage system, you need a different thermostat.
Long-Term Maintenance: Batteries, Cleaning, and Firmware?
Braeburn thermostats require very little upkeep. A few minutes once a year keeps them running reliably.
How Often to Change Batteries
Replace the batteries every 12 months. The low battery icon appears about a month before the batteries die. Do not wait for the display to go blank.
Set a reminder on your phone for the same month each year.
Use fresh alkaline batteries. Do not use rechargeable ones. They provide lower voltage and can cause the display to flicker or the schedule to reset.
Cleaning the Dust from the Interior
Dust builds up inside the thermostat over time. It can interfere with the temperature sensor and cause inaccurate readings. Gently pull the faceplate off once a year.
Use a soft brush or compressed air to clean the circuit board and sensor openings.
Do not use cleaning sprays or liquids. They can damage the electronics.
Why There’s No Firmware to Update
Unlike smart thermostats, Braeburn models do not connect to Wi-Fi. There is no app, no cloud service, and no firmware updates. What you buy is what you get.
That is a benefit for many users. There is nothing to break or go out of date.
Frequently Asked Questions
How Do I Clear the Existing Schedule?
Press and hold the Hold and Program buttons together for about five seconds. The display flashes and clears all programmed times and temperatures. You can then set a fresh schedule.
Why Is My Thermostat Not Holding the Temperature?
First check the system switch. Make sure it is set to Heat or Cool. Then check the temperature differential setting.
If the differential is too large, the temperature swings wider. Finally, make sure the thermostat is not in direct sunlight or near a draft. That confuses the sensor.
Can I Use This with a Heat Pump?
Yes. Most Braeburn models support heat pumps. You need to set the system type during initial setup.
Check your manual for the specific menu option. On the 5000 and 7000 series, you access this through the installer settings menu.
What Does “Filter” Flashing Mean?
The filter change reminder is active. It means the system has run for the set number of hours since the last reminder. Replace or clean your HVAC filter.
Then press Hold and Run together for three seconds to clear the message.
Final Decision Guide: Choose Your Path Based on Your Goal
Just Want to Change the Temperature Right Now? → Use Hold
Press the up or down arrow until you reach your desired temperature. The thermostat holds that temperature until the next scheduled period. For longer changes, press and hold the Hold button for permanent hold.
Want to Set a Weekly Schedule? → Follow the Programming Steps
Press the Program button. Set the Wake, Leave, Return, and Sleep times and temperatures for each day. Press Run to save the schedule.
That is the whole process.
Troubleshooting a Problem? → Check the Mistakes and Troubleshooting Sections
If the thermostat is not responding, the display is blank, or the temperature seems off, start with the batteries. Then check the system switch and circuit breaker. If nothing works, you can always download the manual from the Braeburn support site.


Similar Posts



















