How to Install a Single Hole Kitchen Faucet on a 3 Hole Sink
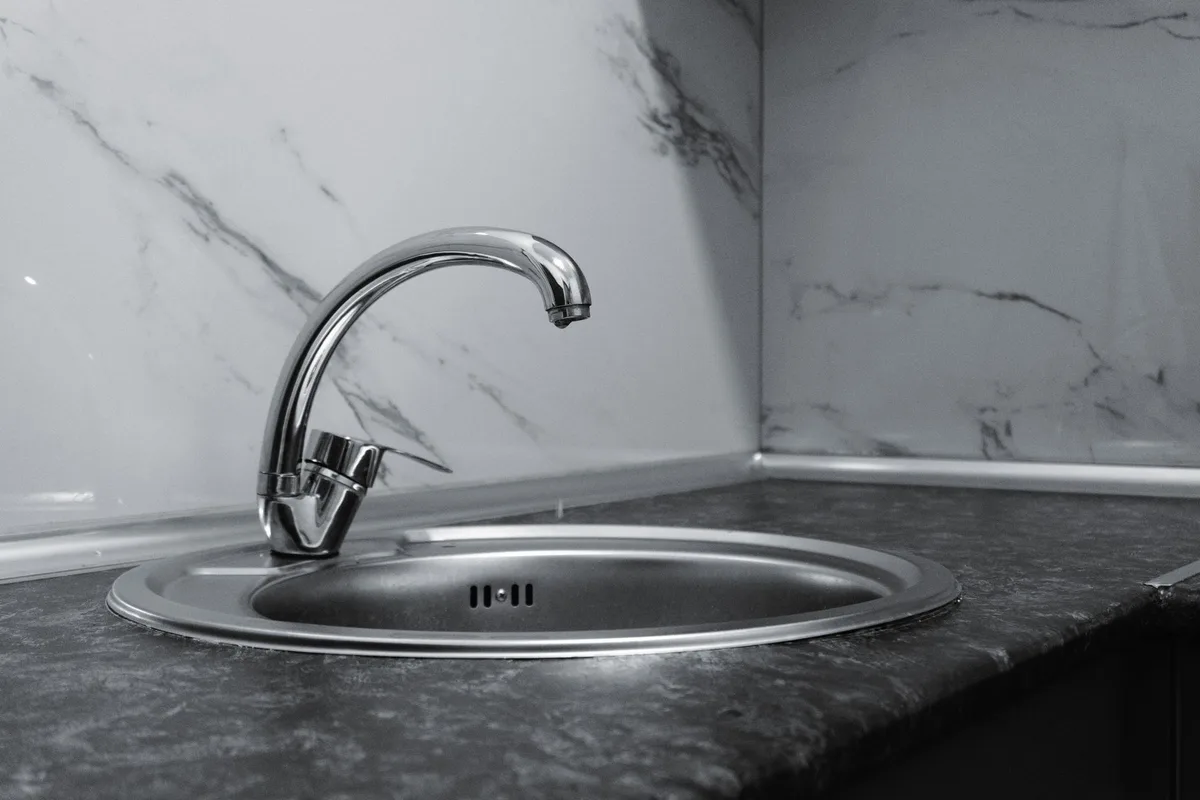
You’ve picked out that sleek, modern single hole kitchen faucet. It’s got clean lines and probably a cool pull-down sprayer. But wait, your sink has three holes.
Don’t let that stop you! Installing a single hole faucet on a sink designed for a three-hole setup is a totally achievable DIY project. It just requires a little planning and the right pieces.
We’ll walk you through it, step-by-step.
You’re essentially covering up the extra holes while ensuring a secure and leak-free installation for your new faucet. It’s a common scenario when upgrading your kitchen hardware. We’ve tackled this exact situation many times, and we know you can too.
Let’s get your new faucet installed.
Understanding Your Sink and Faucet Setup
Before we dive into the tools, let’s make sure you’re clear on what you’re working with.
The Three-Hole Sink
A standard three-hole sink typically has:
- One hole for the faucet spout: This is where the water comes out.
- Two holes for handles: In older setups, these were usually for separate hot and cold water handles. Sometimes, you might have one handle and one soap dispenser hole, or other configurations.
When you install a single hole faucet on this sink, you’ll be using the center hole for the faucet itself. The two side holes will need to be covered.
The Single Hole Faucet
A single hole faucet consolidates all your water controls into one unit. This usually means:
- A single base: This base is designed to fit into a single sink hole.
- Integrated controls: Hot and cold water are mixed and controlled by one lever or knob on the faucet body itself.
The Key Component: The Deck Plate
This is where the magic happens for adapting your sink. Most single hole faucets come with an optional deck plate, also known as a escutcheon plate. This is a flat piece of metal that sits under the faucet base.
Its primary purpose is:
- Coverage: It’s designed to cover the extra holes in your sink, creating a clean look.
- Stability: It provides a stable mounting surface for the faucet.
If your new faucet didn’t come with a deck plate, don’t worry. You can usually purchase one separately. Make sure it’s compatible with your faucet’s finish and style.
A sleek single hole faucet can modernize your kitchen sink.
Tools and Materials You’ll Need
Gathering your supplies upfront will make the installation process smooth and efficient. You don’t want to be halfway through and realize you’re missing a crucial tool.
Here’s a list of what you’ll likely need:
Essential Tools
- Adjustable Wrench: For tightening and loosening nuts and fittings.
- Basin Wrench: This is a specialized tool that’s a lifesaver for reaching nuts in tight spaces under the sink. You’ll definitely need this for those stubborn connections.
- Screwdriver Set: Both Phillips and flathead will be useful.
- Plumber’s Putty or Silicone Caulk: To create a watertight seal between the faucet, deck plate, and sink.
- Bucket: To catch any residual water from the old plumbing.
- Towels or Rags: For cleaning up spills and drying components.
- Safety Glasses: Protect your eyes from falling debris or water.
- Flashlight or Headlamp: Because it gets dark under the sink!
Faucet-Specific Parts
- Your New Single Hole Kitchen Faucet: With all its included parts.
- Deck Plate (Escutcheon Plate): Ensure it’s included or purchased separately.
- Supply Lines: These connect your faucet to the hot and cold water shut-off valves. Your new faucet might come with them, but check their length and condition. If they’re old, it’s a great time to replace them.
Optional (But Helpful)
- Pipe Thread Tape (Teflon Tape): For sealing threaded connections.
- Pliers: Can be helpful for gripping various components.
- Drill and Hole Saw (if you need to make a new hole): Unlikely for this specific scenario since you’re covering existing holes, but good to have on hand for other projects.
Step-by-Step Installation Guide
Let’s get this done. We’re going to break this down into actionable steps.
Step 1: Shut Off the Water Supply
This is the absolute first and most critical step. You don’t want any surprises with water spraying everywhere.
- Locate the Shut-Off Valves: Under your sink, you’ll see two valves connected to the pipes coming from the wall. One is for hot water, the other for cold.
- Turn Off the Valves: Turn the handles of both valves clockwise until they stop.
- Test: Turn on your old faucet handles to drain any remaining water in the lines and to confirm that the water is indeed shut off. No water should come out.
Step 2: Remove Your Old Faucet
If you have an old faucet already installed, it needs to come out first.
- Disconnect Supply Lines: Using your adjustable wrench, disconnect the hot and cold water supply lines from the old faucet’s tailpieces. Have your bucket ready to catch any water that might still be in the lines.
- Loosen Mounting Nuts: Look underneath the sink where the faucet is mounted. You’ll see large nuts (usually plastic or metal) holding the faucet in place. This is where your basin wrench will be your best friend. It allows you to grip and turn these nuts from below.
- Remove the Old Faucet: Once the nuts are loose, gently lift the old faucet assembly from the top of the sink. It might be stuck with old putty or caulk. You may need to carefully pry it up.
- Clean the Sink Surface: Remove any old plumber’s putty or caulk from the sink surface around the holes. A putty knife or scraper can help with this. A clean surface ensures a good seal for the new faucet and deck plate.
Step 3: Prepare the New Faucet and Deck Plate
Now it’s time to get your new faucet ready for installation.
- Assemble the Deck Plate: If your deck plate requires any assembly, do that now. Often, it’s just a single piece that sits flat.
- Apply Sealant: Apply a bead of plumber’s putty or silicone caulk to the underside of the deck plate where it will meet the sink. This creates a watertight barrier. Ensure the sealant is applied evenly.
- Position the Deck Plate: Carefully place the deck plate over the three holes in your sink. Make sure it completely covers all three holes and is centered.
Step 4: Install the New Faucet
This is where your new faucet goes in.
- Apply Sealant to Faucet Base: If your faucet has a separate gasket or requires sealant, apply it to the underside of the faucet base now. Some faucets have a built-in rubber gasket that negates the need for putty or caulk here, but always check the manufacturer’s instructions.
- Feed Faucet Through Deck Plate: Carefully guide the faucet’s tailpieces and mounting shank(s) through the center hole of the deck plate and then through the center hole of your sink. The faucet should now be seated on top of the deck plate, which is covering the three holes.
- Secure from Below: Get back under the sink. You’ll see the mounting shank(s) of the faucet coming through the sink.
- Install Washers and Nuts: Slide any provided washers onto the mounting shank(s), then thread the mounting nuts onto the shank(s).
- Tighten Securely: Use your basin wrench or adjustable wrench to tighten the mounting nuts. You want to make the faucet snug and stable, but be careful not to overtighten, as this can damage the sink or the faucet. The faucet should not wiggle at all.
Step 5: Connect the Water Supply Lines
This connects your faucet to the home’s water.
- Connect Supply Lines to Faucet: If your faucet didn’t come with integrated supply lines, connect your new supply lines to the hot and cold inlets on the faucet’s tailpieces. Hand-tighten these first, then give them a quarter-turn with an adjustable wrench.
- Connect Supply Lines to Shut-Off Valves: Now, connect the other ends of the supply lines to the corresponding hot and cold shut-off valves under the sink. Again, hand-tighten first, then use your adjustable wrench for a snug fit. Don’t overtighten, as this can sometimes strip the threads or crack plastic fittings.
- Check for Leaks (Initial): Very gently turn the water shut-off valves back on (counter-clockwise). Check all connection points for any immediate drips. Fix any leaks by tightening slightly.
Step 6: Test for Leaks and Functionality
It’s time for the moment of truth.
- Turn Water Fully On: Slowly open both the hot and cold water shut-off valves completely.
- Check All Connections: Get under the sink again and meticulously check every connection point:
- Where the supply lines connect to the shut-off valves.
- Where the supply lines connect to the faucet tailpieces.
- Around the base of the faucet and the deck plate, both above and below the sink.
- Run the Faucet: Turn on the faucet. Let the water run for a minute or two.
- Check the hot and cold mixing.
- Test any sprayers or other functions.
- Inspect for Leaks Again: While the water is running, and immediately after turning it off, perform another thorough leak check. Even a tiny drip can cause damage over time. If you see any leaks, turn off the water again and tighten the offending connection. You might need to reapply plumber’s tape or sealant if the issue persists.
- Wipe Away Excess Sealant: Once you’re confident there are no leaks, wipe away any excess plumber’s putty or caulk that may have squeezed out from under the deck plate or faucet base.
Step 7: Final Touches and Clean-Up
You’re almost there!
- Install Aerator: Make sure the aerator is screwed onto the end of the faucet spout.
- Clean Up: Tidy up your workspace. Put away your tools, wipe down the sink and countertop, and dispose of any old parts or packaging.
Congratulations! You’ve successfully installed a single hole kitchen faucet on your three-hole sink. Enjoy the fresh look and improved functionality of your new faucet!
Troubleshooting Common Issues
Even with careful installation, you might run into a snag. Here are a few common problems and how to fix them.
Leaks Under the Sink
- Problem: Water is dripping from the connections where the supply lines meet the shut-off valves or the faucet.
- Solution: Turn off the water. Check that the nuts are tightened properly for each connection. If they’re still leaking, you might need to disconnect, clean the threads, and reapply plumber’s tape to the male threads of the valve or faucet tailpiece before reassembling and tightening.
Faucet Wobbles
- Problem: The faucet feels loose and wiggles on the sink.
- Solution: This usually means the mounting nuts under the sink are not tight enough. Get under the sink and carefully tighten the mounting nuts with your basin wrench or adjustable wrench until the faucet is stable. Don’t overtighten, as this can crack ceramic sinks or plastic parts.
Low Water Pressure
- Problem: The water flow from the new faucet is weaker than before.
- Solution:
- Check Shut-Off Valves: Ensure the hot and cold shut-off valves under the sink are fully opened.
- Inspect Supply Lines: Make sure the supply lines aren’t kinked or bent sharply, which could restrict flow.
- Clean the Aerator: Unscrew the aerator from the tip of the faucet spout. There might be debris trapped inside from installation. Rinse it thoroughly and screw it back on.
- Check Faucet Strainer: Some faucets have small strainers inside the inlets where supply lines connect. If accessible, check these for debris. You might need to disconnect the supply line to see them. This is a good time to check your vacuum filter too, to ensure your home’s circulation is clear.
Deck Plate Doesn’t Cover All Holes
- Problem: The deck plate is too small and doesn’t completely cover the extra holes in your sink.
- Solution: This means you likely need a larger deck plate. Deck plates come in various sizes and styles, often called “sink covers” or “base plates.” You can purchase these separately from hardware stores or online retailers. Ensure you get one that’s compatible with your sink’s material and the faucet’s mounting style.
Choosing the Right Deck Plate
When adapting a single hole faucet to a three-hole sink, the deck plate is crucial for aesthetics and proper function.
Types of Deck Plates
- Standard Deck Plates: These are typically 6 inches or 10 inches wide and designed to cover two standard 1 1/2-inch holes, leaving the center for your single hole faucet.
- Extended Deck Plates: For sinks with wider spacing or more than three holes, you might need a larger, custom-sized deck plate. These are less common but available.
Material and Finish
- Matches Your Faucet: Ideally, the deck plate should match the finish of your new faucet (e.g., brushed nickel, chrome, matte black).
- Material: Most are made of metal (brass or stainless steel) for durability. Plastic options are also available but generally less robust.
Installation Considerations
- Sealant is Key: Always use plumber’s putty or silicone caulk under the deck plate to prevent water from seeping into the sink deck and causing damage.
- Centering: Take your time to center the deck plate precisely over the holes before installing the faucet. A misaligned plate can look awkward and may not seal properly.
This simple addition drastically changes the appearance and suitability of your chosen faucet for your existing sink.
Maintaining Your New Faucet
Once installed, a little care goes a long way in keeping your new faucet looking and working great.
Regular Cleaning
- Avoid Abrasives: Use a soft cloth and mild dish soap to clean your faucet daily or as needed. Harsh chemicals or abrasive scrubbers can scratch the finish.
- Tackle Water Spots: For stubborn water spots, a solution of white vinegar and water can be effective. Apply with a soft cloth, let it sit for a few minutes, then rinse and dry thoroughly.
- Clean Movable Parts: If your faucet has a pull-down sprayer, ensure the hose and nozzle are periodically wiped down and checked for clogs.
Checking for Leaks Periodically
Even after a successful installation, it’s wise to peek under the sink every few months to ensure no slow leaks have developed. This is part of good home maintenance, similar to checking how often you should replace vacuum filters to maintain air quality.
Protecting the Finish
- No Harsh Cleaners: Avoid cleaning products containing ammonia, bleach, or abrasive cleaners, as they can damage the faucet’s finish.
- Dry Promptly: After cleaning, dry the faucet with a soft cloth to prevent water spots and mineral buildup.
By following these simple maintenance tips, you can extend the lifespan of your new kitchen faucet and keep it looking its best for years to come.
Conclusion
Installing a single hole kitchen faucet on a sink with three holes is a straightforward process with the right preparation and tools. The key is using a deck plate to cover the unused holes and ensuring a watertight seal at all connections. By following these detailed steps, you can transform the look and functionality of your kitchen sink yourself, saving on professional installation costs while enjoying a stylish upgrade.
Always remember to shut off the water supply before starting and double-check for leaks once you’re done. You’ve got this!


Similar Posts



















