How to Weatherproof Storage Bins for Outdoor Use
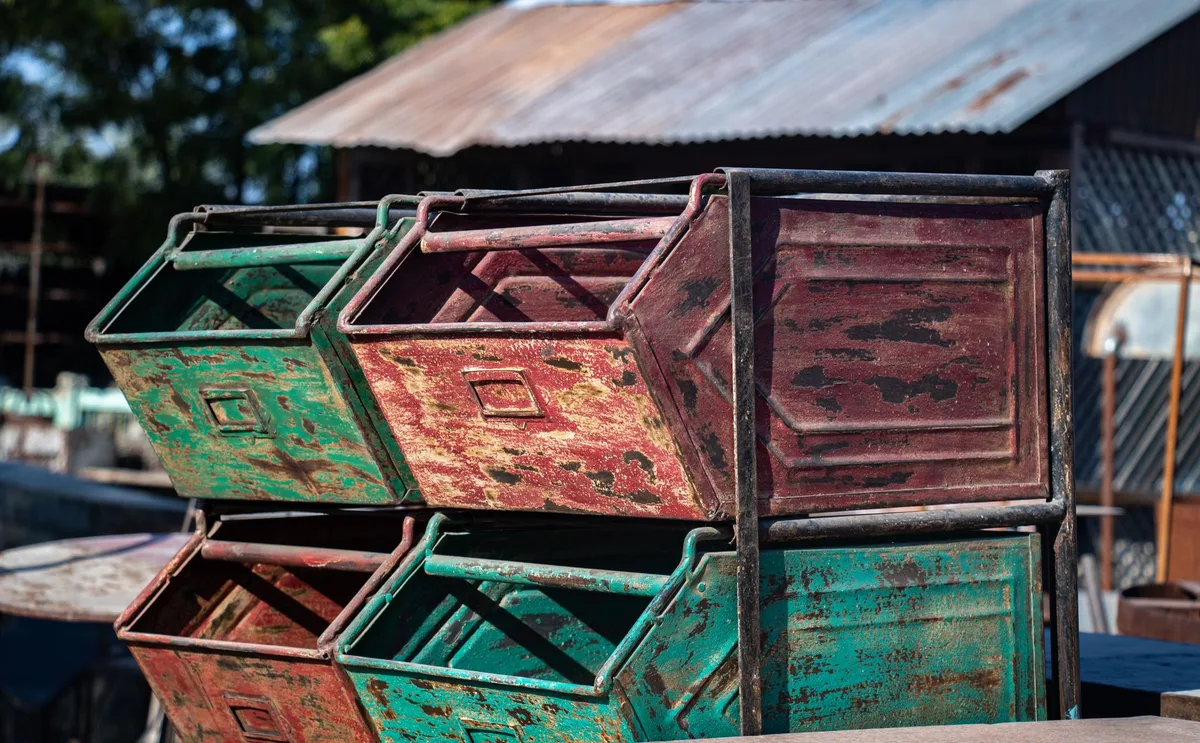
Storing items outdoors demands a tough approach to bin protection. Rain, sun, snow, and humidity can wreak havoc on your belongings. That’s where proper weatherproofing comes in.
You need your storage bins to be more than just containers; they need to be shields. Let’s get your outdoor storage sorted.
You’ve got stuff you need to keep safe outside. Maybe it’s gardening tools, seasonal decorations, or sports equipment. Whatever it is, tossing it into a standard plastic bin and hoping for the best just won’t cut it.
Moisture gets in. The sun fries the plastic. Pests find a way.
That’s why weatherproofing your storage bins isn’t a luxury, it’s a necessity.
This guide focuses on making your outdoor storage bins truly resilient. We’ll cover everything from choosing the right bins to sealing them up tight against the elements. You’ll learn how to create a robust barrier.
Your items will stay dry, protected, and ready for use whenever you need them. No more soggy cushions or sun-bleached patio furniture.
Choosing the Right Storage Bins for Outdoor Duty
Not all storage bins are created equal, especially when facing the great outdoors. You need a solid foundation before you even think about sealing.
What Makes a Bin ‘Outdoor Ready’?
Look for bins specifically designed for outdoor use. These typically have thicker walls. They also use UV-resistant plastics.
This means they won’t degrade or become brittle under direct sunlight.
Heavy-duty construction is key. Think about the weight your bin will hold. Cracks and weak points are invitations for water.
Hinges and latches also matter. They should be sturdy and resist rust. Good bins often have a lip around the lid for a tighter fit.
Materials That Stand Up to the Weather
- High-Density Polyethylene (HDPE): This is a workhorse plastic. It’s durable, impact-resistant, and holds up well to UV rays and temperature fluctuations. Many good outdoor bins are made from HDPE.
- Polypropylene (PP): Another common plastic, often a bit more flexible than HDPE. It’s generally good for outdoor use but might not be as UV-resistant unless treated.
- Lidded Totes with Gaskets: These are often the best starting point. Look for a rubber or foam gasket that seals the lid to the bin. This is your first line of defense against moisture.
What to Avoid for Outdoor Storage
Cheap, flimsy plastic bins are a no-go. They crack easily in cold weather. They warp in heat.
UV light will make them chalky and weak. Also, avoid bins with large gaps or vents that aren’t sealed. Those are direct entry points for rain and creepy crawlies.
Essential Weatherproofing Techniques
Once you have your tough bins, it’s time to fortify them. These steps will significantly boost their resistance to water and other elements.
Sealing the Lid: The Critical First Step
The lid is your most vulnerable point. A tight seal prevents most water from getting in.
Inspecting the Existing Seal
Many outdoor bins come with a built-in gasket.
- Clean it thoroughly. Dirt and grime can prevent a good seal.
- Check for damage. Cracks, tears, or compression set mean it’s time for a replacement.
- Ensure it’s making contact. Close the lid firmly and feel for consistent pressure all around the rim.
Enhancing or Adding a Gasket
If your bin lacks a gasket or the existing one is poor, you can add one.
- Choose your material. Weatherstripping tape is ideal. Look for closed-cell foam or rubber designed for outdoor use. Silicone-based options offer excellent durability and flexibility.
- Measure and cut. Measure the perimeter of the lid where it meets the bin’s rim. Cut the weatherstripping to length.
- Apply it carefully. Peel off the backing a little at a time. Press the tape firmly as you go, ensuring good adhesion. Overlap the ends slightly for a continuous seal.
- Test the seal. Close the lid. It should feel snug. You shouldn’t be able to easily wiggle it.
Sealing Lid Seams and Edges
Even with a gasket, seams and edges can be weak spots.
Silicone Sealant for Extra Protection
This is a robust method for permanent sealing.
- Use exterior-grade silicone sealant. Ensure it’s waterproof and UV-resistant. Paintable varieties are available if you plan to match the bin’s color.
- Prepare the surface. Clean the area thoroughly with rubbing alcohol. Any dust or grease will prevent the sealant from adhering.
- Apply a bead. Carefully run a thin, consistent bead of sealant along the inside seam where the lid meets the bin. You can also apply it around any external hinges or latches that look like potential entry points.
- Smooth it out. Use a wet finger or a caulk-finishing tool to create a neat, professional-looking seal.
- Let it cure completely. Follow the product’s instructions. This typically takes 24 hours. Avoid disturbing the bin during this time.
Reinforcing Corner Joints
Plastic bins often have molded corners. These can sometimes have slight gaps.
- Inspect corners closely. Look for any visible seams or potential weaknesses.
- Apply sealant. A small bead of silicone sealant along the inside corners can prevent water from seeping in. Be sure to smooth it out for a clean finish.
Dealing with Drainage Holes (If Necessary)
Some bins might have small drainage holes. These are usually for liquid to escape. If your goal is absolute waterproofing, you’ll need to close them.
- Identify all holes. Be thorough.
- Use appropriate sealant. For small holes, a strong, waterproof adhesive filler or epoxy putty works well. For larger openings, consider patching with a piece of plastic cut from an old bin and then sealing it with silicone.
- Ensure a watertight patch. Apply the sealant generously around the edges of the patch or filler.
Protecting the Bin Body
The bin itself needs protection from the sun and persistent moisture.
UV Protection for Plastic
Sunlight is a major enemy of plastic. It breaks down the molecular structure, making it brittle and prone to cracking.
- Apply a UV protectant spray. Many automotive or marine products are designed to shield plastic and vinyl from UV damage. Look for ones that leave a protective coating.
- Regular reapplication. These sprays don’t last forever. You’ll need to reapply them periodically, especially after a harsh season or if the bin is in constant sun. Check the product instructions. It might be every few months.
- Consider spray paint (optional). If appearance is important and you want a more permanent solution, you can spray paint the exterior of the bin with a plastic-specific, UV-resistant paint. Two to three light coats are better than one heavy one. Make sure the bin is clean and dry before painting.
Waterproofing the Exterior (Advanced Methods)
For ultimate protection, you can waterproof the entire exterior.
- Plastic paint or coating. There are specialized paints and coatings designed for plastic that offer waterproofing. These can add an extra layer of defense.
- FRP (Fiber-Reinforced Plastic) coating. For extreme durability, some people use FRP coatings. This involves applying fiberglass matting with a resin and then a gel coat. This is a more involved process but creates an incredibly tough, waterproof shell. This is usually overkill for most home storage needs, but it’s an option for maximum protection.
Preventing Pests and Critters
Water isn’t the only thing that can ruin your stored items. Insects and rodents can cause significant damage.
Eliminating Entry Points
This goes hand-in-hand with general weatherproofing. Any gap or seam becomes a potential entry point for pests.
- Seal all cracks and holes. Use silicone sealant or appropriate fillers as mentioned earlier.
- Ensure the lid is completely shut. Make sure there are no gaps when the lid is closed.
- Check hinges and latches. If they are loose or have gaps, seal them where possible.
Using the Right Bins to Deter Pests
Some bin designs are naturally better at keeping pests out.
- Smooth surfaces. Bins with smooth, seamless exteriors offer fewer places for pests to hide or chew.
- Secure latches. Bins with strong, locking latches are harder for determined critters to open.
Additional Pest Deterrents
- Peppermint oil: Many pests dislike the strong scent of peppermint. Soak cotton balls in peppermint oil and place them inside the bin, away from your items. Replace them every few weeks.
- Diatomaceous earth (food-grade): Sprinkle a light layer of food-grade diatomaceous earth inside the bin. It’s a natural desiccant and sharp to crawling insects. Be careful not to inhale the dust.
- Avoid food storage: Never store food items in bins that are not specifically designed for food storage and are additionally sealed against pests.
Placement and Ongoing Maintenance
Even the best-weatherproofed bin needs a little help from its environment and ongoing care.
Strategic Bin Placement
Where you put your bins matters.
- Elevate them. Never place bins directly on the ground. Ground moisture can still seep in, and it keeps them away from potential flooding and easier for pests to access. Use palletes, bricks, or lumber to lift them a few inches.
- Consider shade. While we’ve discussed UV protection, reducing direct sun exposure still extends the life of your bin and its contents.
- Ensure air circulation. Don’t pack bins too tightly together. Allow some air to circulate around them. This helps prevent condensation buildup inside.
- Avoid areas prone to pooling water. Don’t position bins where rain naturally collects.
Regular Inspection and Reapplication
Weatherproofing isn’t a one-and-done job.
- Schedule checks. Inspect your bins at least twice a year, perhaps in spring and fall.
- Look for new damage. Check for cracks, worn-out seals, or sealant that’s starting to peel.
- Reapply protectants. If you used UV sprays or sealants, reapply them as needed based on product recommendations and environmental conditions.
- Clean periodically. A quick wipe-down can remove debris that might compromise seals.
Going the Extra Mile: Adding Inner Liners
For truly precious items, you might want an extra layer of protection.
Using Waterproof Liners
- Heavy-duty plastic sheeting: You can line the inside of the bin with a thick sheet of plastic. Secure it with tape around the rim, ensuring the material folds down neatly inside.
- Tarps or waterproof bags: For particularly sensitive items, placing them inside a separate waterproof bag or a smaller, fully sealed tarp inside the bin provides an additional barrier.
Why Inner Liners Help
- Double protection: If water somehow breaches the outer bin, the inner liner acts as a secondary defense.
- Moisture absorption: You can place desiccants (like silica gel packets) inside these inner layers to absorb any residual moisture that might still get in.
Summary: Building a Weatherproof Fortress
Weatherproofing your outdoor storage bins transforms them from simple containers into reliable fortresses for your belongings. It’s about attention to detail. It’s about using the right materials to build a robust defense against rain, sun, and pests.
Start with a durable, outdoor-grade bin. Then, meticulously seal every seam, edge, and potential entry point. Use high-quality, exterior-grade silicone sealant.
Don’t forget about UV protection for the plastic itself. Regular inspection and maintenance are your allies in keeping that protection strong season after season. By taking these steps, you ensure your stored items remain dry, intact, and ready for use, no matter what the weather throws at them.


Similar Posts



















