How Do Wireless Thermostats Work
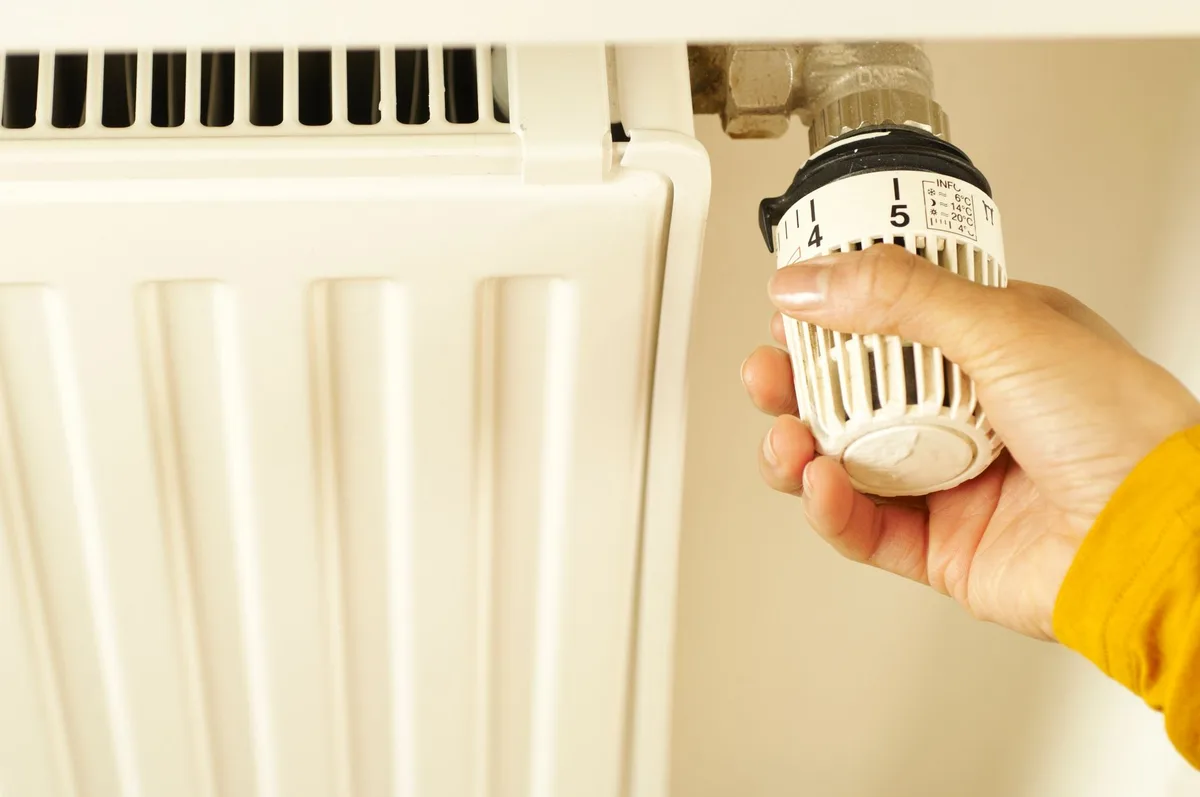
If you have ever stood in front of your thermostat and wondered how it talks to your furnace without any wires, you are not alone. Here is exactly how wireless thermostats work: they use radio signals to communicate with a small receiver module that is wired directly to your heating and cooling equipment.
According to ENERGY STAR, households that use a programmable or smart wireless thermostat save an average of 15 to 23 percent on their heating and cooling bills. That is real money back in your pocket every year, and it comes from understanding just one simple thing. Once you know how the signal gets from the thermostat to the furnace, everything else makes sense.
Quick Answer
A wireless thermostat works like a remote control for your HVAC system. It sends radio signals to a receiver module wired to your furnace or AC. The receiver interprets those signals and turns your equipment on or off.
No physical wires run between the thermostat and the HVAC unit.
Why a Diagram Helps You Understand the Wireless Signal Path
The wireless signal path is invisible. You cannot see the radio waves moving from the thermostat to the receiver. That is why a simple diagram makes the whole thing click.
Think of it like Wi-Fi in your home. You know your phone talks to the router, even though you cannot see the connection. A wireless thermostat works the same way, but the receiver is mounted right next to your furnace instead of on a shelf.
A good diagram shows three things clearly. First, the thermostat reading the temperature and comparing it to your set point. Second, the radio signal leaving the thermostat and traveling through walls, floors, and furniture.
Third, the receiver module picking up that signal and activating the furnace or air conditioner.
Once you see that flow visually, you understand why placement matters. The thermostat needs to be within range of the receiver. That range is usually 100 to 150 feet indoors, but thick concrete walls, metal ductwork, and large appliances can cut that distance in half.
The biggest ah-ha moment for most people is realizing that the thermostat itself does not directly control the HVAC equipment. It is basically a smart remote control, and the receiver is the part that does the actual switching.
Core Explanation: How Wireless Thermostats Communicate with Your HVAC System
Here is the core process broken down into five simple steps.
Step 1: The thermostat reads the temperature.
The thermostat has a built-in temperature sensor, usually a thermistor, that measures the air temperature in the room. It checks this reading against the temperature you set on the display or in the app.
Step 2: The thermostat decides whether to call for heat or cool.
If the room temperature is below your set point, the thermostat wants heat. If it is above your set point, it wants cooling. That is called a call for heating or a call for cooling.
Step 3: The thermostat sends a wireless signal.
The thermostat transmits a radio signal to the receiver module. This signal is a simple command. It says something like “turn on the heat” or “turn on the fan” or “turn on the AC.” The signal uses a specific frequency, usually 2.4 GHz for Wi-Fi models or 900 MHz for Z-Wave and Zigbee models.
Step 4: The receiver module receives the signal.
The receiver module is mounted next to the furnace or air handler. It has its own antenna and a small circuit board. When it gets the signal from the thermostat, it checks that the command is valid and that it is coming from the right thermostat.
Step 5: The receiver module activates the HVAC equipment.
The receiver is wired directly to the control board inside your furnace or air conditioner. When it receives a valid command, it closes a relay that sends 24 volts to the appropriate terminal. That tells the furnace to fire up the burners or the AC to start the compressor.
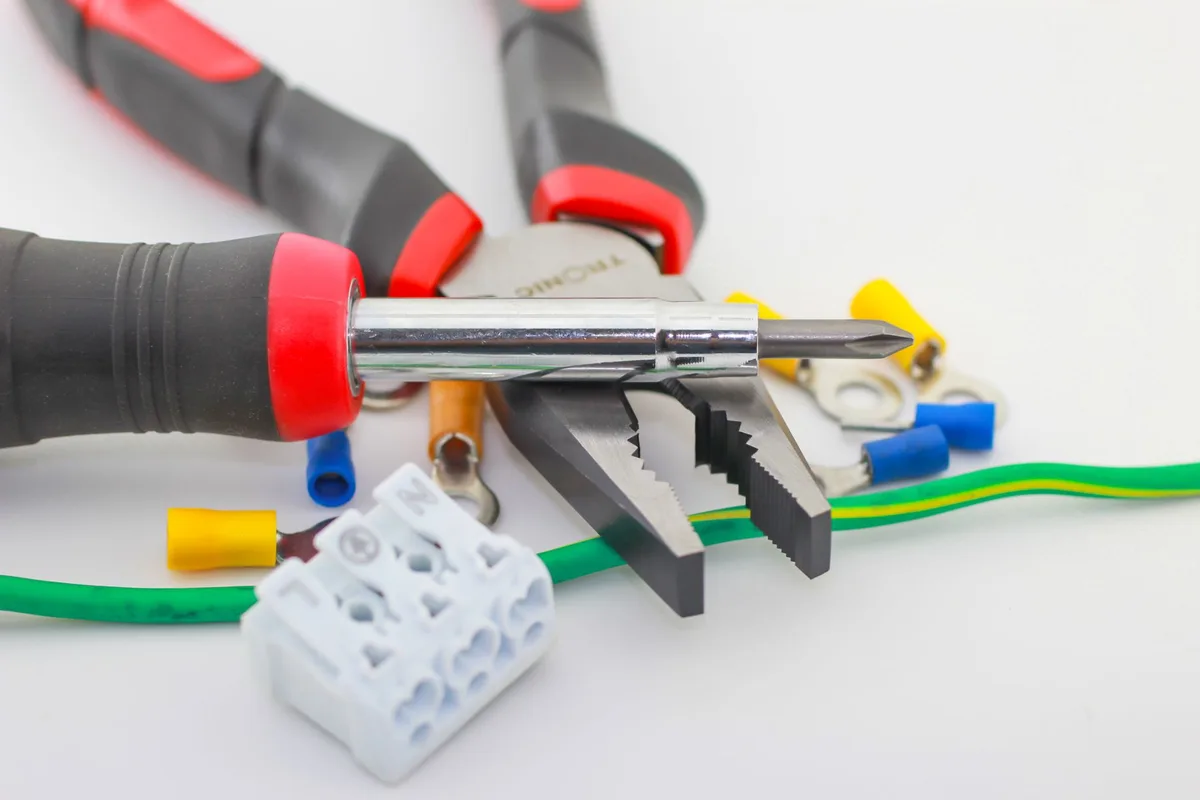
This whole sequence happens in less than a second. You press the temperature up button on the thermostat, and within a second or two, the furnace kicks on. That speed is possible because the radio signal travels at the speed of light, and the receiver module is already powered up and waiting.
The receiver module itself needs constant power. That is why it is wired to the furnace. It usually has a small transformer that steps down the voltage to what the circuit board needs.
Some receivers also have a battery backup, but most rely on the HVAC system’s power supply.
What’s Inside a Wireless Thermostat: Key Components and Sensors
A wireless thermostat is a small computer with a radio. Here are the main parts inside.
Temperature sensor.
This is the heart of the thermostat. Most modern thermostats use a digital thermistor that reads temperature very accurately, usually within plus or minus 0.5 degrees Fahrenheit. Some models also have a humidity sensor for controlling dehumidifiers or humidifiers.
Microcontroller.
This is the brain. It runs the software that compares the temperature reading to your set point, manages the schedule, and processes inputs from the app or the touchscreen.
Wireless radio module.
This is the part that communicates with the receiver. The radio module can use one of several protocols.
- Wi-Fi. Most common. Connects to your home network and lets you control the thermostat from anywhere.
- Z-Wave. Uses a mesh network. Often used with smart home hubs.
- Zigbee. Similar to Z-Wave but uses a different frequency and protocol.
- Thread. A newer protocol designed for low-power devices.
- Matter. The latest standard that aims to unify smart home devices.
Display.
Most wireless thermostats have a screen. Some are basic LCD screens with numbers and a few icons. Others are full color touchscreens that show weather forecasts, energy usage graphs, and more.
Power source.
Wireless thermostats need power to run their electronics. They get it in one of three ways.
- Batteries. Common in basic models. Last one to two years.
- C-wire. A dedicated power wire from the furnace. Provides constant power.
- Power stealing. The thermostat draws a small amount of power from the heating or cooling circuit when the system is off. Can cause issues with some older systems.
Motion or occupancy sensor.
Many smart thermostats have a sensor that detects when someone is in the room. This helps with auto-away features. If no one is home, the thermostat adjusts the temperature to save energy.
Backup memory.
The thermostat stores your schedule, settings, and Wi-Fi credentials in non-volatile memory. That way, if the power goes out, it remembers everything when it comes back on.
Pros and Cons of Going Wireless with Your Thermostat
Wireless thermostats are not perfect for every situation. Here is a honest look at the trade-offs.
| Pros | Cons |
|---|---|
| No need to run thermostat wire through walls | Relies on batteries or C-wire for power |
| Easy to install in most homes | Signal range can be limited by thick walls |
| Remote control from your phone | Wi-Fi connection can drop or interfere |
| Energy savings of 15 to 23 percent | Receiver module adds one more component to maintain |
| Works with most 24-volt HVAC systems | Not compatible with all systems (millivolt, line voltage) |
| Supports smart features like scheduling and geofencing | Learning curve for setup and app configuration |
Who it is best for.
Wireless thermostats are a great fit if you rent or live in an older home without a C-wire. You can install one without calling an electrician, and you can take it with you when you move. They are also ideal for multi-zone homes where running wires between zones would be expensive or impossible.
Who should think twice.
If you have a very large home with thick concrete walls or metal framing, wireless signals may struggle to reach the receiver. In that case, a wired thermostat is more reliable. The same goes for homes with a lot of smart home devices that compete for the same Wi-Fi channels.
Real-world trade-offs.
In our research, the most common complaint from users is the Wi-Fi connection dropping. This usually happens when the thermostat is far from the router or when the router is overloaded with other devices. A simple fix is to use a Wi-Fi extender or mesh network, but that adds cost and complexity.
Battery life is another concern. Some models eat through batteries in a few months, especially if the thermostat is in a cold location where the batteries drain faster. The best solution is to use a C-wire adapter, which provides constant power and eliminates battery worries altogether.
On the plus side, the convenience of adjusting your thermostat from bed or from the airport is hard to beat. The savings from geofencing alone can pay for the thermostat in a year or two.
Step-by-Step: How to Install a Wireless Thermostat
Installing a wireless thermostat is straightforward. Most homeowners finish in 30 to 45 minutes. Here is the process.
Step 1: Turn off power to your HVAC system.
Flip the breaker that controls your furnace or air handler. This keeps you safe from the 24-volt control circuit. It also prevents the system from cycling on while you work.
Step 2: Remove your old thermostat.
Take off the faceplate. Unscrew the base from the wall. You will see a bundle of thin wires connected to terminals labeled R, W, Y, G, and C.
Step 3: Label each wire.
Use the stickers that come with your new thermostat. Mark each wire with its terminal letter. This is the step that saves you from calling a technician later.
Step 4: Mount the receiver module.
The receiver module goes next to your furnace. Most receivers have a bracket that screws into the furnace casing or a nearby wall. Run the wires from your old thermostat to the receiver terminals.
Match the labels.
Step 5: Connect the receiver to the furnace.
The receiver also needs to connect to the furnace control board. Follow the manual for your specific model. The typical setup connects R, W, Y, G, and C from the receiver to the matching terminals on the furnace.
Step 6: Mount the thermostat base.
Install the new thermostat base on the wall where the old one was. Use a level to keep it straight. The wireless thermostat does not need wires, so you just screw the base into the wall anchors.
Step 7: Power up and pair.
Turn the breaker back on. The receiver module should power up. Insert batteries or connect the C-wire to the thermostat.
Follow the on-screen instructions to pair the thermostat with the receiver.
Step 8: Connect to the app.
Download the manufacturer’s app. Create an account and follow the pairing process. This usually involves scanning a QR code or entering a code from the thermostat display.
How to Identify Your HVAC System Type (Key Visual Identifiers)
Your HVAC system type determines which wireless thermostat works with your home. Here is what to look for.
Standard forced-air furnace.
This is the most common system in North America. You will see a metal box with a gas line or oil line running into it. The control board has terminals labeled R, W, Y, G, and C.
Most wireless thermostats work with this system.
Heat pump.
Look for a large outdoor unit that runs year-round. The control board has additional terminals labeled O or B for the reversing valve. You need a thermostat that supports heat pump operation.
Check the specifications before buying.
Boiler or hydronic system.
Boilers have no air handler. They heat water and send it through radiators or baseboard heaters. The thermostat usually controls a zone valve or circulator pump.
These systems work with wireless thermostats, but you need one designed for hydronic heat.
Electric baseboard.
These systems use line voltage (120V or 240V) instead of low voltage. Standard wireless thermostats do not work with line voltage. You need a special line-voltage wireless thermostat.
Millivolt system.
Gas fireplaces and some older furnaces use millivolt controls. The voltage is too low for most wireless thermostats. Check the manual for compatibility.
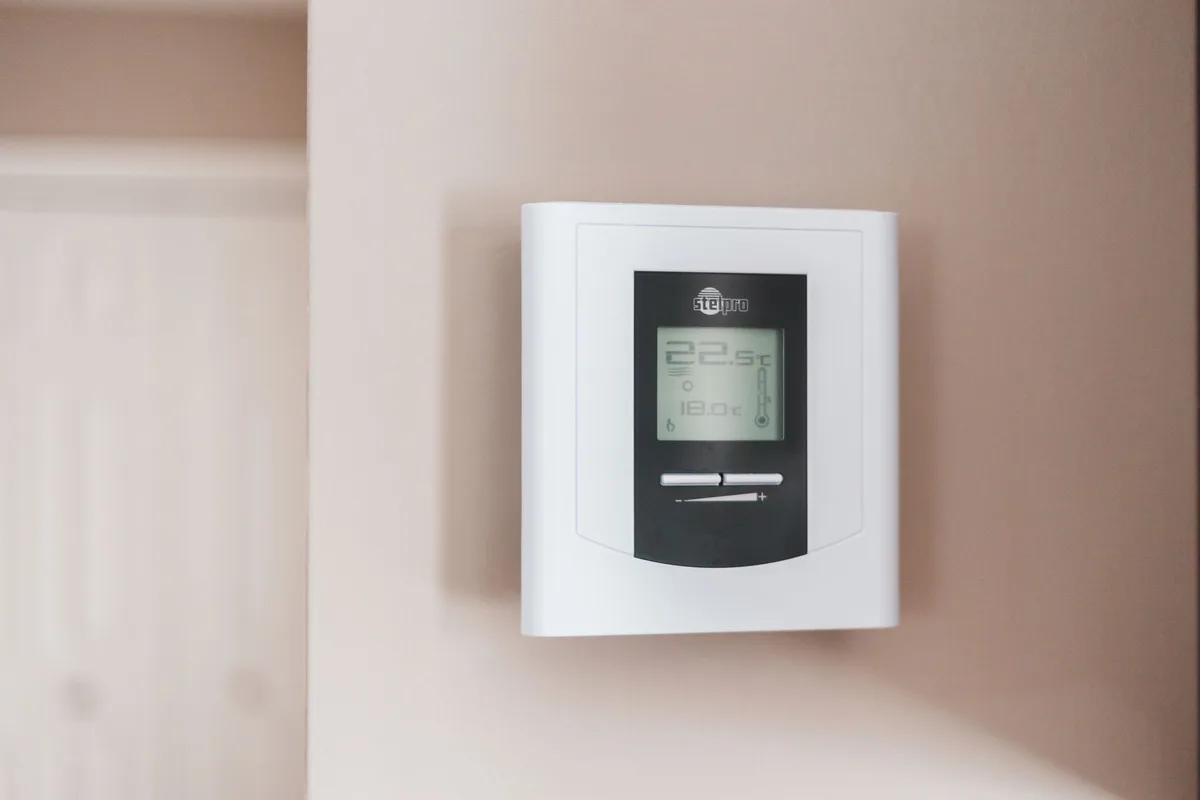
Quick visual check.
Open the cover on your old thermostat. Count the wires. If you see four or five thin wires, you likely have a standard 24-volt system.
If you see two thick wires, you probably have a line-voltage or millivolt system.
Common Visual Mistakes to Avoid During Installation
Many installation problems come from small visual errors. Here are the most common ones.
Mistaking the receiver module for the thermostat.
The receiver module looks like a small electrical box. It is not the thermostat. It goes next to the furnace, not on the wall.
Some people try to mount it in the living space.
Forgetting the C-wire connection.
The C-wire provides constant power to the thermostat. Without it, battery-powered thermostats drain faster. If your system has a C-wire terminal but no wire connected, check the furnace side.
Many systems have an unused C-wire tucked behind the thermostat.
Crossing the wires.
Each wire has a specific terminal. R provides power. W controls heat.
Y controls cooling. G controls the fan. C is the common wire.
Mixing them up can short the system or cause it to run constantly.
Not checking the signal strength.
Mount the thermostat where it has a clear path to the receiver. Avoid placing it near metal ductwork, large appliances, or thick concrete walls. If the signal is weak, the thermostat may work intermittently.
Skipping the firmware update.
Many wireless thermostats need a firmware update right out of the box. Check the app for updates before you start programming. An outdated thermostat may have bugs or security issues.
Troubleshooting: What to Do When the Thermostat Won’t Connect
Connection problems are the most common issue with wireless thermostats. Here is how to fix them.
The thermostat does not turn on.
Check the batteries. If they are fresh, check the C-wire connection. The thermostat needs power to operate.
If the display is blank, the receiver module may also be off. Check the breaker for the furnace.
The thermostat turns on but will not connect to the receiver.
Press the pairing button on the receiver module. Then press the pairing button on the thermostat. The two devices need to be in pairing mode at the same time.
If that does not work, move the thermostat closer to the receiver during pairing.
The app will not connect to the thermostat.
Restart the thermostat. Restart your router. Try connecting the thermostat to the 2.4 GHz band instead of the 5 GHz band.
Many smart thermostats only work with 2.4 GHz Wi-Fi.
The thermostat shows “connected” but the HVAC does not respond.
Check the receiver module. Look for a green light indicating power. If the light is off, the receiver is not getting power from the furnace.
Check the wiring at the receiver and the furnace control board.
The thermostat works for a while then stops.
This is usually a power issue. The thermostat may be drawing power from the system when it is off, but the system may not supply enough power during operation. This is called power stealing.
The fix is to install a C-wire adapter.
Expert Tips for Getting the Best Performance and Battery Life
These tips come from aggregate user feedback and manufacturer documentation. They help you avoid common frustrations.
Use a C-wire adapter if you can.
Battery-powered thermostats work, but they are less reliable. A C-wire adapter provides constant power. It costs about $20 and takes 15 minutes to install.
It eliminates battery drain and power stealing issues.
Place the thermostat in the right location.
Mount it on an interior wall, away from direct sunlight, drafts, and heat sources. Do not put it behind a door or in a corner. The sensor needs to read the average temperature of the room.
Keep the receiver module visible.
Do not bury the receiver behind the furnace or inside a wall. It needs a clear line of sight to the thermostat. The antenna is usually a small wire or a built-in PCB trace.
Keep it unobstructed.
Update the firmware regularly.
Set a reminder to check for updates every three months. Manufacturers release updates that fix bugs, improve battery life, and add features. Some thermostats update automatically.
Use a Wi-Fi extender if needed.
If the thermostat is far from your router, a Wi-Fi extender improves reliability. Mesh networks work well for large homes. The thermostat needs a stable connection for remote access and geofencing to work.
Set a schedule, not just a single temperature.
A schedule saves more energy than setting one temperature and leaving it. Program the thermostat to lower the temperature when you are asleep or away. Most thermostats have a default schedule that you can customize.
Frequently Asked Questions About Wireless Thermostats
Do wireless thermostats work without Wi-Fi?
Yes. The thermostat communicates with the receiver module directly using radio signals. Wi-Fi is only needed for remote control through the app.
The basic heating and cooling functions work without an internet connection.
How far can a wireless thermostat be from the receiver?
Indoor range is typically 100 to 150 feet. Thick concrete walls, metal ductwork, and large appliances can reduce that distance significantly. Test the signal during installation before you finalize the mounting location.
Will a wireless thermostat work with my old furnace?
It depends on the furnace type. Standard 24-volt systems work with most wireless thermostats. Millivolt and line-voltage systems need special models.
Check the manufacturer compatibility guide before buying.
How long do the batteries last in a wireless thermostat?
Battery life ranges from one to two years with normal use. Cold locations drain batteries faster. Using a C-wire adapter eliminates battery changes entirely and provides more reliable power.
Can I control multiple zones with one wireless thermostat?
No. Each zone needs its own thermostat and receiver module. Some smart thermostats support remote sensors, but each zone still requires a separate thermostat for independent temperature control.
Final Verdict: Is a Wireless Thermostat Right for Your Home?
Wireless thermostats are a solid choice for most homes. They eliminate the hassle of running new thermostat wire through finished walls. Installation is straightforward, and the energy savings are real.
The main trade-offs are battery life and signal reliability. If you have a standard 24-volt system and a reasonable distance between the thermostat and furnace, a wireless model works great. Add a C-wire adapter for the best experience.
For homes with thick concrete walls, metal framing, or older millivolt systems, a wired thermostat is still the safer bet. In every other case, going wireless gives you convenience and control without the headache of pulling wire through your walls.


Similar Posts



















