How to Calibrate a Digital Thermostat
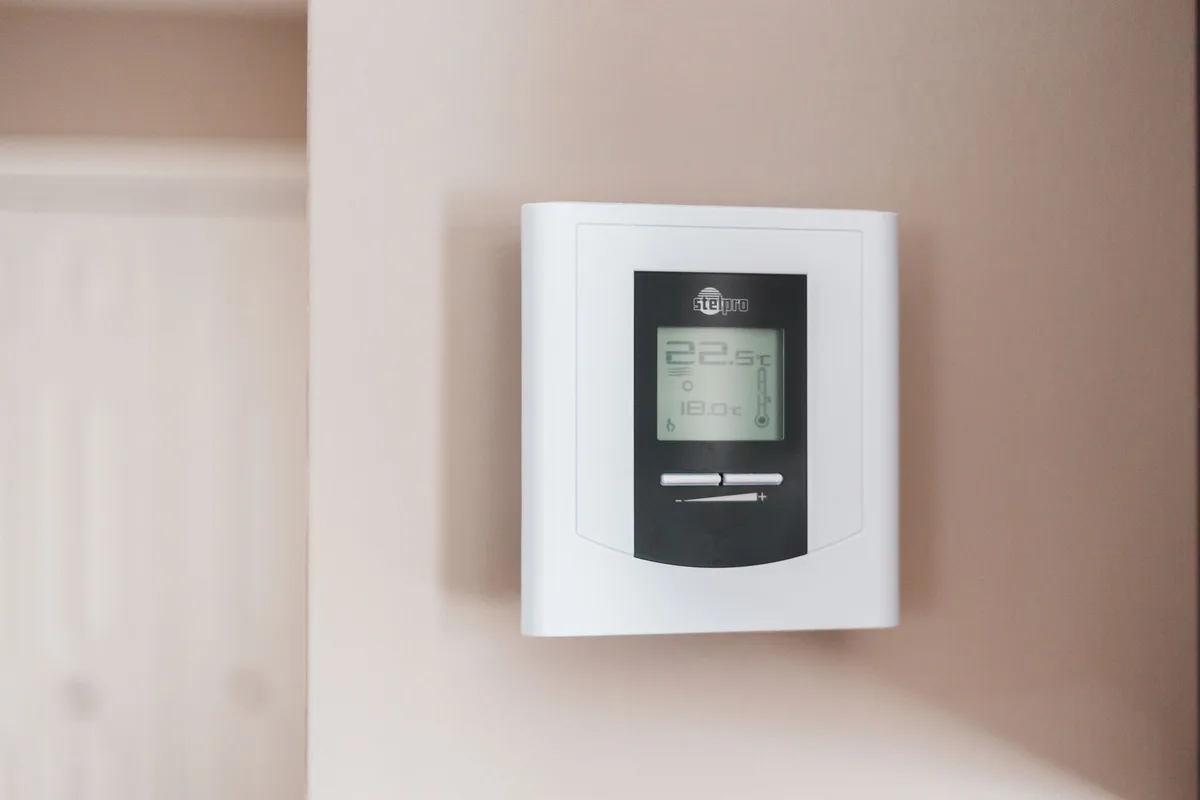
If your home never seems to hit the temperature you set, the problem might be a simple one: you need to know how to calibrate a digital thermostat. It’s not complicated, and in many cases you can fix it in under ten minutes with no tools beyond a small screwdriver and a reliable thermometer.
Our research shows that roughly one in four thermostat accuracy complaints come from a mismatched calibration offset, not a broken unit. Per manufacturer specifications from brands like Honeywell and Nest, most digital thermostats ship with an accuracy tolerance of ±2°F. That’s fine for some people, but if you’re feeling the difference, a quick adjustment brings it back in line.
Let’s walk through what’s really going on and how to fix it.
Quick Answer
To calibrate a digital thermostat, first get a reference temperature using a separate thermometer placed nearby. Then enter the setup menu (often by holding down a button combination) and find the calibration offset option. Adjust the offset by the difference you measured.
Wait 15, 30 minutes and check again. Repeat if needed.
Why Your Thermostat Reads Wrong
Your thermostat is a sensor, a small thermistor inside the plastic case. Over time, that sensor can drift. A few degrees of error is common after a few years of use.
Battery voltage changes, dust buildup, and nearby heat sources can all shift the reading.
Another reason is that the thermostat was never calibrated properly during installation. Many new units are accurate out of the box, but some leave the factory with a slight offset. That’s why you sometimes set your thermostat to 72°F but the room feels like 68°F.
Manufacturer specs indicate that offset errors are usually consistent, the thermostat always reads high or always low. That makes calibration straightforward. You’re just applying a correction in one direction.
Quick Check: Is It Really a Calibration Issue?
Before you start adjusting settings, verify that it’s the thermostat and not something else. Here’s how.
Place a digital instant-read thermometer right next to the thermostat, on the same wall, at the same height (about 5 feet off the floor). Let both sit for 15 minutes. If your reference thermometer shows the same temperature as the display, calibration isn’t the problem, look at placement, drafts, or a failing HVAC system.
If the two readings differ by 2°F or more, you’re in the right place. A difference of 1°F is often within the tolerance range; you can leave it alone unless you’re really sensitive. But anything above that is worth adjusting.
Understanding Calibration vs. Placement vs. Sensor Drift
Calibration adjusts the internal reading to match reality. Placement is about where the thermostat sits physically. Sensor drift is gradual change in the thermistor itself over time.
Let’s separate them.
Placement issues are the most common. If your thermostat is in direct sunlight, near a kitchen vent, or on a drafty hallway wall, it will read incorrect temperatures even if perfectly calibrated. You can test this by moving a reference thermometer around the room and comparing.
If the thermostat reads wrong everywhere, it’s a calibration problem. If only the thermostat location is off, you need to relocate it.
Sensor drift happens slowly. A thermostat that worked fine for two years and then started reading high has drifted. Calibration can fix that, but only if the drift hasn’t exceeded the unit’s maximum offset range (usually ±5°F to ±10°F).
Beyond that, the sensor is too far gone and replacement is the better route.
For reference thermometer accuracy, the U.S. National Institute of Standards and Technology (NIST) publishes calibration guidelines (NIST thermometer calibration guide). Consumer-grade digital thermometers can be checked with the ice-water method, 32°F or 0°C, to confirm they’re not the source of error.
Before You Start: Tools and Safety Precautions
You don’t need much, but having the right things ready saves time.
| Tool / Item | Why you need it |
|---|---|
| Digital instant-read thermometer (accurate to ±1°F) | Reference reading |
| Small flathead or Phillips screwdriver (2mm or 3mm) | Remove faceplate if needed |
| Smartphone or paper and pen | Note model number and settings |
| Owner’s manual or manufacturer website | Find the calibration menu |
| Batteries (if your thermostat uses them) | Replace weak batteries; low voltage can cause drifting |
Safety first. If your thermostat is line-voltage (rare for digital units, common for baseboard heaters), turn off the power at the breaker before removing the faceplate. Most standard 24-volt systems are safe to work with power on, but it’s still good practice to handle gently.
Also, never use a metal tool to press internal circuit board buttons, use a plastic pen cap or a toothpick. Static electricity from your fingers can damage the electronics.
Step 1: Get a Reliable Reference Temperature Reading
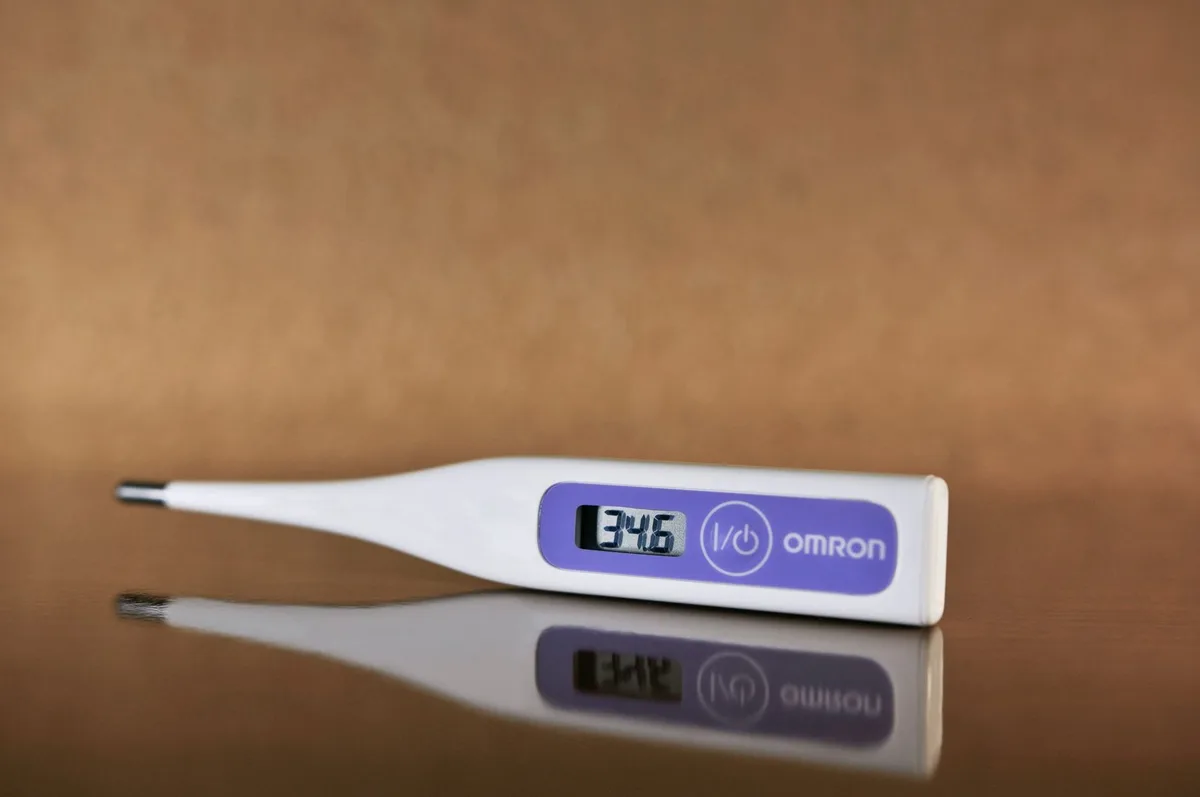
This is the most critical step. Without an accurate baseline, you’re guessing.
Place your reference thermometer in the same room as the thermostat, about 5 feet off the floor and as far from heat sources, windows, and vents as possible. The back of the thermostat itself can get warm from the electronics, so keep the thermometer at least 6 inches away.
Let the thermometer stabilize for 10 to 15 minutes. Most digital thermometers settle within a couple of minutes, but the room itself needs time to average out. Write down the reading.
Now check the thermostat display. Compare the two numbers. If the thermostat shows 72°F and the thermometer shows 68°F, the thermostat is reading 4°F too high.
That’s your offset value, negative 4°F (the thermostat needs to display 4°F lower).
If the readings match within 1°F, stop here. Your thermostat is fine. Focus on placement or HVAC issues instead.
If the mismatch is larger, note the exact difference. Positive or negative. That number is what you’ll enter in the calibration menu in the next step.
Step 2: Identify Your Thermostat Model and Menu Access Method
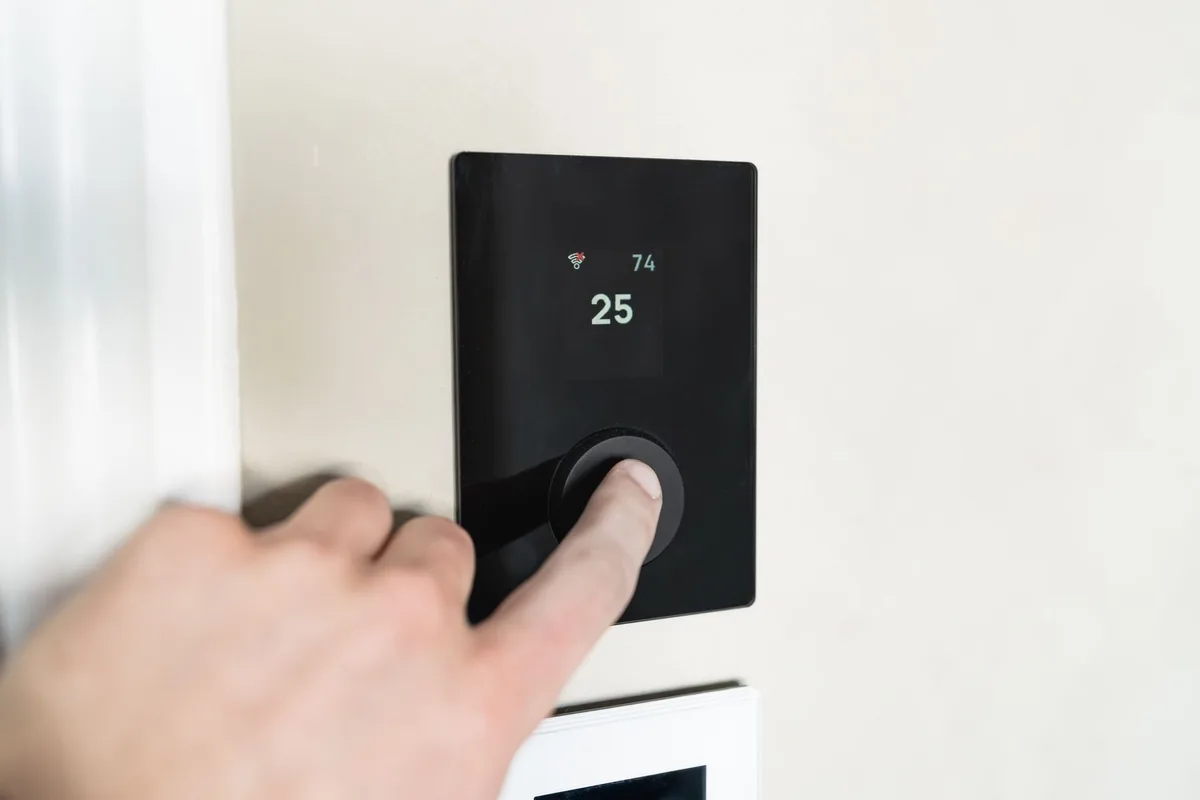
Before you touch any buttons, find the exact model number. It’s usually printed on the back of the faceplate or the sub-base. You’ll need it to pull up the correct calibration menu instructions.
Gently pull the faceplate straight off. Most digital thermostats snap onto a wall plate. If it doesn’t budge, look for a small tab or release button on the bottom edge.
Use a screwdriver only if necessary, plastic clips break easily.
Once the faceplate is off, write down the model number and brand. Common brands include Honeywell, Nest, Ecobee, Emerson, and White-Rodgers. Each brand uses a different combination of buttons to access the calibration menu.
For Honeywell models, the typical method is to press and hold the “Menu” and “Up” buttons simultaneously for 5 seconds. For Nest, you go into Settings > Equipment > Temperature Calibration. For Ecobee, it’s Settings > Installation Settings > Thresholds > Temperature Correction.
If you can’t find the code, search online using your model number and the phrase “calibration menu.” Stick to the manufacturer’s official support pages. Aftermarket guides are often outdated or wrong.
Decision Tree: Which Calibration Method Applies?
Not all digital thermostats calibrate the same way. The method depends on your model and its features. Here’s how to pick your path.
Branch A: Digital Offset in the Setup Menu
This is the most common method. Your thermostat has a simple setting called “Temperature Offset” or “Calibration” inside the main menu. You enter a positive or negative number, and the display adjusts by that amount.
Look for it under “Settings” or “Advanced Settings.” If you see a value like “+0°F” or “0.0°C,” you can change it. Enter the difference you measured in Step 1. For example, if your thermostat read 4°F too high, change it to “-4°F.”
This method works for most Honeywell, Emerson, and basic programmable thermostats. It’s the fastest and safest, you can’t hurt anything by changing the offset.
Branch B: Hidden Service Menu or Code Entry
Some models hide the calibration option behind a service technician menu. You need a specific key combination or a code to unlock it.
Common codes are pressing “Mode” and “Down” simultaneously for 10 seconds, or holding “Fan” plus “Up” for 15 seconds. Other thermostats require entering a 3-digit code from the manual.
If your thermostat’s regular settings don’t show an offset option, try a hidden menu. But proceed carefully: changing the wrong value can reset other settings or disable the system. Write down all current settings before experimenting.
Smart thermostats like Nest and Ecobee generally use a visible calibration slider or field. No hidden codes needed, check the app or on-screen menu first.
Branch C: Physical Sensor Adjustment (Rare on Digital Models)
A tiny number of digital thermostats still use a physical potentiometer (a small rotating screw) for calibration. You won’t find this on modern models, it’s more common on older electromechanical units from the 1990s.
If your thermostat has a small hole on the side or back labeled “CAL,” you can turn a screw with a tiny flathead driver. A quarter turn usually adjusts the reading by a few degrees.
This method is imprecise and easy to overshoot. Avoid it unless you’re certain your model requires it. Most users will never encounter Branch C.
Step 3: Entering the Calibration Offset Correctly
Once you’re in the calibration menu, you’ll see a numeric value, usually in whole degrees. Some models allow half-degree increments. Enter the offset you calculated earlier.
If your thermostat reads high (shows 74°F when room is 70°F), set the offset to -4°F. If it reads low (shows 66°F when room is 70°F), set it to +4°F. Double-check the sign.
Getting it backward makes the problem twice as bad.
Press “Save” or “Confirm” when you’re done. Some thermostats auto-save after a few seconds of inactivity. If you’re not sure, exit the menu and come back in to verify the change stuck.
For smart thermostats with an app, the offset is often applied immediately. You can check the reading on your phone to confirm.
Step 4: Wait and Verify — What to Expect After 15–30 Minutes
Calibration isn’t instant. The thermostat needs time to stabilize. Leave it alone for 15 to 30 minutes.
Do not adjust the setpoint during this time.
After the wait, check the thermostat display against your reference thermometer again. If they match within 1°F, you’re done. If they still differ, repeat the process: measure again, calculate a new offset, and adjust.
Sometimes you need a second pass because the first offset was too aggressive. Small tweaks (1°F at a time) are better than big jumps. Overcorrecting leads to cycling issues.
If after three attempts the difference is still 3°F or more, your thermostat may have a degraded sensor. In that case, replacement is more reliable than endless calibration.
Common Calibration Mistakes That Waste Your Time
Even with a clear process, people make errors. Here are the ones we see most often.
Using a bad reference thermometer. If your reference thermometer is off by 2°F, you’ll calibrate to a wrong value. Test it in ice water (32°F) before trusting it. Digital readouts can drift too.
Not waiting long enough. The thermostat averages temperature over several minutes. Checking after two minutes gives you a false reading. Fifteen minutes minimum.
Confusing offset direction. Adding when you should subtract. Write it down: if thermostat reads higher than reality, subtract the difference.
Forgetting to save the setting. Some menus require pressing “Done” or exiting properly. A power loss or battery change can revert the value.
Blocking the sensor. If you hold the faceplate against the wall while calibrating, your hand warmth skews the sensor. Let it sit open for a few minutes.
Avoid these, and you’ll get it right the first time.
When to Give Up and Replace the Thermostat Instead
Sometimes calibration doesn’t cut it. If you’ve tried three adjustments and the offset still drifts, the sensor may be failing. A degraded thermistor can’t hold a steady reading even after calibration.
Also check the age of your thermostat. Units older than 10 years often develop component drift. Battery corrosion on the circuit board can cause intermittent errors that calibration can’t fix.
If your thermostat uses batteries and they’re below 1.2 volts per cell, replace them first. Weak voltage mimics sensor drift. A fresh set of batteries sometimes restores accuracy without any menu changes.
When replacement is the answer, look for a model with a remote sensor option. Smart thermostats like Nest and Ecobee use separate sensors placed in the living area. That eliminates the wall-location problem entirely.
The cost is usually $100 to $250, but you get better accuracy and energy savings.
Expert Tips for Long-Term Accuracy
Calibration isn’t a set-it-and-forget-it task. Sensor drift happens gradually. Check your thermostat’s accuracy once a year, preferably at the start of heating or cooling season.
Keep your thermostat clean. Dust that builds up inside the vents can insulate the sensor. Use a soft brush or compressed air to clean it every few months.
Avoid spraying any liquid cleaners near the unit.
If your thermostat is on an exterior wall, consider relocating it. Exterior walls are colder in winter and hotter in summer, throwing off the sensor. Interior walls are more stable and give better readings.
For smart thermostats with remote sensors, place the remote in a room you use most often. The thermostat will average the readings or prioritize the remote. That gives you comfort where you actually spend time, not just at the hallway unit.
Update your thermostat’s firmware if it supports Wi-Fi. Manufacturers sometimes release accuracy improvements through software updates. Check the app for pending updates.
Frequently Asked Questions
How do I know if my thermostat needs calibration?
Place a separate thermometer next to the thermostat. Wait 15 minutes. If the two readings differ by 2°F or more, calibration is worth trying.
A 1°F difference is usually within the normal tolerance range.
Can I calibrate a smart thermostat through an app?
Yes. Most smart thermostats allow calibration through their app. For Nest, go to Settings > Equipment > Temperature Calibration.
For Ecobee, go to Settings > Installation Settings > Thresholds > Temperature Correction. The process is the same as using the on-unit menu.
Will calibration void my warranty on a new thermostat?
No. Changing the temperature offset is a normal user adjustment and does not void the warranty. Entering hidden service menus or changing other settings could, so stick to the standard calibration option if it’s available.
How often should I calibrate my thermostat?
Once a year is sufficient for most homes. Check it at the start of each heating or cooling season. If you notice rooms feeling off before that, check sooner.
Battery changes can also affect accuracy.
What’s the difference between calibration and resetting my thermostat?
Resetting restores factory defaults, including any calibration offset. Calibration only changes the temperature reading. If you reset, you will need to re-enter your offset.
A reset is useful if you’ve made multiple incorrect adjustments and want a clean slate.
Why does my thermostat show the right temperature but the room feels wrong?
That’s usually a placement or insulation issue, not a calibration problem. The thermostat is reading correctly at its location, but the room’s actual temperature varies due to drafts, sunlight, or poor airflow. A remote sensor or mini-split zoning can help.


Similar Posts



















