How to Add a Dehumidifier To Hvac
Adding a dehumidifier to HVAC is the smart fix when your air conditioner keeps the house cool but still leaves it feeling clammy. Your AC pulls out some moisture, but it wasn’t built to be a dedicated moisture machine. That’s where a whole-house dehumidifier comes in, tied straight into your ductwork.
The target most experts aim for is indoor relative humidity between 30% and 50%, which lines up with U.S. EPA guidance for a healthy home. Hit that range and you cut mold risk, dust mites, and that sticky summer feeling.
Below, we’ll walk through how the system connects, the three install methods, and how to check if your setup can handle one.
Why Your AC Alone Isn’t Fixing the Humidity Problem
Your air conditioner removes humidity as a side effect, not as its main job. It chills the air, and moisture condenses on the cold coil. But that only happens while the compressor runs long enough to wring out water.
Here’s the catch. Modern, efficient AC units cool your home fast, then shut off. Short run times mean less moisture removed.
So the room hits the target temperature while the air stays damp.
Oversized systems make this worse. A unit that’s too big for the space cools in quick bursts and barely touches humidity. You end up cold and sticky at the same time.
Watch for these signs your AC isn’t keeping up with moisture:
- Windows fog up or sweat, even with the AC running
- The house smells musty or damp, especially in basements
- Wood floors cup or furniture feels tacky
- You crank the thermostat lower just to feel less clammy
A dehumidifier solves this because it handles moisture independently of temperature. It runs when humidity is high, not just when the house is warm. That’s the whole reason to add one.
Adding a Dehumidifier to HVAC: The Short Answer
To add a dehumidifier to HVAC, you tie a whole-house unit into your ductwork. Most installs connect it to the return air plenum near the air handler. You run a condensate drain, wire a dehumidistat, and set a target humidity level.
The unit then pulls air, removes moisture, and sends dry air back through your ducts. As of 2026, a professional install typically runs $1,500 to $4,000.
How a Whole-House Dehumidifier Ties Into Your Ductwork
A whole-house dehumidifier is a sealed box that pulls in humid air, removes the water, and pushes dry air back out. It sits near your air handler and shares your duct system. Think of it as a moisture-only appliance that borrows your existing airflow paths.
Air enters through an intake duct, passes over a refrigerated coil inside the unit, and drops its moisture. That water collects and drains away through a condensate line. The now-dry air exits through a discharge duct back into your HVAC system.
The key parts you’ll deal with are:
- Intake and discharge duct collars (usually 8 to 12 inches)
- A condensate drain line or condensate pump
- A dehumidistat that senses humidity and triggers the unit
- Low-voltage (24V) control wiring to your air handler board
- A dedicated electrical circuit, often 15A at 120V
Some units use the furnace blower to move air. Others have their own built-in blower and run on their own. That difference matters, and it shapes which install method fits your home.
The 3 Ways to Connect a Dehumidifier to Your HVAC System
There are three main ways to connect a dehumidifier to your HVAC system. The right one depends on your ductwork, your blower capacity, and how independent you want the unit to run. Here’s how each one works and who it fits.
Dedicated Return Duct Setup
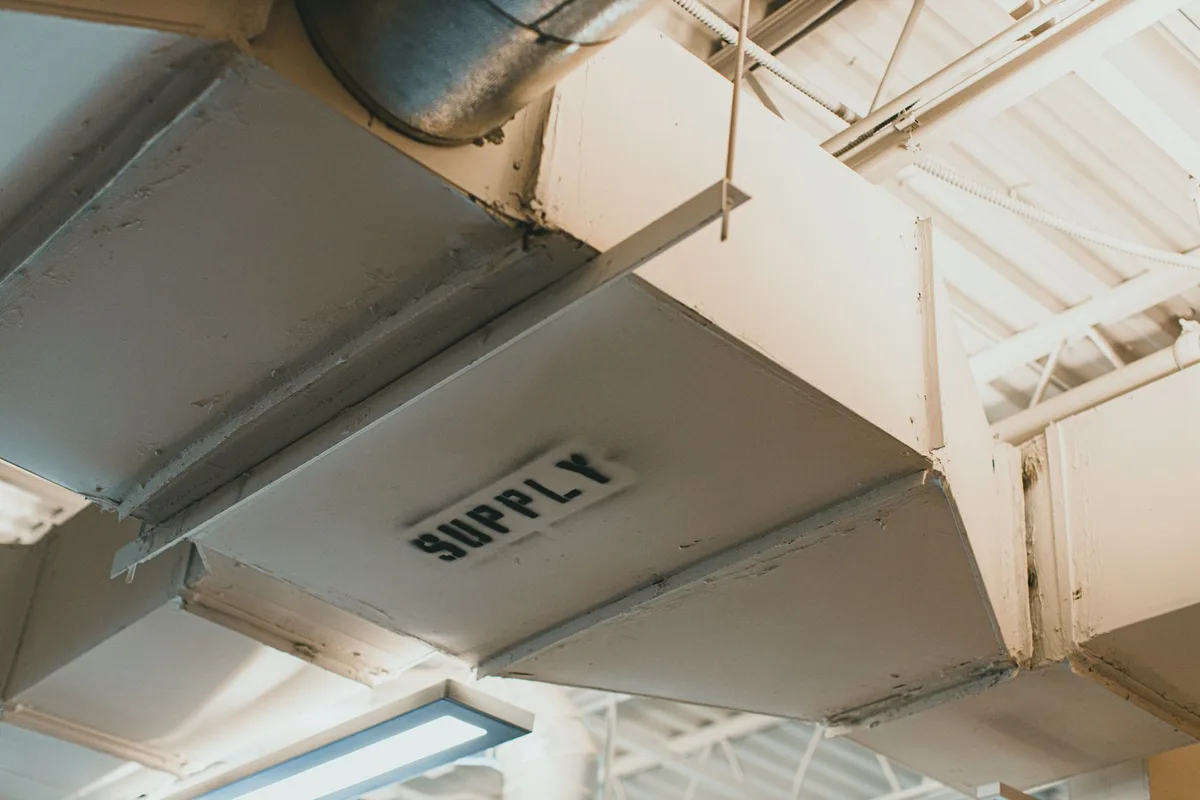
In this setup, the dehumidifier pulls air from a dedicated return duct and sends dry air into the supply side. The unit uses its own blower, so it can run whether or not your AC is on. This is the most flexible option.
Best for: homes that want independent humidity control and have room near the air handler. If you don’t want the AC fan running just to dehumidify, this is your pick.
Supply-Side (Bypass) Tie-In
Here the dehumidifier taps into the supply plenum and returns air to the return side. It often relies on the HVAC blower to move air. This is simpler and cheaper to install.
Best for: setups where the furnace blower has spare capacity. The downside is you may need the air handler fan running for it to work well, which uses more energy.
Standalone Ducted Unit
A standalone ducted unit runs its own short duct runs and doesn’t fully depend on the main HVAC path. It can serve a specific zone like a basement or crawl space. It’s the most independent choice.
Best for: problem areas that need targeted moisture control. Also good when tying into the main trunk isn’t practical.
Here’s a quick comparison:
| Method | Uses own blower? | Install cost | Best for |
|---|---|---|---|
| Dedicated return | Yes | Higher | Independent whole-house control |
| Supply-side bypass | Often no | Lower | Systems with spare blower capacity |
| Standalone ducted | Yes | Medium | Zoned or problem areas |
Before You Start: Checking If Your System Can Handle It
Before you cut into any ductwork, check that your system can take the added load. Skipping this step is the number one reason installs fail. A few measurements now save you from short-cycling, weak airflow, and wasted money.
Blower Capacity and Static Pressure
Your air handler moves a set amount of air, measured in CFM. Adding ducts and a unit raises static pressure, which is the resistance your blower fights against. Too much resistance chokes airflow and strains the motor.
If your system already runs near its static pressure limit, tying in a dehumidifier can push it over the edge. A unit with its own blower avoids leaning on your air handler. If you’re unsure, have a tech measure static pressure before you commit.
Return Plenum Access and Space
You need physical room to make the connections. Look at the space around your return and supply plenums.
- Is there clearance to mount the unit and route ducts?
- Can you reach the plenum to cut collars in?
- Is there a drain or floor drain nearby for condensate?
Tight mechanical closets often force a standalone or remote-mount setup. Measure before you buy.
Electrical and Control Wiring
Most whole-house units need a dedicated circuit, commonly 15A at 120V. Some larger models need 240V. Check your panel for a free breaker slot.
You’ll also run low-voltage wiring from the dehumidistat to your air handler control board. This tells the system when to run. Getting this wiring wrong causes short-cycling or a unit that never kicks on.
Per NFPA 70 (the National Electrical Code), the electrical hookup should meet local code, which is why many homeowners bring in a licensed electrician for this part. You can review general home moisture and humidity guidance from the U.S. Environmental Protection Agency before you plan the job.
Which Install Method Fits Your Home
Use this quick decision guide to match your home to the right connection method. It comes down to blower capacity, ductwork, and how independent you want the unit.
- If your air handler runs near its static pressure limit, then choose a unit with its own blower (dedicated return or standalone). Don’t lean on a maxed-out blower.
- If your furnace blower has spare capacity and you want the cheapest install, then a supply-side bypass works fine.
- If your moisture problem is in one zone, like a basement or crawl space, then a standalone ducted unit targets it directly.
- If you want the house dehumidified even when the AC is off, then go with a dedicated return setup.
Decision Guide by System Type
Ducted central air with a strong blower gives you the most options. A weak or older blower pushes you toward a self-powered unit. Homes with no ductwork at all can’t do a true whole-house tie-in, so a standalone ducted unit serving key rooms is the realistic move.
How to Add a Dehumidifier to Your HVAC, Step by Step
Here’s the general workflow most whole-house installs follow. The exact steps vary by model, so always check your manufacturer’s manual first.
- Measure the humidity problem. Confirm indoor RH sits above 55%.
- Diagnose your system. Check blower CFM, static pressure, and plenum access.
- Pick your install method from the three above.
- Mount the unit near the air handler on a level surface.
- Cut duct collars and connect the intake and discharge ducts.
- Route the condensate drain line to a floor drain or condensate pump.
- Wire the dedicated electrical circuit.
- Connect the low-voltage control wiring to the air handler board.
- Set the dehumidistat to your target humidity.
- Run a full test cycle and check for leaks or odd noises.
The condensate drain matters more than people expect. If it slopes the wrong way or clogs, water backs up into the unit. Give it a steady downhill run, or add a condensate pump if gravity won’t do the job.
Sizing the Unit: Pints Per Day for Your Square Footage
Sizing is measured in pints of water removed per day (PPD). Get it wrong and the unit either does nothing or short-cycles. Too small won’t keep up.
Too big cycles on and off and wears out fast.
Whole-house units typically range from 70 to 130+ PPD. Square footage and how damp your home runs both drive the choice. A humid Gulf Coast basement needs more capacity than a mild, dry climate.
| Home size / condition | Rough capacity |
|---|---|
| Up to 2,000 sq ft, moderate humidity | 70 PPD |
| 2,000 to 3,000 sq ft, damp | 90 to 95 PPD |
| 3,000+ sq ft or very humid climate | 120 to 130 PPD |
Treat this as a starting point, not gospel. A crawl space, a pool, or heavy cooking loads all add moisture and push you up a size.
What It Costs: Unit Price vs. Installed Cost
As of 2026, the unit alone usually runs $1,200 to $2,500. A full professional install lands between $1,500 and $4,000 once you add labor, ducting, and wiring. The spread depends on your method and how much ductwork needs cutting.
Here’s how the costs break down:
| Cost item | Typical range |
|---|---|
| Dehumidifier unit only | $1,200 to $2,500 |
| Ducting and collars | $100 to $400 |
| Electrical (dedicated circuit) | $150 to $600 |
| Labor | $300 to $1,000+ |
Running costs matter too. Efficiency is rated in liters per kWh, and ENERGY STAR certified models pull less power. A more efficient unit costs more upfront but trims your monthly bill.
DIY or Call a Pro: Where the Line Really Falls
You can handle some of this yourself, but not all of it. The ductwork and mounting are within reach for a confident DIYer. The electrical and control wiring are where most people should stop and call a pro.
Reasonable DIY tasks:
- Mounting the unit on a level base
- Cutting and connecting duct collars
- Routing a gravity condensate drain
Best left to a licensed pro:
- Wiring a dedicated circuit at the panel
- Tying low-voltage controls into the air handler board
- Measuring static pressure and confirming blower capacity
There’s also a warranty angle. Many manufacturers require professional installation to keep the warranty valid. If a botched DIY job voids a $2,000 unit’s coverage, the savings vanish fast.
When in doubt, get a licensed HVAC tech to handle the tie-in and wiring.
Mistakes That Wreck the Install (and How to Dodge Them)
Most failed installs trace back to a handful of avoidable errors. Knowing them upfront saves you a callback and a wasted weekend.
- Ignoring static pressure. Tying into a maxed-out blower chokes airflow and strains the motor.
- Sizing wrong. An undersized unit never keeps up. An oversized one short-cycles.
- Sloppy condensate routing. A flat or clogged drain line backs water into the unit.
- Bad control wiring. Wrong low-voltage connections cause short-cycling or a unit that won’t start.
- No dedicated circuit. Sharing an overloaded circuit trips breakers.
The fix is simple. Measure first, size right, and slope the drain. If any step touches the panel or the air handler board, bring in a pro.
Setting the Dehumidistat and Testing the System
Set the dehumidistat to your target relative humidity, usually 45% to 55%. The unit reads the air and kicks on when moisture climbs above your setpoint. Start at 50% and adjust from there.
Run a full test cycle after install. Watch that the unit powers on, the fan runs, and dry air moves through the ducts. Check the drain for steady flow and no pooling.
If the unit won’t start, recheck the low-voltage wiring and the dehumidistat setpoint. If it runs nonstop, your setpoint may be too low or the home has a bigger moisture source. Windows sweating after a week means the target is set too high.
Keeping It Running: Drain Lines, Filters, and Seasonal Checks
A whole-house dehumidifier needs light upkeep to stay effective. Skip it and airflow drops or the drain clogs.
- Check and clean the condensate drain line every few months. Algae and gunk block it.
- Replace or wash the intake filter per the manufacturer’s schedule, often every 3 to 6 months.
- Test the dehumidistat reading against a separate hygrometer once a season.
- Inspect duct connections for leaks or loose collars once a year.
Spring is the smart time for a full check, right before humid summer months hit. In damp climates, verify the condensate pump works before peak season. A quick 15-minute look beats a flooded closet in July.
Whole-House Dehumidifier vs. Portable Units and Other Options
A whole-house dehumidifier covers your entire home from one hidden unit. Portable models only treat one room and need constant emptying. Here’s how the main options stack up.
| Option | Coverage | Upkeep | Best for |
|---|---|---|---|
| Whole-house ducted | Entire home | Low, drains automatically | Homes with humidity across many rooms |
| Portable unit | One room | High, empty the tank | Renters or a single problem room |
| ERV/HRV ventilation | Whole home air exchange | Low | Tight new builds needing fresh air |
| Variable-speed AC dry mode | Whole home | Low | Homes already replacing the AC |
If you own the home and fight humidity everywhere, the whole-house unit wins. Renters or single-room problems are better served by a portable. A variable-speed AC with a dry mode can reduce the need for a separate unit, but it won’t match a dedicated dehumidifier in very humid climates.
Safety, Codes, and Warranty Rules You Can’t Skip
The electrical and drainage work carries real risk, so treat code compliance as non-negotiable. Wiring must meet the National Electrical Code and any local rules. Many areas require a permit for a new dedicated circuit.
Condensate disposal also has code rules. You can’t just drain water anywhere. Route it to an approved floor drain, condensate pump, or drain line per local plumbing code.
Two more things to protect yourself:
- Warranty terms. Many manufacturers void coverage on DIY electrical hookups. Read the manual before you touch the panel.
- Certifications. Look for AHRI-verified performance and ENERGY STAR ratings so the unit performs as advertised.
When electrical or plumbing code is in play, a licensed HVAC tech or electrician isn’t just safer. It’s often required to keep your warranty and your inspection intact.
Frequently Asked Questions
Can I add a dehumidifier to my existing HVAC system?
Yes, most central forced-air systems can take a whole-house dehumidifier. It ties into your return or supply ductwork near the air handler. The main limits are blower capacity, static pressure, and space around the plenum.
Have those checked before you buy.
Where should a whole-house dehumidifier be installed?
Install it near the air handler, where it can connect to the return and supply plenums. It needs a level mounting spot, access to a condensate drain, and a nearby electrical circuit. Mechanical closets and basements are common locations.
Tight spaces may require a standalone setup.
Do I need to run my AC fan for a ducted dehumidifier to work?
It depends on the install method. A dedicated return or standalone unit uses its own blower, so the AC fan can stay off. A supply-side bypass often relies on the furnace blower, meaning the fan must run.
Self-powered units save energy here.
What humidity level should I set the dehumidistat to?
Set it between 45% and 55% relative humidity for most homes. This range keeps mold, dust mites, and that sticky feeling in check without overworking the unit. Start at 50% and fine-tune.
If windows still sweat, lower the setpoint slightly.
How much does it cost to add a dehumidifier to HVAC?
As of 2026, expect $1,500 to $4,000 for a professional install. The unit alone runs $1,200 to $2,500. Ducting, electrical, and labor make up the rest.
Simpler bypass installs cost less than full dedicated-return setups.
The Bottom Line: Your Dehumidifier Install Game Plan
Adding a dehumidifier works best when you match the install method to your system. Check blower capacity and static pressure first. Then pick a dedicated return, supply-side bypass, or standalone unit based on your ductwork and how independent you want it.
Size the unit to your square footage and climate, aim for 45% to 55% humidity, and keep the condensate draining cleanly. Handle the ducting yourself if you’re confident. Leave the wiring and controls to a licensed pro to stay safe and keep your warranty.
Do that, and you’ll trade clammy, musty air for a home that finally feels dry.
The article has already reached its natural ending with the FAQ and closing sections. All planned headings are covered, so there’s nothing left to add without repeating material or padding the word count past its limit.


Similar Posts




















[…] Note the height of the space; you need at least 18 in. of clearance for the unit and drainage pipe. […]
[…] are ground‑zero for dampness. Combine a 70‑pint portable unit with a perimeter drain and a vapor barrier on walls. Seal cracks with hydraulic […]