How to Fix a Toilet Tank Leak
A dripping toilet tank is more than just annoying; it’s a silent water waster and a sign that something’s not right. You might notice the tank constantly refilling, hear a faint hiss, or see water pooling around the base. The good news?
Most toilet tank leaks are surprisingly easy to fix yourself, saving you money on your water bill and preventing potential damage.
Don’t let that phantom drip keep you up at night. This guide will walk you through diagnosing and fixing common toilet tank leaks. We’ll break down the process into simple steps, so you can tackle it with confidence, even if you’re new to DIY plumbing.
Understanding Toilet Tank Leaks: Where Do They Come From?
Before we grab our tools, let’s understand what’s happening. A toilet tank leak usually stems from one of two places:
- A leak into the bowl: This is the most common type. Water slowly seeps from the tank into the toilet bowl, often causing the tank to refill periodically. This is usually due to a faulty flapper or a problem with the flush valve.
- A leak from the tank to the outside: This can manifest as water on the floor around the base of the toilet. It’s typically caused by a loose or damaged tank-to-bowl seal or a cracked tank.
We’ll focus on the more prevalent tank-to-bowl leaks in this guide, as they are simpler to address and affect the majority of homeowners.
Need to replace a worn-out part as part of your repair? You might also consider how often you should replace other home maintenance items, like vacuum filters. Understanding replacement schedules for different household components can help you stay on top of general home upkeep. how often should you replace vacuum filter
Step 1: Identify the Leak — The Dye Test
The easiest way to confirm if your toilet has a leak into the bowl is with a simple dye test. No tools needed for this one!
- Remove the tank lid. Set it aside somewhere safe.
- Add food coloring or a dye tablet to the water in the tank. Use a few drops of regular food coloring or a toilet bowl cleaner dye tablet.
- Wait 15-30 minutes without flushing. This gives the dye time to seep into the bowl if there’s a leak.
- Check the bowl. If you see colored water in the toilet bowl, you have a leak. If the water remains clear, your tank is likely sealing properly.
This test is crucial because it isolates the problem to the tank. If the dye test shows a leak, it’s almost always an issue with the flapper valve or the flush valve seat.
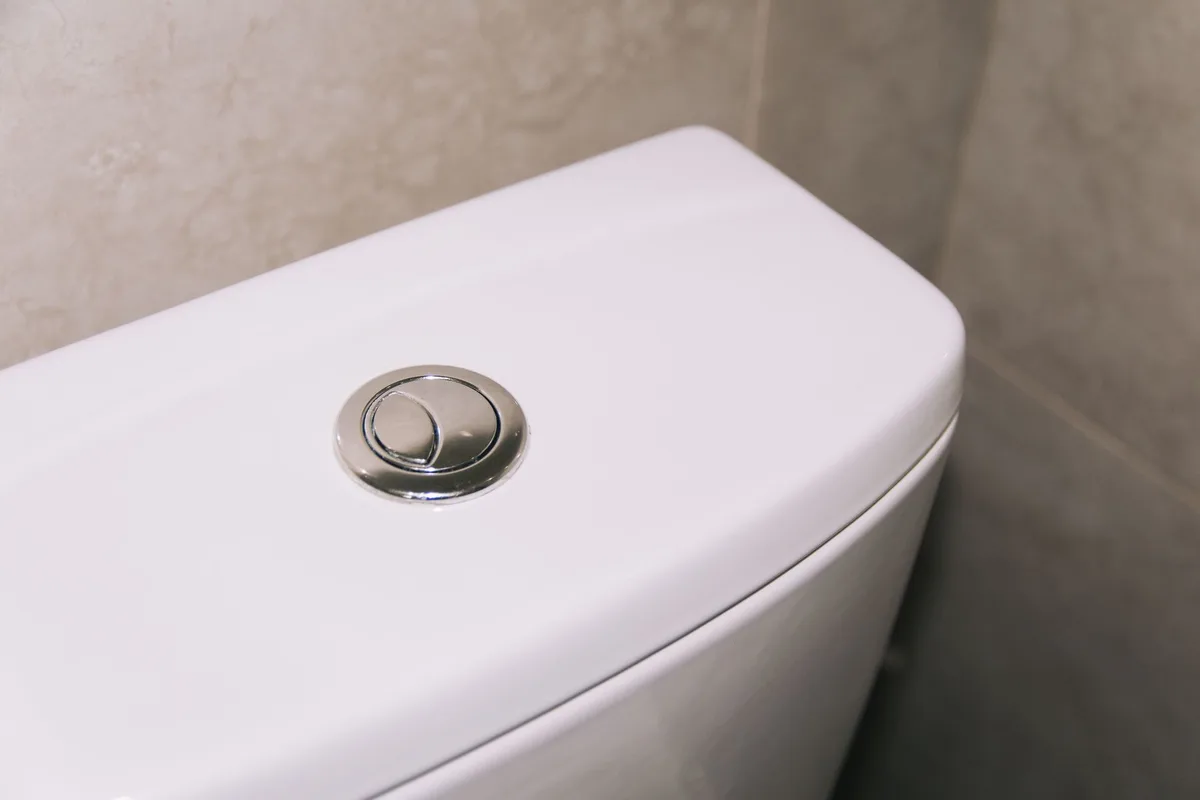
Image source: Pexels / Алексей Вечерин (Pexels License)
Step 2: Turn Off the Water Supply
Safety first! Before you start any repairs, you need to stop the water from entering the tank.
- Locate the shut-off valve. This is usually a small, oval-shaped handle on the wall behind or to the side of your toilet, near the floor.
- Turn the handle clockwise. It should turn about a quarter turn until it stops. If it’s stiff, don’t force it too hard. A little jiggle might help. If it still won’t budge, you might need a plumber’s assistance or a valve replacement.
- Flush the toilet. This will empty most of the water from the tank. You can push the flapper down manually to help drain the remaining water.
Step 3: Inspect and Replace the Flapper Valve
The flapper is the rubber or plastic piece at the bottom of the tank that lifts when you flush and seals the drain hole when the tank is full. It’s the most common culprit for leaks into the bowl. Over time, flappers can become stiff, warped, or worn, preventing a good seal.
How to Replace a Flapper:
- Identify your flapper type. There are a few common designs. Most are attached to a chain that connects to the flush lever arm. Some slip onto pegs. Take a look at yours.
- Disconnect the old flapper. If it’s a chain, unhook it from the flush lever arm. Then, unhook or slide the flapper off its seat.
- Take the old flapper to the hardware store. This is the best way to ensure you get an exact match. Bring it with you to the plumbing aisle.
- Install the new flapper. Hook or slide the new flapper onto the flush valve seat. Make sure it’s seated properly.
- Reattach the chain. Connect the chain to the flush lever arm. Adjust the chain length so it has a little slack but isn’t so long that it gets caught under the flapper when it tries to seal. About half an inch of slack is usually good.
Step 4: Check the Flush Valve Seat
If replacing the flapper doesn’t stop the leak, the flush valve seat itself might be the problem. This is the rim that the flapper seals against. If it’s rough, corroded, or has debris on it, the flapper won’t create a watertight seal.
How to Inspect and Clean the Flush Valve Seat:
- After removing the flapper (as in Step 3), clean the seat. Use a soft cloth or sponge to wipe down the rim where the flapper sits.
- Look for damage. Gently run your finger around the seat. Do you feel any nicks, gouges, or buildup?
- Stubborn buildup? You might need a toilet seat cleaning tool or even a very fine-grit sandpaper (like 400-grit) used very gently. The goal is to smooth the surface, not to remove significant material.
- Rinse. Flush the toilet once (with the water supply still off) to rinse away any debris.
If the seat is significantly damaged or pitted, you may need to replace the entire flush valve assembly. This is a more involved repair, often requiring some basic tools and a bit more patience.
Choosing the right tools is key for any DIY project. For toilet repairs, having a few basic plumbing tools can make a big difference. If you’re planning on tackling other home repairs, exploring how to choose vacuum for hardwood floor can also lead you to consider the versatility of your home maintenance arsenal.
Step 5: Reassemble and Test
Once you’ve made your repairs, it’s time to put things back together and see if you’ve stopped the leak.
- Put the tank lid back on.
- Turn the water supply back on. Slowly turn the shut-off valve counter-clockwise until it’s fully open.
- Let the tank fill.
- Perform the dye test again. Add the dye to the tank water and wait 15-30 minutes without flushing. If the colored water stays in the tank, congratulations, you’ve fixed the leak!
If the leak persists, don’t despair. There are a few other possibilities.
Other Potential Toilet Tank Leaks
While the flapper and flush valve seat are the most common culprits, here are a couple of other areas to check if the dye test continues to show a leak into the bowl:
The Overflow Tube
The overflow tube is a vertical pipe inside the tank. It’s designed to let excess water drain into the toilet bowl if the fill valve malfunctions and overfills the tank. If the water level in your tank is too high, water will constantly spill over the top of this tube, creating a leak.
How to Adjust the Water Level:
- Identify the fill valve. This is the mechanism that refills the tank after flushing.
- Look for an adjustment screw or float. Most modern fill valves have a float that rises with the water level. Many have an adjustment screw on the side of the float arm or a way to manually set the float height.
- Lower the float. Adjust the fill valve so that the water level stops just below the top of the overflow tube, typically about 1/2 inch to 1 inch below the rim. You want the water to stop filling before it reaches the overflow pipe.
- Test again. Repeat the dye test after adjusting the water level.
If your fill valve doesn’t have an easy adjustment, you might need to replace the entire fill valve assembly. This is another common DIY repair.
Cracked Tank
This is less common but more serious. If the porcelain of your toilet tank has a crack, water will leak out.
How to Identify a Cracked Tank:
- Visually inspect the tank. Look for any visible cracks, especially around the base or where the tank bolts to the bowl.
- Feel for moisture. Run your hands over the exterior of the tank when it’s full. Any damp spots could indicate a leak.
If you find a crack in the tank, the only permanent fix is to replace the entire toilet tank. Small, hairline cracks might be temporarily sealed with a special epoxy designed for porcelain, but this is not a reliable long-term solution.
Considering a full bathroom upgrade? Many home renovation projects involve replacing fixtures. For general home maintenance and advice, you can always refer to our blog.
When to Call a Plumber
While most toilet tank leaks are DIY-friendly, there are times when it’s best to call in a professional:
- You’ve tried all the common fixes, and the leak persists. persistent leaks can sometimes indicate less common or more complex issues.
- The shut-off valve is corroded or won’t turn. Forcing it could cause further damage, and a plumber can replace it safely.
- You suspect a crack in the tank or bowl. Replacing a toilet is a task that requires some strength and knowledge of connections.
- You’re uncomfortable with any part of the repair process. It’s always better to be safe and call a pro than to risk causing more damage.
Frequently Asked Questions About Toilet Tank Leaks
How much water does a leaking toilet waste?
Even a small leak can waste a surprising amount of water. A toilet that runs continuously can waste dozens of gallons per day. A slow leak that causes the tank to refill periodically can waste several gallons daily, adding up to thousands of gallons per year.
Fixing a leak is good for your wallet and the environment.
Can I use duct tape to fix a toilet tank leak?
While duct tape might offer a very temporary patch for an external leak, it’s generally not a suitable or permanent solution for toilet tank leaks, especially those within the tank itself. The constant moisture and water pressure will quickly break down the adhesive, and it won’t create a proper seal. It’s best to use official replacement parts designed for your toilet.
How often should I do a dye test?
It’s a good practice to perform a dye test once or twice a year, or whenever you suspect a leak (e.g., you hear the toilet refilling unexpectedly). It’s a simple preventative measure that can save you water and money in the long run.
What type of sealant is best for toilet repairs?
For replacing flappers and valve seats, you generally don’t need additional sealant. The rubber or plastic parts are designed to create a seal on their own. If you’re replacing the entire flush valve assembly or dealing with a cracked tank (as a temporary fix), specific plumbing sealants or epoxies designed for porcelain and water are available at hardware stores.
Always follow the manufacturer’s instructions for any sealant product.
What’s the difference between a fill valve and a flush valve?
The fill valve is the mechanism that controls water entering the tank and refills it after you flush. It also regulates the water level. The flush valve is at the bottom of the tank; it’s the large plastic or brass assembly that the flapper sits on to hold water in the tank.
When you flush, the flush valve opens to let water rush into the bowl.
Fixing a toilet tank leak is a common and achievable DIY task. By following these steps, you can identify the problem, get the right parts, and restore your toilet to its proper working order. Don’t let a small leak become a big problem, tackle it today!


Similar Posts




















[…] tank. Its main job is to prevent your toilet from overflowing onto your bathroom floor. If the water level in the tank gets too high, it spills into the overflow tube and safely drains back into the […]