How to Replace a Toilet Seat Cover
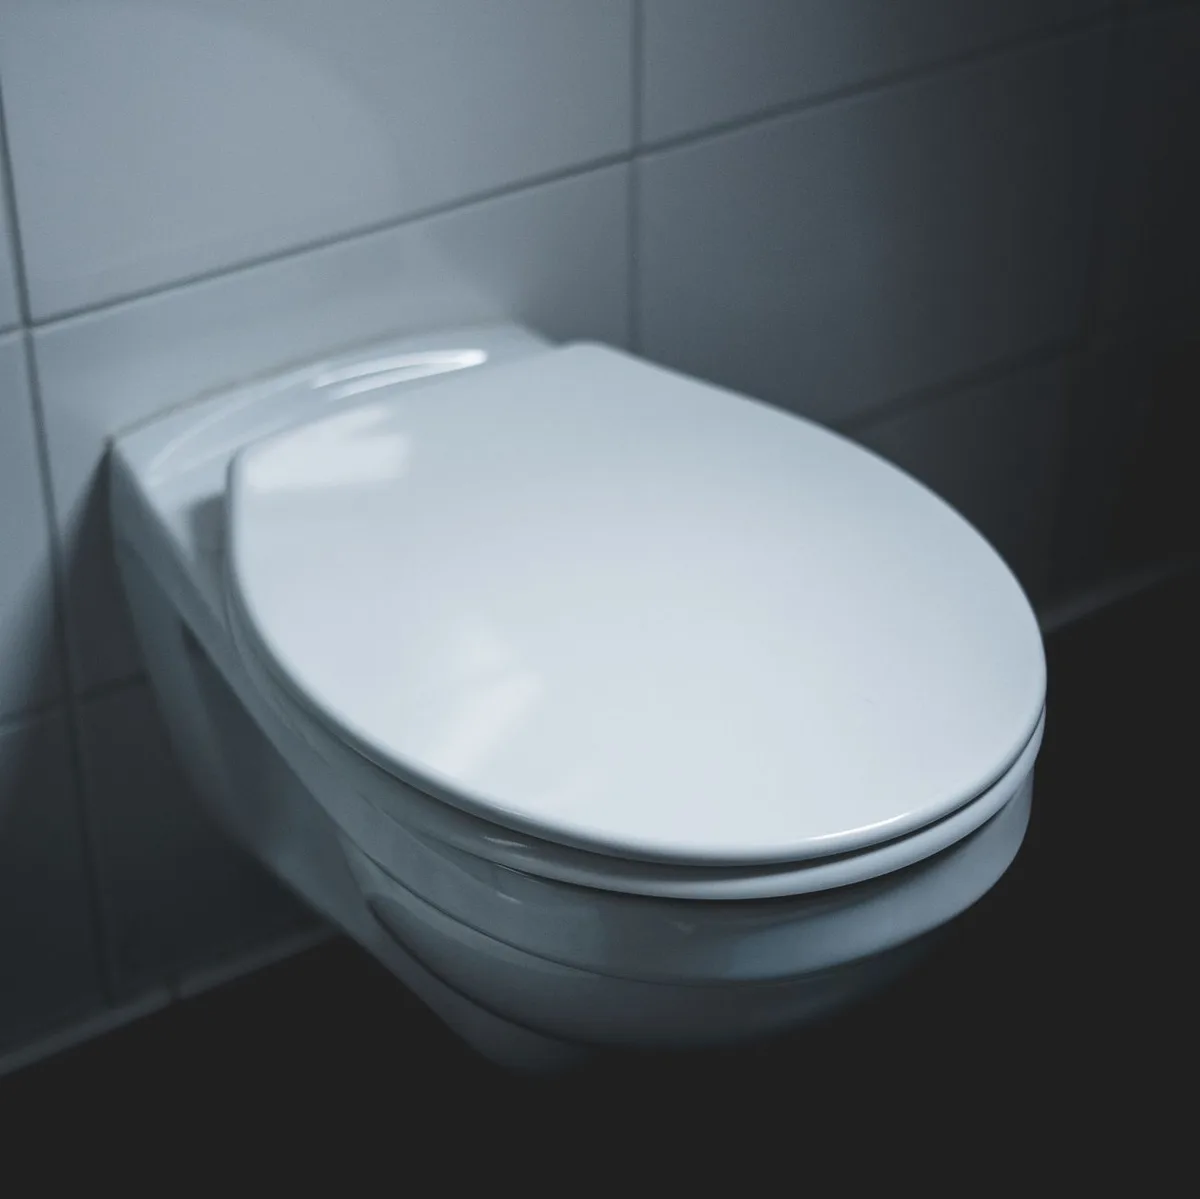
That wobbly, cracked, or just plain unsightly toilet seat cover has seen better days. It’s more than just an aesthetic issue; a damaged seat can be uncomfortable and even a bit unhygienic. But here’s the good news: replacing a toilet seat cover is a straightforward DIY job.
You don’t need to be a plumbing expert to tackle this. With a few common tools and this guide, you’ll have a fresh, secure, and comfortable toilet seat in no time.
Image source: Pexels / Jonas Thomann (Pexels License)
This guide will walk you through everything you need to know, from identifying the right replacement seat to expertly installing it. We’ll make sure your new seat fits perfectly and stays put for years to come. It’s a simple upgrade that makes a surprising difference in your bathroom’s comfort and appearance.
Why Replace Your Toilet Seat Cover?
Let’s be honest, a toilet seat cover isn’t something most of us think about until it’s a problem. But there are several good reasons to consider a replacement, even if it’s not broken.
Comfort and Functionality
The most obvious reason is comfort. A cracked or loose seat can be incredibly frustrating. It might pinch, sag, or refuse to stay in place.
A new seat provides a smooth, secure surface. That loose jiggle under you? Gone.
That sharp edge from a crack? Also gone. It’s a small change that significantly boosts daily comfort.
Hygiene
Over time, toilet seats can develop hard-to-clean nooks and crannies where bacteria can hide. Cracks and chips create perfect breeding grounds. A fresh seat guarantees a cleaner surface and makes regular cleaning much more effective.
This is particularly important in households with young children or anyone who prioritizes a germ-free environment.
Aesthetics
Bathrooms are often a focal point of home decor. A dingy, yellowed, or damaged toilet seat can bring down the entire look of your bathroom. Replacing it with a new one, perhaps in a different style or color, can instantly refresh the space without a major renovation.
It’s one of the most cost-effective ways to update your bathroom’s appearance.
Durability and Age
Most toilet seat covers are made from plastic or wood composites. Like any material, they eventually wear out. Hinges can become brittle, plastic can fade and crack, and wood can warp.
If your seat is showing signs of age and fatigue, it’s likely time for a new one before it breaks completely.
Tools and Materials You’ll Need
Before you start, gather these essential items. Having everything ready makes the job go smoothly and quickly.
- Replacement Toilet Seat Cover: Make sure you have the correct size and style. We’ll cover how to choose one below.
- Adjustable Wrench or Pliers: For loosening and tightening nuts. Channel-lock pliers can be very useful here.
- Screwdriver: Usually a flathead or Phillips head, depending on your current seat’s bolts.
- Penetrating Oil (Optional): If the bolts are old and corroded, a little penetrating oil can help loosen them. Let it sit for a few minutes before trying to turn the nuts.
- Cleaning Supplies: All-purpose cleaner, disinfectant spray, and paper towels or a clean cloth. You’ll want to clean the toilet bowl area before installing the new seat.
- Gloves: For hygiene.
- Rag or Towel: To catch any drips and for general cleanup.
How to Choose the Right Replacement Toilet Seat Cover
Picking the right seat is crucial. A poorly chosen seat won’t fit correctly, leading to the same problems you’re trying to fix.
Measure Your Toilet Bowl
This is the most important step. Toilet seats come in two main shapes: round and elongated.
- Measure the distance from the center of the two bolt holes at the back of the toilet bowl to the very front of the bowl rim.
- Round seats will typically measure around 16.5 inches (about 42 cm).
- Elongated seats will typically measure around 18.5 inches (about 47 cm).
- Measure the width of the bowl from one side to the other, just behind the bolt holes. This is usually around 14 inches (about 36 cm) for both shapes.
Most new seats are sold as either round or elongated. The packaging will clearly state which type it is. Always double-check your measurements against the product dimensions.
It’s also a good idea to look at the mounting holes; usually, they are about 5.5 inches (14 cm) apart, center to center.
Consider Material and Features
Toilet seats are made from various materials:
- Plastic: Most common and budget-friendly. They are lightweight and easy to clean. Look for durable, heavy-duty plastic for better longevity.
- Wood: Often painted or coated. They offer a more classic look and can feel sturdier. However, they can be heavier and susceptible to moisture damage if the coating wears off.
- Composite/Resin: A blend of materials that can offer the look of wood with the durability and water resistance of plastic.
- Specialty Features: Some seats come with extras like slow-close hinges (no more slamming!), built-in deodorizers, nightlights, or even heated seats. Decide if these are worth the extra cost for you.
Style and Color
While functional, the toilet seat is also a visual element of your bathroom. You can find seats in almost any color imaginable, from classic white and black to bold blues, greens, and even patterns. Consider your bathroom’s existing color scheme and your personal style.
Step-by-Step Guide to Replacing Your Toilet Seat Cover
Now that you have your new seat and your tools, let’s get started.
Step 1: Remove the Old Toilet Seat Cover
This is usually the trickiest part, especially if the old hardware is a bit stubborn.
- Locate the hinge bolts: Look at the back of the toilet seat where it attaches to the bowl. You’ll see two plastic or metal caps covering the bolts.
- Open the hinge caps: Most caps simply snap open. You can often lift them with your fingernail or a flathead screwdriver.
- Access the nuts: Underneath the caps, you’ll see the bolt ends. On the underside of the toilet bowl rim, directly below each bolt, there will be a nut. These are typically plastic wing nuts or standard nuts.
- Loosen and remove the nuts:
- If they are wing nuts, you can usually unscrew them by hand.
- If they are standard nuts, you’ll need your wrench or pliers to hold the nut while you twist the bolt from the top, or vice-versa. Turn the nut counter-clockwise to loosen.
- If the nuts are corroded or stuck, try spraying them with penetrating oil and letting it soak in for 10-15 minutes. Then, try unscrewing again. You might have to gently tap the nut with the wrench to break the corrosion seal.
- Lift off the old seat: Once both nuts are removed, the old toilet seat should lift straight up and off the bolts.
Step 2: Clean the Toilet Bowl Area
This is an excellent opportunity to give the area around the bolt holes a good clean.
- Wipe down the rim: Use your all-purpose cleaner and disinfectant spray to wipe down the top of the toilet bowl, especially around where the old seat was attached.
- Scrub stubborn spots: If there’s any grime or residue left behind, use a scrub brush or an old toothbrush to get into those tight spots.
- Dry the area: Make sure the surface is dry before you proceed.
Step 3: Install the New Toilet Seat Cover
Your new seat likely comes with its own hardware. Follow the instructions that came with your specific seat, but here’s the general process.
- Position the new seat: Place the new toilet seat onto the bowl. Align the hinges with the bolt holes on the toilet bowl. The bolts should go through the holes from the top.
- Attach the nuts: From underneath the bowl rim, screw on the new nuts that came with your seat.
- If your new seat has plastic bolts, you’ll usually just finger-tighten the plastic nuts. You may also have plastic washers.
- If your seat has metal bolts (less common for just the seat, more for the whole fixture), use the provided nuts or washers and tighten them with a wrench.
- Tighten the hardware:
- For plastic bolts and nuts: Tighten them until the seat feels secure and doesn’t wiggle, but don’t overtighten. You don’t want to crack the plastic. The seat should be snug but still allow for slight adjustments.
- For metal bolts: Tighten them firmly with your wrench. Again, avoid overtightening, which could crack the porcelain.
- Check for stability: Gently try to wiggle the seat. It should feel firm and stable. If it’s still loose, tighten the nuts a little more. If it moves too freely, you might need to adjust the position slightly before fully tightening.
- Close the hinge caps: Snap the new hinge caps shut to cover the bolts.
Step 4: Test and Final Touches
- Sit on it: Carefully sit on the new seat to ensure it’s comfortable and stable.
- Open and close the lid: Check that the lid opens and closes smoothly. If you have a slow-close seat, make sure it operates as expected.
- Clean up: Dispose of your old seat and hardware and tidy up your tools.
And that’s it! You’ve successfully replaced your toilet seat cover.
Troubleshooting Common Issues
Even with clear instructions, you might run into a few snags. Here’s how to deal with them.
The Nuts Won’t Budge
If the old nuts are seized with rust or grime, try these tricks:
- More Penetrating Oil: Apply a generous amount and let it sit for at least 30 minutes, or even overnight.
- Heat: Sometimes, a brief application of heat from a hairdryer can help expand the metal, breaking the seal. Be careful not to overheat or damage the porcelain.
- Cutting the Bolt: As a last resort, if the nuts are completely fused to the bolts, you can use a small hacksaw or a mini-cut-off tool to cut through the bolt. Be very careful not to scratch the toilet bowl itself.
The New Seat Isn’t Straight
If the seat tends to be crooked after installation, it usually means the nuts aren’t tightened evenly or the seat wasn’t centered before tightening.
- Loosen the nuts slightly: Just enough to allow for adjustment.
- Center the seat: Ensure it looks perfectly aligned with the bowl.
- Retighten evenly: Alternate between tightening each nut a little at a time, checking alignment as you go.
The Seat Slides Around
This indicates the hardware isn’t tight enough.
- Tighten the nuts: If they are plastic, try twisting them a bit further. If they are metal, give them a snug turn with the wrench.
- Check for worn-out hinges: Sometimes, the issue is with the new seat’s hinges themselves. If they seem inherently loose or ill-fitting, contact the manufacturer or return the seat.
Maintaining Your New Toilet Seat Cover
To get the longest life and best performance from your new toilet seat cover, a little regular care goes a long way.
- Regular Cleaning: Wipe down your new seat with a mild cleaner and a soft cloth a few times a week. For a deeper clean, use a disinfectant spray.
- Avoid Harsh Chemicals: Steer clear of abrasive cleaners, scouring pads, or harsh chemicals like bleach or ammonia, as they can damage the finish and plastic over time. The same principles apply to cleaning vacuum filters; using the wrong agents can degrade the material.
- Check Hardware Periodically: Every few months, give the nuts a quick check to ensure they haven’t loosened. A small tightening can prevent future wobbles.
- Gentle Use: Avoid standing on the seat or using it for purposes other than its intended use.
When it comes to household maintenance, like remembering how often you should replace vacuum filters, regular checks and timely replacements ensure things run smoothly. Your toilet seat is no different.
When to Consider Upgrading Further
While replacing the cover is straightforward, sometimes the entire toilet itself might be outdated. If your toilet is constantly running, has weak flushing power, or is constantly needing repairs, it might be time to consider a new toilet model. A new toilet can save water and reduce your utility bills.
Conclusion
Replacing a toilet seat cover is a simple, rewarding DIY project. It’s a tangible improvement to both the comfort and hygiene of your bathroom. By following these steps, measuring carefully, and using the right tools, you can easily tackle this task yourself.
You don’t need a handyman for this job; you’ve got this! Enjoy your fresh, stable, and comfortable new toilet seat.


Similar Posts



















