How to Adjust Toilet Flush Power
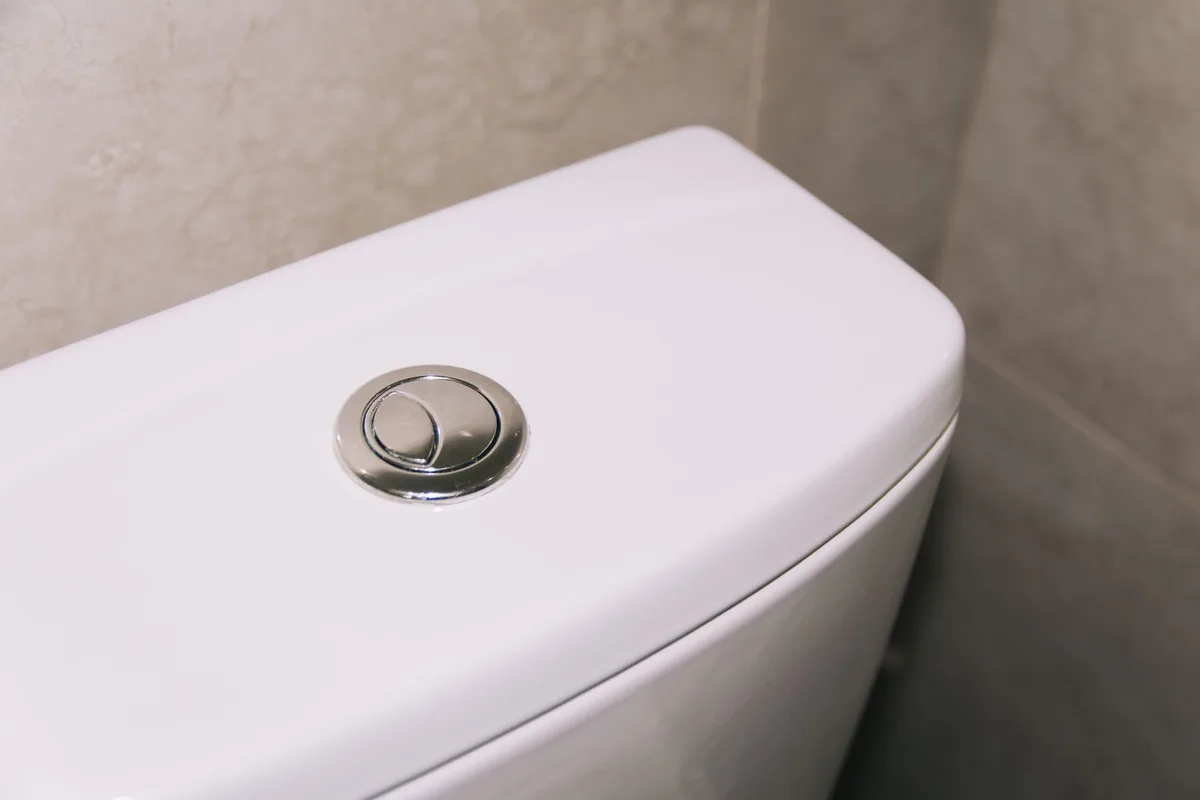
When your toilet just doesn’t quite have the punch it used to, it’s frustrating. You might be dealing with a weak flush, or maybe it’s too strong and messy. The good news is, you don’t always need a plumber to fix it.
Often, you can adjust your toilet’s flush power yourself.
We’ve all been there. You flush, and you’re left waiting, hoping for a second flush. Or perhaps your toilet is so powerful it sounds like a jet engine and splashes more than it should.
Whatever the issue, understanding how to adjust your toilet’s flush power can save you time, water, and a whole lot of hassle.
This guide dives deep into the mechanics of your toilet tank. We’ll show you exactly which parts to look at and how to tweak them. You’ll learn to diagnose common flushing problems and make precise adjustments.
Let’s get your toilet performing at its best.
Understanding Your Toilet’s Flush Mechanism
Before you can adjust anything, it’s crucial to know what you’re working with. A standard toilet tank has a few key components that control the flush. These are usually found under the lid of your tank.
The Components You’ll Find
- The Flush Handle/Lever: This is what you push or pull to initiate the flush. It’s connected to a chain or a lever arm.
- The Flapper Valve: This rubber seal sits at the bottom of the tank. When you flush, it lifts, allowing water to rush into the bowl. When the tank refills, it drops back down to seal the opening.
- The Overflow Tube: This is a vertical pipe inside the tank. If the water level gets too high, it directs excess water down into the bowl, preventing your bathroom from flooding.
- The Fill Valve (Ballcock Assembly): This gizmo controls how much water enters the tank after a flush and when the tank is full. It also regulates the water level.
- The Float: Usually attached to the fill valve, this part rises with the water level. When it reaches a certain height, it signals the fill valve to shut off. It can be a large ball or a smaller cup.
How a Flush Actually Works
When you press the flush handle, you’re lifting the flapper valve. This release of water from the tank into the bowl creates a siphon. The siphon action pulls the waste and water from the bowl out through the drainpipe.
Once the tank is empty, the flapper drops back down. The fill valve then opens, refilling the tank to the correct level. The float rises, telling the fill valve to shut off the water.
It’s a simple but effective system.
Diagnosing Your Toilet’s Flushing Problem
A weak flush or an overly aggressive one usually points to a specific issue with one of these components. Identifying the problem is the first step to fixing it.
Common Signs of a Weak Flush
- Incomplete Bowl Clearing: Waste remains in the bowl after flushing.
- Need for Multiple Flushes: You have to flush two or more times to get a clean bowl.
- Slow Draining: Water drains from the bowl very slowly after flushing.
- Gurgling Sounds: The sound of the flush is weak and drawn out.
Common Signs of an Overly Strong Flush
- Water Splashing Out: The flush is so powerful it causes water to splash over the rim.
- Excessive Noise: The flush is unusually loud and turbulent.
- Fast Emptying of Tank: The tank empties almost instantly, creating a vacuum effect that can feel harsh.
Adjusting Flush Power: Step-by-Step
Now, let’s get to the core of it. We’ll cover the most common adjustments you can make to fine-tune your toilet’s flush power. Always remember to work with a sense of caution.
You’re dealing with water and plumbing, so take your time.
Adjusting the Flapper Chain Length
The connection between your flush handle and the flapper is a chain. The length and tension of this chain are critical for how quickly and completely the flapper opens.
Problem: A flapper chain that’s too long or has too much slack can lead to a weak flush. The handle might feel loose, and the flapper doesn’t lift high enough or fast enough to create a strong siphon.
Solution: Tighten the flapper chain.
- Locate the Chain: Inside your tank, find the chain connecting the flush lever arm to the flapper.
- Check for Slack: There should be a small amount of slack, but not too much. You want the flapper to lift a good portion of the way when the lever is pushed down.
- Adjust the Links: Most flapper chains have small clips or S-hooks that allow you to adjust the length. Remove one or two links to shorten the chain.
- Test the Flush: Hold the new chain length and flush the toilet. The flapper should lift more decisively. You’re aiming for a quick, clean flush without the flapper getting stuck open. If it still feels weak, remove another link. If the flush seems too aggressive or the handle is stiff, you might have tightened it too much.
Tip: Too much tension can also be bad. It can cause the flapper to wear out faster or even leak. You want just enough tension to ensure a solid lift.
Adjusting the Flush Handle Lever Arm
Some flush levers have an adjustable arm. This arm connects to the chain and lifts the flapper. If your chain is at its shortest effective length, the lever arm itself might be adjustable to increase the flapper’s lift.
Problem: The flapper doesn’t lift high enough even with a shortened chain.
Solution: Adjust the flush lever arm to increase the arc of its movement.
- Inspect the Lever Arm: Look at how the lever arm attaches to the flush mechanism. It might have a threaded rod with a nut or a clip system.
- Make Minor Adjustments: If it’s threaded, you can unscrew it slightly to extend the arm’s reach or adjust the angle. If it uses clips, you might be able to shift the connection point.
- Test and Refine: Again, test the flush after each adjustment. You’re looking for a strong, immediate opening of the flapper.
Modifying the Water Level in the Tank
The amount of water in your tank directly impacts the force of the flush. A higher water level means more water is released, creating a stronger flush. A lower level means less water, resulting in a weaker flush.
Problem: Your toilet lacks the power because the tank isn’t filling adequately, or you’re flushing too much water for your needs.
Solution: Adjust the fill valve to set the desired water level.
- Locate the Fill Valve and Float: Inside the tank, find the vertical assembly with the float.
- Identify the Float Type:
- Ball Float: This is an older style with a large round ball attached to an arm. To lower the water level, gently bend the arm downward. To raise it, bend it upward. Be careful not to bend it too sharply.
- Cup Float: This is a more modern design where the float slides up and down the fill valve shaft. Most of these have an adjustment screw or dial at the top of the valve. Turn the screw or dial to raise or lower your desired water level.
- Find the Target Water Line: Look for a water line mark inside the tank, usually on the overflow tube or the side of the tank. This indicates the manufacturer’s recommended water level. Your goal is typically to have the water level about an inch below the top of the overflow tube.
- Adjust and Test: Make small adjustments. After each adjustment, flush the toilet and let the tank refill completely. Observe the new water level before flushing again.
What’s the Right Water Level?
For a standard flush, you want the water level to be about 1/2 to 1 inch below the top of the overflow tube. This ensures enough water for a strong siphon without wasting water. If you need a stronger flush, you might raise it a little, but never so high that water overflows into the overflow tube during a regular refill.
If you want a weaker flush (perhaps for water conservation), you can lower it slightly, but be careful not to make it too weak to clear the bowl effectively.
Checking and Adjusting the Flapper Seat
The flapper creates a seal against the flush valve opening at the bottom of the tank. If this seal is compromised, water can leak from the tank into the bowl, meaning you don’t have a full tank of water for each flush. This is a common cause of weak flushes and running toilets.
Problem: Water is constantly trickling from the tank to the bowl, reducing the water available for a flush.
Solution: Ensure the flapper is sealing properly.
- Inspect the Flapper: Look for any damage, wear, or stiffness. If it’s old and brittle, it may need replacement.
- Clean the Valve Seat: The surface the flapper seals against is called the valve seat. Gently clean this area with a soft cloth or sponge. Sometimes, debris or mineral buildup can prevent a good seal.
- Test the Seal: You can do a simple test. Close the flapper, then add a few drops of food coloring to the tank water. Wait about 15-20 minutes without flushing. If you see color in the toilet bowl, the flapper is leaking.
- Flapper Replacement: If the flapper is damaged or not sealing, replace it. They are inexpensive and easy to install. Make sure to get the correct type for your toilet model.
Understanding the Role of the Fill Valve
While you don’t typically “adjust” the fill valve for flush power directly, its function is crucial. A properly working fill valve ensures the tank refills to the correct level quickly. If your fill valve is faulty, it might not fill the tank completely, leading to weak flushes.
Problem: The tank doesn’t refill completely or takes too long.
Solution: Ensure the fill valve is functioning correctly.
- Check for Obstructions: Make sure nothing is blocking the fill valve or the float mechanism.
- Manufacturer’s Instructions: For specific adjustments to the fill valve’s flow rate or refill timing, consult your toilet manufacturer’s manual or their official website. Many modern fill valves are designed for optimal performance with minimal manual adjustment. For instance, if you’re looking for general maintenance advice, you might consult information from a major manufacturer like Kohler or American Standard, who provide extensive documentation for their plumbing fixtures.
Advanced Tips and Troubleshooting
Sometimes, the issue isn’t a simple adjustment. Here are a few extra things to consider.
Checking the Trapway
The trapway is the S-shaped passage at the bottom of your toilet that leads to the drainpipe. If this is blocked, it won’t matter how powerful your flush is; waste won’t be cleared effectively.
Problem: You have a strong flush that still doesn’t clear the bowl, or water backs up.
Solution: Clear any blockages in the trapway.
- Toilet Plunger: A good plunge can often dislodge minor blockages.
- Toilet Auger (Closet Auger): For more stubborn clogs, a toilet auger is a specialized tool that can reach further into the trapway.
Dual-Flush Mechanisms
Some modern toilets have dual-flush systems. These allow you to choose between a half-flush (for liquid waste) and a full-flush (for solid waste). If your dual-flush isn’t working correctly, it might seem like the flush power is off.
Problem: The dual-flush selector isn’t functioning, or you’re not getting the expected flush strength.
Solution: Consult your toilet’s manual for specific dual-flush adjustment instructions. Often, there’s a lever or a button mechanism that needs to be aligned or adjusted. Improperly set dual-flush systems can result in exceptionally weak flushes for both options.
Water Conservation and Flush Power
It’s a delicate balance. We all want to conserve water, but not at the expense of a clean bowl. Making your flush weaker to save water can lead to more frequent clogs and the need for multiple flushes, which ironically uses more water in the long run.
- Goal: Aim for a flush that reliably clears the bowl in one go.
- Adjustments: Start by adjusting the water level just enough to achieve this. If your toilet is older, you might find that even a full tank doesn’t provide adequate power due to design. In such cases, replacing the flapper or even the entire flush valve assembly might be more effective than minor adjustments.
When to Consider Part Replacement
If you’ve tried all the adjustments and your toilet still isn’t flushing properly, it’s likely that one or more parts have worn out.
- Flapper: These are consumables and degrade over time. Replacement is common.
- Fill Valve: A malfunctioning fill valve can cause all sorts of filling issues.
- Flush Valve Seat: If the seat where the flapper seals is damaged, no flapper will work perfectly.
Replacing these parts is usually a straightforward DIY project. You can find many guides online, and the parts are readily available at hardware stores. For example, if you’re dealing with a generally clogged toilet that doesn’t flush well, you might even find simple DIY repairs are within reach without needing a technician.
Conclusion
Adjusting your toilet’s flush power is a practical skill that empowers you to maintain your home efficiently. By understanding the components within your tank and making simple adjustments to the flapper chain, water level, and flapper seal, you can often resolve weak or overly strong flushes.
Remember to make small, incremental changes and test thoroughly after each one. If you’ve exhausted all adjustment options and are still facing issues, don’t hesitate to consider replacing worn-out parts or, as a last resort, calling a professional. A well-performing toilet isn’t just about convenience; it’s about hygiene and efficient water use for your entire household.
We’ve covered how often you should replace your vacuum filter, and this kind of home maintenance is just as important for a well-functioning home.


Similar Posts



















