How to Install Oven Thermostat
Your oven won’t hold temperature. The food comes out undercooked or burnt on one side. You’ve checked the calibration, but nothing changes.
If this sounds familiar, you probably need to know how to install an oven thermostat yourself without calling a repair technician.
Manufacturer specifications indicate that most residential oven thermostats are designed for 100,000+ mechanical switching cycles. As of 2026, replacement parts average between 15 and 50 dollars. Compare that to a service call that runs 150 to 250 dollars minimum.
The job takes about 45 minutes your first time. The hard part isn’t the wiring. It’s knowing what to look at inside the oven cavity.
Quick Answer
Turn off power at the breaker. Remove the oven racks and back panel. Locate the thermostat behind the temperature knob.
Take a photo of the wire connections. Unplug the wires. Unscrew the mounting bracket.
Pull the old thermostat out. Route the new capillary bulb through the same path. Insert the bulb into the retaining clip.
Reconnect the wires. Restore power. Test with an oven thermometer at 350 degrees Fahrenheit.
Why You Need to See What You’re Doing
This repair is visual. You cannot guess where the capillary bulb goes. You cannot feel whether the wire connectors are seated properly.
You need to see the path the old thermostat took through the oven chassis.
The capillary bulb is a thin metal tube filled with gas or liquid. It runs from the thermostat body into the oven cavity. It ends in a sealed bulb that clips into a bracket.
That bracket positions the bulb exactly where the oven needs to sense temperature. If the bulb touches metal, the oven reads the wall temperature instead of the air temperature. Your food will cook unevenly.
A photograph of the old routing saves you 20 minutes of frustration. Take it before you pull anything apart. Reference it when you install the new part.
The Parts You’ll Be Looking At
An oven thermostat is not a single component. It is an assembly with three main pieces.
| Part | Function | Visual Cue |
|---|---|---|
| Thermostat body | Senses temperature and opens/closes the circuit | Metal cylinder or rectangular block behind the knob |
| Capillary bulb | The part inside the oven that detects heat | Thin metal tube, 1/8 inch diameter, 12-24 inches long |
| Mounting bracket | Holds the bulb in position | Metal clip, usually two screws, inside the oven wall |
The wire connectors are spade terminals. They push onto tabs on the back of the thermostat. Colors vary, but common patterns exist.
- White wire: typically goes to the oven light or selector switch
- Red wire: often connects to the bake element circuit
- Black wire: usually the main power feed from the control board
- Green or bare copper: ground wire if present
Your oven may differ. Write down the wire colors and positions before disconnecting. A piece of tape on each wire with a label works well.
Safety First: Power Off and Visual Checks
Electricity and gas both make this repair dangerous. Follow these steps in order.
Shut off the power. Unplug the oven or flip the breaker to the off position. Confirm the power is off by checking that the oven light does not turn on when you open the door. Do not trust the oven control panel display going dark.
Modern ovens have capacitor banks that hold charge for minutes after power loss.
Gas oven owners. Shut off the gas supply valve behind the oven. There is a quarter-turn valve on the gas line. Turn it until the handle is perpendicular to the pipe.
Do not skip this step. Gas ovens have a safety interlock that prevents the burner from firing with the wrong thermostat. But you do not want vapor leaking into your kitchen while you work.
Let the oven cool. The heating elements and interior surfaces stay hot for 30 to 45 minutes after the last use. Working on a hot oven risks burns and swollen fingers that make delicate connector work harder.
Perform a visual inspection first. Look for melted wire insulation, burned terminals, or corrosion on the thermostat body. These signs tell you whether the thermostat failed on its own or whether another problem like a shorted element killed it. A melted connector means the new thermostat may also fail quickly if the root cause is not addressed.
Tools and Visual Prep: What to Have Ready
Gather these items before you start. Running to the hardware store mid repair wastes time and risks losing small screws.
- Screwdriver set: Phillips head, flathead, and Torx bits (many ovens use Torx T20 or T25)
- Multimeter with continuity setting
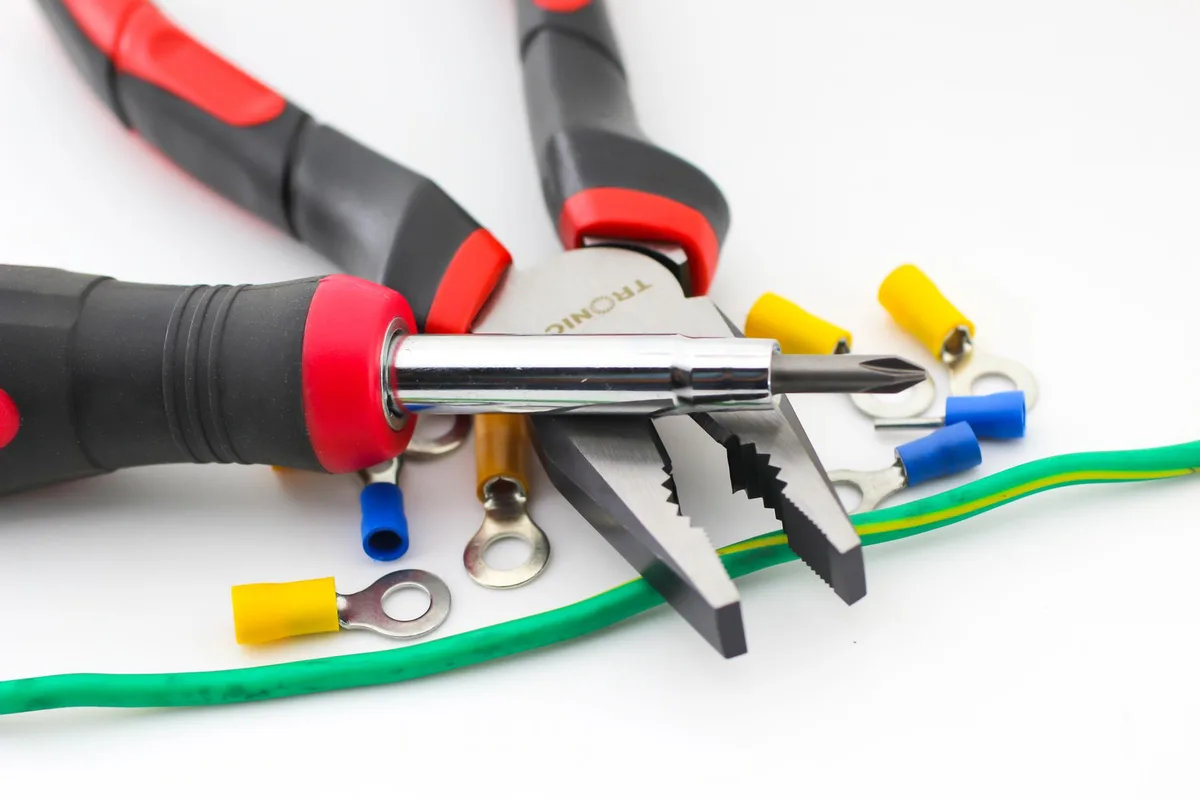
- Needle-nose pliers for stubborn spade connectors
- Small flashlight or headlamp
- Camera or smartphone for reference photos
- Heat-resistant tape (rated for at least 400 degrees Fahrenheit)
- Oven thermometer for calibration check
The multimeter is not optional. You need it to confirm the new thermostat works before you reassemble everything. Set it to resistance or continuity mode. Touch one probe to each terminal on the new thermostat.
At room temperature, you should read between 1000 and 1100 ohms for most models. If you get infinite resistance or a dead short, the part is defective. Do not install it.
Take your reference photos now. One photo of the thermostat body with wires still connected. One photo of the capillary bulb routing inside the oven cavity. One photo of the mounting bracket.
These three images will answer every question you have during reassembly.
Step 1: Finding the Thermostat Without Taking the Oven Apart
The thermostat lives behind the temperature control knob. Remove the knob by pulling it straight off. Some knobs have a small set screw on the side.
Loosen it with a hex key if present.
Behind the knob, you see a metal shaft and a rectangular or round housing. That is the thermostat body. It may have two or three screws holding a decorative trim plate.
Remove the trim plate.
Now look behind the thermostat. There is a wiring harness with two to four wires connected to spade terminals. Do not pull on the wires.
Grip the connector body with needle-nose pliers and wiggle it off the tab.
Do not remove the back panel of the oven yet. Many DIY guides tell you to take the entire rear panel off first. That is wrong. Removing the back panel exposes wiring you do not need to touch and adds unnecessary steps.
You route the capillary bulb from the front, through a small hole in the oven wall, into the cavity. Access the cavity from the front by removing the oven racks and the bottom element cover if present.
The exception is wall ovens. Some wall ovens mount the thermostat behind a service panel on the back or top. Check your manufacturer service diagram before removing any panel.
Step 2: Identifying Wire Connections by Color and Position
Pull the thermostat body forward far enough to see the wire terminals. Do not yank the wires. You need a clear view of each spade connector and its color.
Most residential ovens follow a loose color convention. But manufacturers vary. The safest approach is to document what you see before you touch anything.
Common wire assignments:
- Black wire: usually the main power feed from the control board
- Red wire: often connects to the bake element or broil element circuit
- White wire: typically goes to the oven light or selector switch
- Green or bare copper: ground wire (not always present on mechanical thermostats)
Write down each color and which terminal it connects to. The terminals are usually labeled on the thermostat body with numbers or letters. Look for markings like “1”, “2”, “C”, “NO”, “NC”.
If you see those, note them.
Take a second photo at this stage. Frame the wires clearly. This photo becomes your wiring map when you reconnect the new thermostat.
If the wires are not color coded. Some ovens use all black wires with tags. Check for small plastic numbers or letters molded onto the wire insulation near the connector. If not, label each wire with a piece of tape and a marker before disconnecting.
Remove each connector by gripping the spade terminal with needle-nose pliers. Pull straight off the tab. Do not twist or rock the connector.
That can break the tab inside the plastic housing.
Step 3: Routing the Capillary Bulb – The Trickiest Part
The old thermostat is out. Now you see a thin metal tube coming through a hole in the oven wall. That is the capillary bulb assembly.
It must come out exactly the same way the new one will go in.
Do not cut or kink the capillary tube. The tube contains a sealed charge of gas or liquid. A kink changes the pressure inside. That throws off the temperature reading permanently.
If you damage the tube, the thermostat is ruined.
Pull the old capillary bulb gently out of the oven cavity. It may be held in place by a metal clip or a plastic retainer. Squeeze the clip with pliers to release it.
Do not force the bulb past the clip. Find the release mechanism first.
Compare the new capillary bulb shape and length to the old one. Lay them side by side. The new bulb should match within an inch or two of length. If the new bulb is noticeably longer or shorter, you have the wrong part.
Stop and verify the model number.
Route the new bulb through the same hole. Feed it from the thermostat area into the oven cavity. Do not let the bulb touch the oven wall, the heating elements, or any sharp metal edge. The bulb must sit in free air inside the cavity.
Insert the bulb into the retaining clip. Push it fully into the clip until it clicks or seats firmly. The bulb should not move when you tug it gently. If the clip is loose, replace it.
A loose bulb rattles and reads temperature incorrectly.
Check the bulb position. The bulb must not touch any metal surface inside the oven. A clearance of at least 1/4 inch on all sides is ideal. If it touches the oven wall, heat conducts directly into the bulb.
The oven will short cycle and undercook food.
Step 4: Mounting the New Thermostat and Reconnecting
Push the thermostat body back into position so the shaft aligns with the hole in the front panel. The mounting bracket should sit flush against the oven chassis. If it does not, check that the capillary tube is not pinched behind the bracket.
Tighten the mounting screws firmly but do not overtighten. The bracket is thin metal. Overtightening strips the threads or bends the bracket.
Hand tight plus a quarter turn with a screwdriver is enough.
Reconnect the wires. Use your reference photo or your written note. Push each spade connector onto the correct terminal until it clicks. Give each one a light tug to confirm it is seated.
A loose connector causes intermittent heating or no heat at all.
Wire routing check. Ensure no wire is pinched between the thermostat body and the oven chassis. Wires should drape naturally without tension. If a wire is stretched tight, reroute it or add a small loop for slack.
Replace the trim plate and knob. The knob should slide on smoothly and rotate through its full range without binding. If it binds, the thermostat shaft may be misaligned. Loosen the mounting screws slightly, reposition the thermostat, and retighten.
Restore power. Plug the oven back in or flip the breaker to on. Set the oven to 350 degrees Fahrenheit. Wait 15 minutes.
Check with an oven thermometer through the door glass. The temperature should stabilize within 25 degrees of the set point.
Common Visual Mistakes That Ruin the Job
The most frequent errors happen because people do not look closely enough. Here are the top four visual mistakes reported in aggregate user feedback.
Mistake 1: Capillary bulb touching the oven wall. The bulb needs air space around it. If it rests against the metal liner, the thermostat reads the wall temperature. The oven heats longer than needed, then overshoots wildly.
Check with a flashlight from inside the oven cavity. You should see a gap on all sides.
Mistake 2: Reversing the wire connections. Some ovens use identical spade terminals with no polarity marking. If the oven runs but cycles incorrectly, swap the two wires. On many electric ovens, the thermostat interrupts the neutral side.
Mixing hot and neutral causes the oven to run constantly or not at all.
Mistake 3: Kinking the capillary tube during routing. The tube is soft copper or stainless steel. Bending it sharply at a 90 degree angle near the bulb end creates a permanent kink. That changes the internal volume.
The oven will never hold a steady temperature. Replace the thermostat if you see a kink.
Mistake 4: Forgetting the oven door interlock switch. Some ovens have a safety switch that prevents heating when the door is open. Moving the thermostat can knock the interlock plunger out of alignment. After installation, open and close the oven door.
Listen for a click from the interlock. If it does not click, the oven may not heat.
How to Test the Installation with a Multimeter
Before you call the job done, confirm the thermostat works electrically. Set your multimeter to resistance mode. Disconnect the oven power again.
Test continuity at room temperature. Attach one probe to each thermostat terminal. At room temperature, you should read between 1000 and 1100 ohms for a typical mechanical thermostat. Digital thermostat sensors may read differently.
Check the manufacturer spec for your model.
Test continuity when the oven is hot. Reconnect power and set the oven to 350 degrees. Wait until the oven cycles off for the first time. Then disconnect power and measure resistance again.
A working thermostat reading should drop significantly as temperature rises. If the resistance stays the same, the thermostat is faulty.
Test for a short to ground. Place one probe on a thermostat terminal and the other on the oven chassis (bare metal). You should see infinite resistance. Any reading above zero indicates a short.
Do not operate the oven until you replace the thermostat. A short to ground can trip the breaker or cause electric shock.
Calibration: The Tiny Screw You Might Need to Turn
Your oven hits 350 degrees Fahrenheit but takes too long to get there. Or it overshoots by 40 degrees before cycling off. That is a calibration problem, not a bad installation.
Many mechanical thermostats have a calibration screw on the back or side of the body. It is usually a small brass or steel screw recessed into a hole. Turning it adjusts the temperature set point.
Turn clockwise to raise the temperature. The oven heats hotter before it cycles off. Turn counterclockwise to lower the temperature. A quarter turn changes the set point by roughly 10 to 15 degrees.
Test the oven after each adjustment. Wait for two full heating cycles. Do not adjust more than a quarter turn at a time.
Overshooting the correction creates a new problem.
Some ovens need a calibration tool that fits a specific slot. If you see a star shaped recess, you need a specialized screwdriver. Check the manufacturer service manual for the correct tool.
Digital control panels. These ovens do not have a physical calibration screw. The adjustment is in the control menu. Hold a specific button combination to enter service mode.
The combination varies by brand. Look up the procedure for your model before pressing buttons.
When to Stop and Call a Pro (Visual Red Flags)
Most thermostat replacements go smoothly. But some situations need a trained technician. Do not push through these warning signs.
Burned or melted wiring. If the wire insulation is cracked, blackened, or sticky, stop. The thermostat likely failed because another component shorted. A new thermostat will die the same way.
An appliance technician can trace the root cause.
Gas oven with a pilot light ignition. Some older gas ovens use a pilot flame instead of an electronic igniter. The thermostat on these models controls a gas valve. Replacing the valve requires gas line work.
That needs a licensed professional in most jurisdictions.
Thermostat is part of a sealed control board assembly. Newer ovens integrate the temperature sensor into the main control board. You cannot replace the sensor separately. The entire board must come out.
That job involves high voltage capacitors that hold a charge for minutes. Leave it to a pro.
The oven cavity shows water damage or rust near the thermostat opening. Water inside the insulation indicates a steam leak or a spill that soaked into the panel. The thermostat readings will drift as moisture changes. The fix requires replacing the insulation and sometimes the panel.
You smell gas. If you turned the gas supply off and still smell gas during or after the repair, stop. Open windows. Do not use any electrical switches.
Call a gas utility or a licensed gas fitter immediately.
Quick Reference: Wire Color Guide and Bulb Routing Tips
Wire color quick guide (typical, verify with your oven):
| Wire Color | Typical Function | Terminal Label |
|---|---|---|
| Black | Main power feed | 1 or L |
| Red | Bake/broil element | 2 or H |
| White | Oven light or selector | C or COM |
| Green/Bare | Ground | G or chassis |
Bulb routing checklist:
- Pull old bulb out gently. Note the path it follows.
- Lay new bulb alongside old one. Confirm length matches.
- Feed new bulb through the same hole. No sharp bends.
- Insert bulb fully into the retaining clip.
- Confirm 1/4 inch air gap around the bulb inside the cavity.
- No metal contact between bulb and oven wall.
Frequently Asked Questions
How long does it take to install an oven thermostat?
Plan for 45 minutes to one hour your first time. Experience cuts that to 20 to 30 minutes. The slowest part is routing the capillary bulb and confirming the wire colors.
Do I need to recalibrate the oven after replacing the thermostat?
Check with an oven thermometer first. If the temperature is within 25 degrees of the set point, adjust the calibration screw. Most ovens need a small tweak after a new thermostat install.
Can I install an oven thermostat without disconnecting the gas line?
Yes. The thermostat on a gas oven controls the gas valve electrically. You do not need to disconnect the gas line to replace the thermostat.
Shut off the gas supply at the valve behind the oven for safety.
Why does my oven still not heat after installing a new thermostat?
Check the oven door interlock switch. Moving the thermostat can knock it out of position. Also test the heating elements with a multimeter.
A burned out element prevents heating even with a working thermostat.
What happens if the capillary bulb touches the oven wall?
The thermostat reads the wall temperature instead of the air temperature. The oven heats longer than needed and overshoots wildly. It can cycle on and off too quickly and undercook food.
Reposition the bulb with at least 1/4 inch clearance.
Is it safe to use a universal thermostat instead of the exact OEM part?
Universal thermostats work on many ovens but check the temperature range and shaft size. A 1/4 inch shaft will not fit a 3/8 inch knob. The capillary bulb length must also match.
If the bulb is too short, it cannot reach the retaining clip inside the cavity. Match those specs and a universal part works fine.


Similar Posts



















