How to Organize Plastic Storage Containers in Kitchen

Let’s be honest: that cabinet full of plastic containers is a mess. Lids don’t match. Stacks wobble.
You dig through three bins to find one lid that fits, and then it’s the wrong size. I’ve been there. I’ve fixed it.
And I’m going to walk you through exactly how to organize plastic storage containers in your kitchen so they actually stay that way.
This isn’t about buying a $200 system or spending a weekend sorting. It’s about smart, repeatable steps. By the time you finish reading, you’ll have a clear plan, and a much happier cabinet.
Start with a Clean Slate
Before you organize anything, you need to clear everything out. Remove every container, lid, and odd Tupperware piece from the cabinet. Wipe down the shelf.
I mean really wipe it, crumbs, sticky spots, the works. A clean foundation makes the next steps easier and keeps your containers from picking up old smells.
Now lay everything on the counter. Sort into three piles:
- Keepers, Containers with matching lids, no cracks, no stains, no weird warping.
- Maybe, Ones you use occasionally but aren’t sure about.
- Trash or recycle, Missing lids, cracked bases, or containers that smell like last year’s chili even after a soak.
Be ruthless. If you haven’t touched a container in six months, it doesn’t belong in your kitchen. I toss anything that’s stained tomato-red or has a lid that doesn’t snap shut.
Those containers will never get used, and they just take up space.
The FDA recommends inspecting plastic food storage containers regularly for signs of wear. Scratches can harbor bacteria. If a container is scratched or cloudy, it’s time to retire it.
Check out the FDA’s guidance on food container safety for more details on when to replace.
Once you’ve pared down, you’re ready for the real work.
Sort by Size and Shape
Here’s the biggest mistake most people make: they group containers by type, all square ones together, all round ones together. That doesn’t work. What works is sorting by size.
Grab your keepers and line them up from smallest to largest. Do the same with the lids. You’ll immediately see which sizes you have duplicates of and which ones are missing partners.
I like to keep three size categories:
- Small, Perfect for leftovers like half an onion, a single portion of sauce, or snacks.
- Medium, Good for one-person leftovers, lunch portions, or side dishes.
- Large, Big enough for a full casserole, batch soups, or family-sized leftovers.
Within each category, decide whether you prefer nesting (stacking inside each other) or stacking (piling on top of each other). Nesting saves vertical space but makes it harder to grab a specific container. Stacking is easier to access but takes up more height.
I go with stacking for medium and large, nesting for small.
Choosing the Right Lids
Now for the part that drives everyone crazy: lids. They slide, they fall, they hide. But with a little strategy, you can tame them.
Image source: Pexels / Markus Winkler (Pexels License)
The best solution I’ve found is a vertical lid rack, the kind you’d use for baking sheets or cutting boards. You can buy one cheap at any home goods store. Place it inside the cabinet door or on a shelf.
Slide lids in by size, standing upright. This way you can see every lid at a glance. No more digging.
If you don’t have room for a rack, try a shallow bin placed inside a drawer. Lay lids flat, sorted by size, one layer deep. Avoid stacking lids on top of each other, you’ll end up with a tangled mess.
Another trick: store lids on the container itself. This only works if you have matching sets and the containers are square or rectangular. Stack the container with its lid on, then nest the next one on top.
That keeps pairs together. The downside is you lose some stacking stability. I only do this for my most-used containers.
Pro tip: get rid of any lid that doesn’t seal airtight. If a lid feels loose or doesn’t click shut, it’s not doing its job. Leaky lids cause spills and wasted food.
Toss them.
Stacking for Efficiency
Stacking is where the magic happens, or where it falls apart. The goal is to create stable, accessible columns that don’t topple every time you open the cabinet.
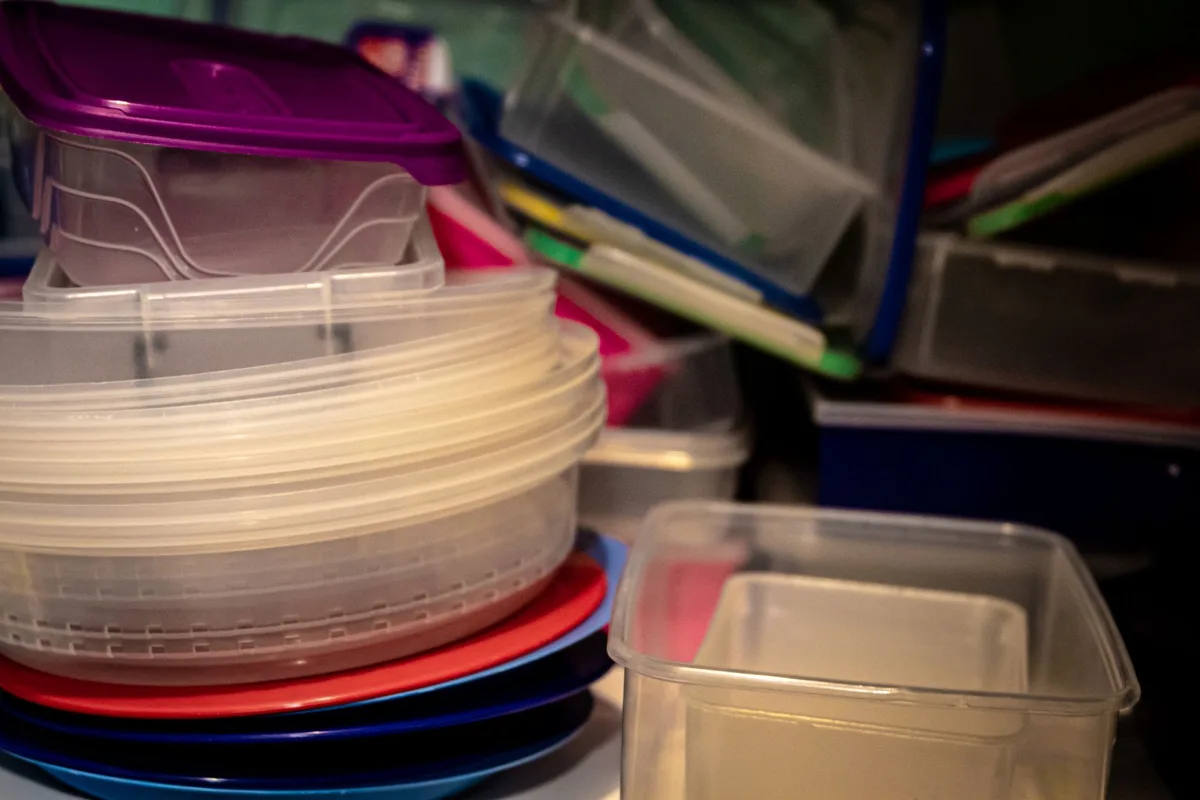
Image source: Pexels / Magda Ehlers (Pexels License)
Here’s my system:
- Square and rectangular containers stack best. Round containers stack terribly unless they’re exactly the same diameter. Whenever possible, choose square or rectangular shapes for your primary storage set.
- Stack like with like. Don’t put a medium square on top of a large rectangle. The mismatch creates instability. Keep all containers of the same size and shape in one column.
- Limit stack height to three containers. Anything taller and the stack becomes wobbly. If you have a deep cabinet, consider using a shelf riser to create two shorter stacks instead of one tall one.
- Use a lazy Susan for round containers. Round containers that don’t stack well can go on a turntable. Spin to find what you need.
If you’re using nesting (storing smaller containers inside larger ones), do it carefully. Nesting works best when you have a set that’s designed to nest, like a graduated set from a brand like Rubbermaid or OXO. Generic containers often don’t nest cleanly, and you’ll end up with lids getting stuck.
Storage Solutions That Actually Work
You’ve sorted your containers. You’ve got lids under control. Now where do you put everything?
The answer depends on your kitchen layout. Let’s cover the three most common scenarios.
Cabinet Storage
If you have a standard upper or lower cabinet, use pull-out shelves or wire shelf risers. These let you see everything at once. No more stacking containers behind each other.
- Lower cabinet: Use a deep bin for large containers. Use a separate shallow bin for small ones. Keep lids in a lid rack on the door.
- Upper cabinet: Only store lightweight containers here. Heavy glass or large plastic can be awkward to lift down. Stick to small and medium containers.
Drawer Storage
Deep drawers are a gift. Install a pegboard or adjustable dividers to keep containers standing upright. This works especially well for square containers.
You can fit a surprising amount in a 6-inch-deep drawer.
For lids, use a divided cutlery tray, the kind meant for forks and knives. It works perfectly for lids if you lay them flat. Each compartment holds one lid size.
Under-Shelf Baskets
If you have wire shelves, clip-on baskets are your friend. Use one for lids, another for small containers. They keep everything accessible without taking up shelf space.
The “One-Touch” Rule
Here’s a rule I swear by: you should be able to grab any container without moving another one first. That means no containers stacked behind other containers. No lids buried under a pile.
If you have to move three things to get one thing, your system isn’t working.
Maintaining the System
Organizing is easy. Keeping it organized is the real challenge. But it’s not hard if you build a few habits.
Habit 1: Put Everything Back in Its Place
When you wash a container, dry it completely and put it back immediately. Don’t let wet containers sit in a drying rack for days. They get forgotten.
They get stacked wet and smell. Dry them, stack them, done.
Habit 2: Do a Monthly Lid Check
Once a month, open your lid storage and see what’s there. Are there lids without containers? Toss them.
Are there mismatched lids? Find their partner or toss them. This five-minute check prevents the slow creep back to chaos.
Habit 3: Resist the Urge to Keep Everything
We all get that takeout container that’s too good to throw away. You tell yourself you’ll reuse it. Then it sits in your cabinet for two years.
Be selective. Only keep containers that are durable, dishwasher-safe, and stackable. The rest go to recycling.
Habit 4: Label if It Helps
I don’t label my containers, but some people swear by it. If you store dry goods in plastic containers, a label on the lid makes life easier. Use a chalk label or a sticker, whatever works.
Just make sure it’s removable.
A Note on Material Choices
Not all plastic storage containers are created equal. If you’re buying new ones, look for BPA-free labels. Avoid containers that feel flimsy or have thin walls.
They’ll crack quickly and waste your money.
For everyday use, I prefer polypropylene (PP) containers, the ones with a #5 recycling symbol. They’re microwave-safe, dishwasher-safe, and hold up well. Avoid #7 plastic, which often contains polycarbonate and may leach chemicals.
Glass containers are heavier but last forever. If you switch to glass, you’ll never have to replace them. But if you’re sticking with plastic, invest in a good set from a reputable brand.
It pays off.
When to Just Start Over
Sometimes the mess is too deep. You have 50 containers, 12 lids, and none of them match. In that case, do yourself a favor: recycle the whole lot.
Start fresh with a single matching set.
Buy a set of 10 to 15 square containers in three sizes, small, medium, large. Buy the same brand. Get extra lids if available.
Then build your organization system around that set. You’ll have instant order, and you’ll never play the lid-matching game again.
I know it feels wasteful. But honestly? The stress of mismatched containers costs you more time and frustration than the $30 for a new set.
Give yourself permission to let go.
Final Thoughts
Organizing plastic storage containers doesn’t have to be a lifelong battle. The secret is simplicity: fewer containers, matched sizes, a place for every lid, and a system that makes sense for your kitchen.
Start today. Pull everything out. Ditch the junk.
Sort by size. Tame the lids. Stack smart.
And keep it clean.
Your kitchen will thank you. Your morning rush will thank you. And that cabinet that used to explode every time you opened it?
It’ll stay quiet.
Now go make it happen.


Similar Posts



















