How to Remove a Rusted Kitchen Faucet Nut Under the Sink
That stubborn rusted nut holding your kitchen faucet in place can be a real pain. You’re trying to upgrade your sink or fix a leak, and suddenly you’re staring at a metal-on-metal fuse that refuses to budge. Don’t worry, though.
We’ve all been there. This isn’t a job for brute force alone; it requires a bit of know-how and the right tools. I’m going to walk you through exactly how to tackle that rusted faucet nut, from preparation to the final turn.
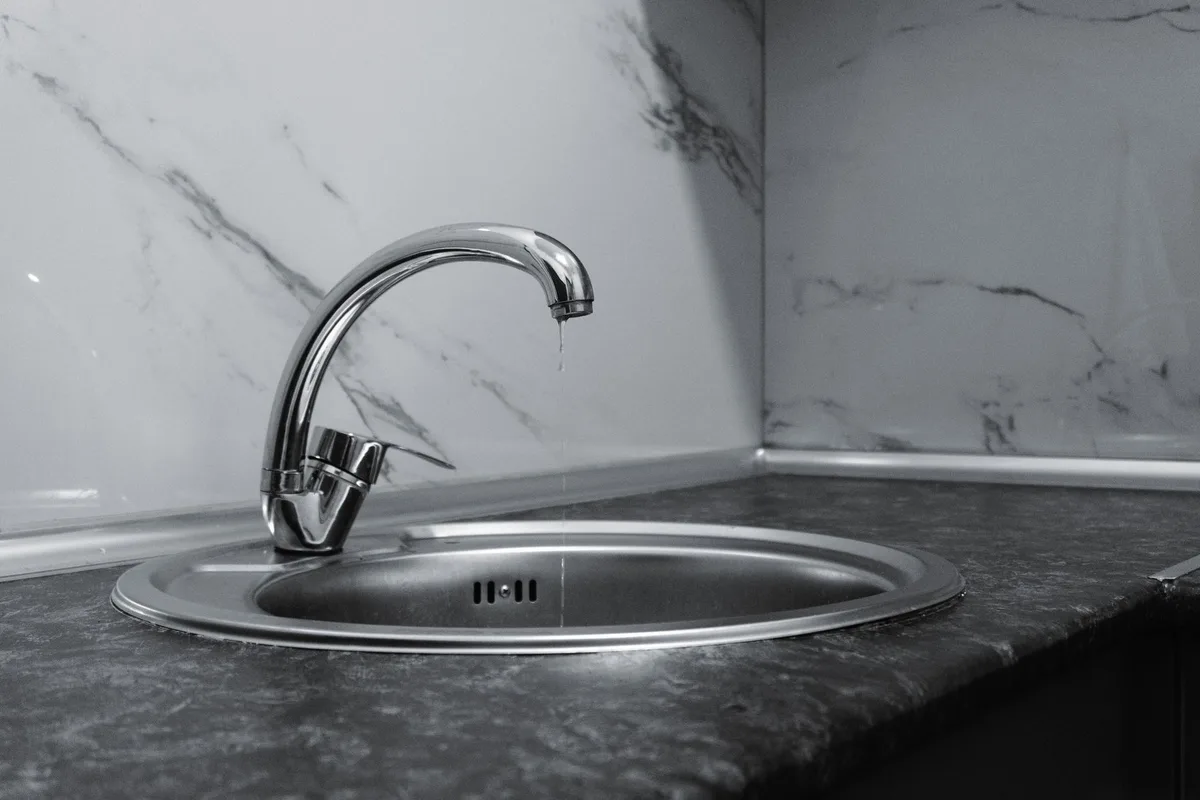
Image source: Pexels / Zulfugar Karimov (Pexels License)
Working under a sink is usually a cramped, awkward affair. Darkness, tight spaces, and limited movement make for a challenging environment. Add a seized-up fastener, and it’s enough to make anyone frustrated.
But with patience and a methodical approach, you can get that faucet nut off without causing more damage. Let’s break down the process.
Understanding the Problem: Why Nuts Rust and Seize
Before we dive into the removal, it’s helpful to understand why these nuts get so stubborn. Kitchen sinks are humid environments. Water constantly splashes, and condensation can form.
Over time, the metal of the nut and the faucet shank can react with air and moisture, leading to oxidation, that’s rust.
This rust doesn’t just look bad; it expands. As the rust grows, it wedges the nut tighter onto the threads. This chemical bond, combined with the physical pressure, creates a formidable seal that’s difficult to break.
Sometimes, minerals from hard water can also contribute to scale buildup, further cementing the nut in place.
Safety First: Prepare Your Workspace
Before you grab any tools, let’s get the area safe and ready. Working under a sink means dealing with water, potential leaks, and cramped quarters.
Clear the Clutter
First things first: empty the entire cabinet under your sink. Get everything out. You need space to move your tools and your body.
Put cleaning supplies, trash bags, and anything else you store there somewhere else temporarily.
Protect Your Surfaces
Lay down some old towels or a tarp in the cabinet. This will catch any drips from your tools or the faucet itself, and it will make cleanup much easier.
Turn Off the Water Supply
This is crucial. Locate the hot and cold water shut-off valves for your faucet. These are usually on the pipes coming out of the wall.
Turn them clockwise until they are snug. Don’t overtighten them, but make sure they’re fully closed.
Once the valves are off, turn on the faucet briefly to drain any residual water left in the lines.
Gather Your Tools
Having everything you need within reach will save you a lot of hassle. Here’s what you’ll likely need:
- Adjustable Wrench or Basin Wrench: A basin wrench is specialized for this job, with a long shaft and a pivoting head that can grip nuts in tight spaces. An adjustable wrench might work if you have enough clearance.
- Penetrating Oil: This is your best friend for rust. Brands like WD-40, PB Blaster, or Liquid Wrench are excellent.
- Wire Brush: To clean away loose rust and debris.
- Gloves: To protect your hands from grime and chemicals.
- Safety Glasses: Essential for keeping rust flakes and drips out of your eyes.
- Bucket or Towels: To catch water.
- Flashlight or Headlamp: It’s dark under there!
- Rag: For wiping.
- Optional: Heat Gun or Hair Dryer: For applying gentle heat.
- Optional: Pliers (including lock-jaw or vice grips): For extra grip if needed.
Step-by-Step: Removing the Rusted Faucet Nut
With your workspace prepped and tools ready, we can get to work. Patience is key here; forcing things too early can damage your sink or faucet.
Step 1: Assess the Situation and Apply Penetrating Oil
Get yourself situated under the sink. Use your flashlight to get a clear view of the nut. Is it completely encrusted with rust?
Is there any access to the threads?
Generously spray penetrating oil directly onto the nut and any visible threads. Aim to get it into every nook and cranny where the nut meets the faucet shank. Don’t be shy with the oil.
Now, let it sit. This is where patience really pays off. You want the penetrating oil to work its magic, breaking down that rust and corrosion.
Give it at least 15-30 minutes. For a really stubborn nut, you might need to let it soak for a few hours, or even overnight. Reapply the oil periodically if you can.
Step 2: Prep the Nut with a Wire Brush
After the penetrating oil has had time to work, grab your wire brush. Scrub the nut and surrounding area as firmly as you can. Your goal here is to remove as much of the loose, flaky rust as possible.
This will help your wrench get a better grip and allow the penetrating oil to reach deeper into the seized threads.
Step 3: Attempt Removal with Your Wrench
Now it’s time to try turning the nut.
Using an Adjustable Wrench:
If you have some room to maneuver, a good quality adjustable wrench is your go-to. Make sure the jaws are snug on the nut to prevent slipping. Apply steady, firm pressure counter-clockwise (lefty-loosey).
If it doesn’t budge, don’t force it to the point of stripping the nut or breaking something.
Using a Basin Wrench:
This is where a basin wrench truly shines. Position the head of the wrench onto the nut. The long shaft allows you to turn it from a more convenient angle.
Again, apply steady counter-clockwise pressure.
Step 4: Apply Gentle Heat (Optional)
If the nut refuses to budge even with the penetrating oil and a good effort, gentle heat can sometimes help. The idea is to expand the metal slightly, which can break the rust bond.
Use a heat gun on a medium setting or a hairdryer. Direct the heat only onto the nut for a minute or two. Be careful not to overheat it, especially if you have plastic components nearby or a composite sink.
The goal is subtle expansion, not melting.
Immediately after heating, try turning the nut again with your wrench. The rapid cooling might also help break the rust. You might need to reapply penetrating oil after heating.
Step 5: Strategic Tapping (Optional)
Sometimes, a few sharp taps can shock the rust loose. With the wrench still in place on the nut, use the handle of another tool (like a screwdriver or a small hammer) to tap firmly on the wrench. You’re not trying to bash it; you’re looking for vibrations to help break the rust seal.
Tap from different angles around the nut.
Step 6: Try a Different Tool or Technique
If you’re still stuck, you might need to switch tactics.
- Lock-Jaw Pliers (Vice Grips): If the edges of the nut are getting rounded off, lock-jaw pliers can provide a very secure grip. Clamp them down tightly onto the nut and try to turn.
- Cutting the Nut (Last Resort): If all else fails and you’re replacing the faucet anyway, you might have to cut the nut off. This requires a small reciprocating saw with a metal-cutting blade or a mini-hacksaw. This is a destructive method. You’ll need to carefully cut through the nut without damaging the faucet shank or the sink itself. Cut on opposite sides of the nut. Once you’ve cut through, you can often pry the nut open or break it apart. This method is definitely a last resort because it’s messy and carries a higher risk of damaging surrounding components.
Step 7: Clean Up and Inspect
Once the nut is finally off, take a moment to admire your work. Clean the threads on the faucet shank thoroughly. Remove any remaining rust or debris.
You can use your wire brush or even some fine-grit sandpaper if the threads are a bit rough.
Check the faucet shank for any damage. If it’s corroded or pitted, it might affect the seal of your new faucet.
Dealing with Different Faucet Types
Most kitchen faucets attach with a large nut underneath the sink. However, some older or specialized models might have different fastening systems. Always take a look at your specific faucet’s mounting hardware before you begin, if possible.
If you have a faucet with a mounting bracket system, the process might involve loosening screws or bolts that hold the bracket in place. The same principles of penetrating oil and steady pressure will likely apply.
Preventing Future Rust
Once you’ve got your new faucet installed, or if you’re just doing some preventative maintenance under your sink, consider these tips to avoid future rust headaches:
- Keep the Area Dry: Wipe up any spills or condensation promptly.
- Good Ventilation: Ensure your sink cabinet isn’t completely airless.
- Consider Sealants: When installing a new faucet, some plumbers use plumber’s grease or sealant on the threads to make future removal easier.
- Regular Checks: If you notice any minor rust spots in the future, clean them up before they become a major problem. This is similar to how you’d maintain other fixtures, like ensuring your vacuum filter replacement is done on time to keep things running smoothly.
When to Call a Professional
While removing a rusted faucet nut is often a DIY job, there are times when it’s best to call in a plumber. If you’ve tried everything and the nut still won’t budge, or if you’re worried about damaging your sink or plumbing, a professional has the experience and specialized tools to get the job done safely. They can also assess if there’s any underlying plumbing issue causing excessive corrosion.
Tackling a rusted faucet nut might seem daunting, but with the right approach, it’s a manageable task. Remember to take your time, use penetrating oil, and be patient. You’ll have that old faucet off and your new one installed in no time!


Similar Posts



















