How to Install a Kitchen Faucet on a Stainless Steel Sink
A new kitchen faucet can transform your sink area. It’s not just about looks; a good faucet makes everyday tasks easier. Installing one yourself might seem daunting, but it’s a project many homeowners can tackle.
This guide will walk you through installing a kitchen faucet on a stainless steel sink, step-by-step. We’ll cover everything from preparation to the final touches.
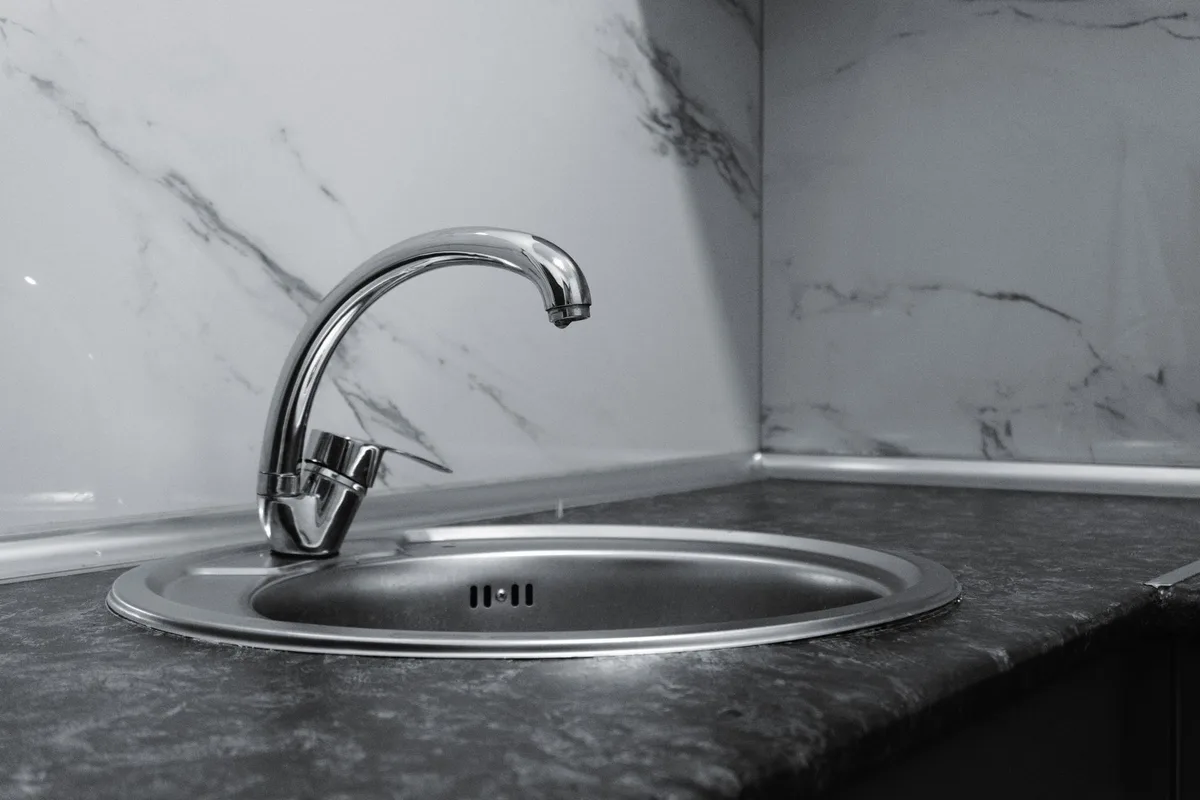
Image source: Pexels / Zulfugar Karimov (Pexels License)
Stainless steel sinks are common, durable, and relatively easy to work with. The process for installing a faucet on one is pretty standard. You’ll need some basic tools and a bit of patience.
Let’s get started!
Before You Begin: Gathering Tools and Materials
Preparation is key to a smooth installation. Having everything you need on hand means fewer trips to the hardware store and less frustration.
Essential Tools for Faucet Installation
- Adjustable Wrenches: You’ll need a couple of these. One for holding nuts and another for turning them. A basin wrench is especially useful for reaching tight spots under the sink.
- Plumber’s Putty or Silicone Sealant: This creates a watertight seal between the faucet base and the sink. Check your faucet’s instructions; some come with a gasket and don’t require extra sealant.
- Screwdrivers: Both Phillips and flathead will be useful for various components.
- Bucket: To catch any residual water when you disconnect the old plumbing.
- Towels and Rags: For wiping up spills and keeping the area dry.
- Safety Glasses: Protect your eyes from debris or falling objects.
- Utility Knife or Putty Knife: To scrape away old sealant or putty.
- Penetrating Oil (Optional): For loosening stubborn old connections.
- Flashlight or Headlamp: The area under the sink can be dark.
What to Look For in a New Faucet
When choosing a new faucet, consider its features, style, and compatibility with your sink.
- Number of Holes: Most stainless steel sinks come pre-drilled with one, two, three, or four holes. Your new faucet must match the number of holes you have, or you’ll need a sink deck plate to cover unused openings.
- Faucet Type: Common types include single-handle, double-handle, pull-down, and pull-out faucets. Think about what’s most convenient for your kitchen workflow.
- Finish: Stainless steel, brushed nickel, chrome, and oil-rubbed bronze are popular choices that complement stainless steel sinks well.
- Brand Reputation: Opt for reputable brands known for quality and good warranty support.
Taking Stock of Your Existing Setup
Before removing the old faucet, take a moment to observe how it’s connected. This will give you a good idea of what to expect when installing the new one. Note the connections for the hot and cold water supply lines and the drain assembly.
Step 1: Turning Off the Water Supply
This is the most critical first step. You don’t want any surprise leaks during the process.
- Locate Shut-Off Valves: Under the sink, you’ll find two valves, one for hot water and one for cold. They usually have small oval or round handles.
- Turn Off Valves: Turn both handles clockwise until they stop. If your valves look old or are difficult to turn, a gentle application of penetrating oil might help. You may need to replace them if they’re corroded or don’t shut off completely.
- Test: Turn on the old faucet to drain any remaining water in the lines. Let it run until no more water comes out. This also relieves pressure.
Step 2: Disconnecting the Old Faucet
Now it’s time to detach the old faucet and its associated plumbing.
- Place a Bucket: Position a bucket directly under the water supply connections and the drain trap. This will catch any water that’s still in the pipes.
- Disconnect Supply Lines: Use an adjustable wrench to loosen the nuts connecting the hot and cold water supply lines to the shut-off valves. There might be a bit of water left, so have towels handy.
- Disconnect Sprayer Hose (if applicable): If your old faucet has a side sprayer, disconnect its hose from the faucet body. There’s usually a clip or a threaded fitting.
- Unscrew Mounting Nuts: Look under the sink where the faucet base meets the sink. You’ll see large nuts that hold the faucet in place. Use a basin wrench or an adjustable wrench to loosen and remove these nuts. This can sometimes be the trickiest part, especially if space is tight.
- Remove the Old Faucet: Once the mounting nuts are off, carefully lift the old faucet assembly out from the top of the sink. If it’s stuck, gently rock it or try to break the seal with a utility knife.
Step 3: Cleaning the Sink Surface
A clean surface ensures a good seal for the new faucet.
- Remove Old Sealant: Use a putty knife or utility knife to scrape away any old plumber’s putty or silicone sealant from the sink around the faucet holes.
- Wipe Clean: Clean the area thoroughly with a damp cloth to remove any dust, debris, or residue. Make sure the surface is completely dry before proceeding.
Step 4: Installing the New Faucet
This is where your new faucet starts to take shape on your sink.
Prepare the New Faucet:
- Gasket or Sealant: If your new faucet came with a rubber gasket or a plastic base plate, place it onto the underside of the faucet. If it didn’t, or if instructions specify, apply a bead of plumber’s putty or silicone sealant around the base of the faucet where it will meet the sink. Don’t use too much; you don’t want it oozing out everywhere.
- Mounting Studs: Ensure the mounting studs or shank are properly threaded into the faucet body.
Position the Faucet: Carefully lower the new faucet assembly into the holes on the sink deck. Make sure it’s oriented correctly (hot on the left, cold on the right, etc.) and sits flush against the sink surface.
Secure the Faucet from Below:
- Install Washers and Nuts: From underneath the sink, slide any provided plastic or rubber washers onto the faucet’s mounting studs. Then, thread on the mounting nuts.
- Tighten Gradually: Hand-tighten the nuts first. Then, use your basin wrench or adjustable wrench to snug them up. Alternate between nuts if there are multiple, tightening them evenly. Don’t overtighten, as this can damage the sink or the faucet. You want it firm but not excessively tight. The faucet should feel secure on top.
Connect the Sprayer Hose (if applicable): If your faucet has a pull-down or pull-out sprayer, connect the hose to the designated port on the faucet body, usually located directly underneath. Some have a quick-connect fitting, while others thread on. Attach the weight to the sprayer hose according to the manufacturer’s instructions.
Step 5: Connecting the Water Supply Lines
This step reconnects your faucet to the home’s water system.
- Attach New Supply Lines: If your new faucet came with integrated supply lines, connect them to the faucet’s hot and cold water inlets. If not, use new, flexible braided stainless steel supply lines. These are durable and resist kinks.
- Connect to Shut-Off Valves: Connect the other end of the supply lines to the corresponding hot and cold water shut-off valves under the sink. Hand-tighten the nuts first, then use a wrench to snug them up. Be careful not to overtighten, which can strip the threads or damage the fittings. A quarter to half turn past hand-tight is usually sufficient.
Step 6: Testing for Leaks
This is another crucial step. You want to catch any leaks before you put everything back to normal.
- Turn Water On Slowly: Partially open both the hot and cold shut-off valves under the sink. Listen for any hissing sounds.
- Check Connections: Inspect all the connections you just made, at the shut-off valves and at the faucet body, for any drips. Use a dry rag or paper towel to wipe down the connections; this makes it easier to spot small leaks.
- Fully Open Valves: If you don’t see any immediate leaks, slowly open the shut-off valves completely.
- Test Faucet Operation: Turn on the new faucet, running both hot and cold water. Let it run for a minute or two.
- Thorough Leak Check: While the water is running and after you turn it off, check all supply line connections and faucet mounting points again from underneath the sink. Pay close attention to the seals where the faucet meets the sink.
- Tighten if Necessary: If you find a small drip, gently tighten the leaking connection by a quarter turn. If a leak persists, you may need to turn off the water, disconnect the line, check the washer or seal, and reconnect.
Step 7: Final Touches and Cleanup
Almost there! Once you’re confident there are no leaks, it’s time for the finishing steps.
- Wipe Down: Wipe down the new faucet and the sink area to remove any fingerprints or water spots.
- Clean Under the Sink: Remove the bucket and towels. Wipe up any spilled water.
- Organize: Reorganize any items stored under the sink.
Common Troubleshooting Tips
Even with careful installation, you might run into minor issues. Here are some common problems and how to fix them.
Leaking from the Base of the Faucet
- Cause: The seal between the faucet and the sink isn’t watertight.
- Fix: Turn off the water. Loosen the mounting nuts from underneath. Lift the faucet slightly. Apply a fresh, even bead of plumber’s putty or silicone sealant around the base of the faucet. Re-seat the faucet and hand-tighten the mounting nuts. Snug them up firmly with a wrench, ensuring the faucet is straight. Test again.
Leaking at the Supply Line Connections
- Cause: Connections aren’t tight enough, or washers/seals are damaged.
- Fix: Turn off the water. Gently tighten the connection by a quarter turn. If it still leaks, turn off water, disconnect the line, check for a damaged rubber washer or O-ring inside the fitting or at the valve. Replace if necessary or re-seat properly. Ensure you’re using the correct type of supply line (braided stainless steel is highly recommended). You might find that replacing old shut-off valves can resolve persistent leaks. For instance, if your existing valves are difficult to close completely, you might need to replace them. Regular maintenance, like checking your vacuum filter, can prevent issues in other household systems, highlighting the importance of upkeep.
Low Water Pressure
- Cause: Debris in the aerator or supply lines.
- Fix: Turn off the water. Unscrew the aerator from the tip of the faucet spout. Clean out any sediment or debris. Rinse it thoroughly and screw it back on. If pressure is still low, you might need to disconnect supply lines and flush them, or check your home’s main water filter if you have one.
Faucet Wobbles
- Cause: Mounting nuts are not tight enough.
- Fix: Turn off the water. From under the sink, tighten the mounting nuts securely. Ensure the faucet is centered and straight before tightening fully.
Your New Faucet, Installed!
Congratulations! You’ve successfully installed your new kitchen faucet on your stainless steel sink. It’s a rewarding DIY project that enhances your kitchen’s functionality and aesthetic.
Remember to periodically check your connections for leaks, especially in the first few days. Enjoy your updated sink!
If your faucet is the pull-down or pull-out type, giving the hose a gentle tug to ensure the weight is attached properly is a good idea. This ensures the sprayer retracts smoothly. With new plumbing, it’s also a good time to check all connections.
For example, if you were performing simple DIY repairs on another appliance, you’d want to confirm all its connections are secure. A well-installed faucet is a great addition to any kitchen.


Similar Posts



















