How to Repair a Cracked Plastic Storage Bin
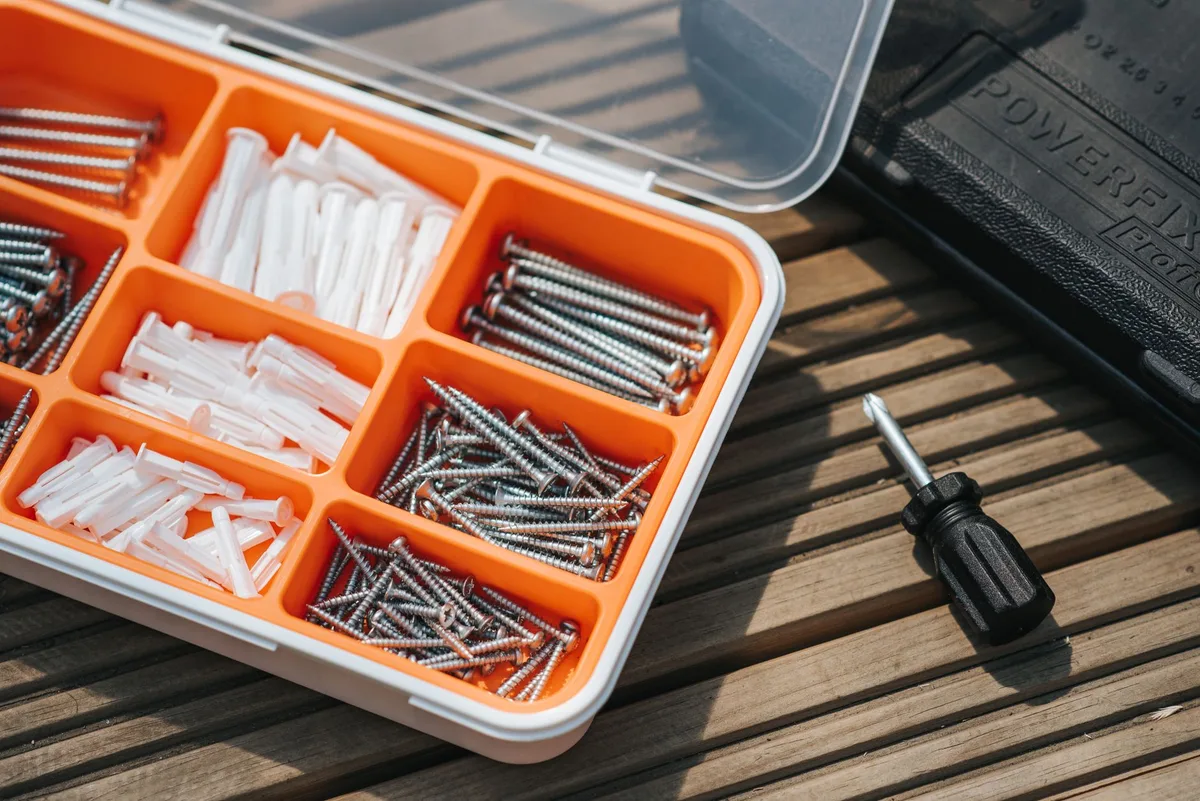
We’ve all been there. You’re reaching for that trusty plastic storage bin, the one holding your seasonal decorations, your kid’s toys, or perhaps essential workshop supplies, and, bam! A crack.
It’s frustrating, to say the least. Suddenly, your organized haven is at risk of becoming a dusty, disorganized mess. But before you toss that bin to the curb and head out for a pricey replacement, hold on.
Giving that cracked plastic storage bin a second life is totally doable.
It might sound daunting, but repairing a cracked plastic storage bin is a straightforward DIY project. With a few common household items or a small investment in specialized repair products, you can mend those breaks and keep your belongings secure. This guide will walk you through the most effective methods, from simple fixes for minor damage to more durable repairs for significant splits.
We’ll cover what you need, step-by-step instructions, and tips to ensure your repaired bin lasts.
Why Repair Your Cracked Plastic Storage Bin?
Let’s face it, replacing storage bins adds up. For a single bin, it’s not a huge deal. But when you need to replace multiple, the cost can really start to bite.
Repairing is almost always cheaper than buying new. Beyond the cost savings, there are environmental benefits. By extending the life of your existing bins, you’re reducing plastic waste.
That’s a win for your wallet and for the planet. Plus, there’s a genuine satisfaction in fixing something yourself and putting it back to good use.
Assessing the Damage: What Kind of Crack Are We Dealing With?
Before you grab any tools, take a good look at the damage. The type and severity of the crack will determine the best repair method.
- Hairline Cracks: These are thin, superficial lines that don’t go all the way through the plastic. They’re often caused by stress or minor impacts. These are usually the easiest to fix.
- Through-and-Through Cracks: These cracks penetrate the plastic entirely. They can be small and straight or large and jagged. They require a more robust repair to regain structural integrity.
- Missing Pieces or Large Fractures: In some cases, a piece of plastic might be missing, or the crack might be so large it splits the bin into sections. These are the most challenging but often still salvageable with the right techniques.
Method 1: The Speedy Super Glue for Minor Cracks
For those quick, annoying hairline fractures, a good super glue can be your best friend. This is the fastest and simplest fix, perfect for bins that aren’t under heavy load.
What You’ll Need:
- Super Glue (Cyanoacrylate Adhesive): Look for a gel-type super glue. It’s less runny and easier to control than liquid varieties, which is crucial for precise application on plastic.
- Rubbing Alcohol (Isopropyl Alcohol): For cleaning.
- Paper Towels or a Clean Cloth: For wiping.
- Masking Tape (Optional): To hold the crack closed while the glue dries.
Step-by-Step: Super Glue Fix
- Clean the Area: This is vital. Use rubbing alcohol and a clean cloth to thoroughly clean both sides of the crack. Remove any dirt, dust, grime, or oily residue. A clean surface ensures the glue adheres properly.
- Align the Crack: Gently push the edges of the crack together. You want them to line up as perfectly as possible. If the crack is in a flexible area, you might need to use masking tape on the outside of the bin to hold the pieces in place.
- Apply the Glue: Carefully apply a thin, even bead of gel super glue directly into the crack. Don’t use too much; excess glue will just make a mess and might not provide a stronger bond. If using masking tape, make sure not to glue the tape to the bin.
- Hold and Cure: Press the edges of the crack together firmly. Hold them in place for the time recommended on the glue’s packaging (usually 30-60 seconds). The gel type will set relatively quickly, but it often needs a few minutes to reach its full strength.
- Reinforce (Optional): For added strength, you can apply another thin layer of super glue over the first, like a very thin seam. Once the glue has fully cured (check the package instructions, usually at least an hour, preferably 24 hours for full strength), remove any masking tape.
Pro Tip: Work in a well-ventilated area when using super glue. The fumes can be strong.
Method 2: Plastic Welding with a Soldering Iron – For Stronger Repairs
Plastic welding is a more robust method, especially for through-and-through cracks or when you need a really strong bond. This technique essentially melts and fuses the plastic back together.
What You’ll Need:
- Soldering Iron: A standard 30-60 watt soldering iron works well.
- Plastic Welding Rods (or similar plastic): You’ll need a material that’s compatible with the plastic of your bin. Often, you can find plastic welding kits online that include various types of rods. If you’re unsure of your bin’s plastic type (check the recycling symbol, often PP for polypropylene or HDPE for high-density polyethylene), you can sometimes use a small piece of plastic from the bin itself (from a hidden area like the bottom rim if possible) or similar plastic scraps.
- Wire Brush: For cleaning.
- Rubbing Alcohol: For cleaning.
- Small Files or Sandpaper (medium and fine grit): For smoothing.
- Heat-Resistant Glove: For safety.
- Safety Glasses: Essential.
- Metal Mesh or Baling Wire (Optional, for extreme reinforcement):
Step-by-Step: Plastic Welding
- Safety First! Always wear safety glasses and a heat-resistant glove. Work in a well-ventilated area. Soldering irons get extremely hot.
- Clean the Crack: Thoroughly clean the area around and within the crack using a wire brush and then rubbing alcohol. You want this to be spotless.
- Prepare the Edges: If the crack is very clean, you might be able to proceed. For a stronger weld, you can lightly score or V-groove the edges of the crack with a utility knife or the tip of the soldering iron. This creates a channel for the welding material to fill.
- Melt and Fuse: Heat your soldering iron. Gently touch the tip of the iron to the plastic along the crack. You want to just begin to melt the plastic. As you melt it, carefully feed a piece of your plastic welding rod into the molten plastic, allowing it to fuse with the bin material. Work in small sections, moving the iron and the rod together to create a smooth, blended seam.
- Weld from Both Sides (If Possible): For maximum strength, if you can access both sides of the bin, weld the crack from both the inside and the outside.
- Reinforce (Optional): For very stressed areas, you can embed a piece of metal mesh or baling wire into the melted plastic on the inside of the bin as you weld. This acts like rebar, significantly increasing strength.
- Cool and Smooth: Allow the plastic to cool completely. Once cool, use a file or sandpaper to carefully smooth down any rough or raised areas from the welding process. Start with a medium grit and finish with a fine grit for a clean finish.
Important Note: Different plastics melt at different temperatures. Be careful not to overheat and burn the plastic, which can weaken it. Experiment with a scrap piece of plastic if you’re unsure.
Method 3: The Epoxy Bond – A Versatile and Durable Fix
Plastic epoxies are specifically formulated to bond plastics and offer a strong, durable repair for larger cracks and even minor missing pieces.
What You’ll Need:
- Plastic-Specific Epoxy: Look for a two-part epoxy designed for plastic. Many hardware stores carry these.
- Rubbing Alcohol: For cleaning.
- Paper Towels or a Clean Cloth:
- Masking Tape: To hold pieces together.
- Small Mixing Surface (e.g., cardboard, plastic lid):
- Applicator Tool (e.g., craft stick, toothpick):
- Sandpaper (medium and fine grit): For finishing.
Step-by-Step: Epoxy Repair
- Clean, Clean, Clean: As always, proper cleaning is key. Use rubbing alcohol to thoroughly clean both sides of the crack. Ensure the area is completely dry.
- Prepare the Crack (Optional but Recommended): For a better bond, you can lightly roughen the surfaces along the crack with sandpaper. This gives the epoxy more surface area to grip. If the crack is clean and precise, this might not be strictly necessary, but it never hurts.
- Mix the Epoxy: Follow the instructions on your epoxy packaging precisely. Typically, this involves mixing equal parts of the resin and the hardener on your mixing surface until uniform. Work quickly, as epoxy has a limited working time.
- Apply the Epoxy: Use your applicator tool to carefully apply the mixed epoxy into the crack. For through cracks, ensure you fill the void completely. If reinforcing from the back, apply a generous layer there.
- Align and Secure: Press the cracked edges together. Use masking tape to hold them in place while the epoxy cures. Ensure the tape isn’t stuck directly to the epoxy if you want a clean finish.
- Cure Time: Let the epoxy cure for the time specified by the manufacturer. This can range from a few minutes to 24 hours for full strength. Resist the temptation to move or use the bin before it’s fully cured.
- Sand and Finish: Once cured, remove the masking tape. If there’s any excess epoxy that has squeezed out, you can carefully sand it down with medium-grit sandpaper, followed by fine-grit, to create a smooth finish.
Pro Tip: If you have a large crack or a missing piece, you can sometimes use a small piece of compatible plastic as a backing patch, applying epoxy over it to bridge the gap.
Method 4: The Hot Stapler – A Quick & Mighty Reinforcement
A hot stapler designed for plastic repair is a fantastic tool for creating internal reinforcement without needing to melt the plastic itself. It embeds small metal staples into the plastic, which then cool and hold the crack together.
What You’ll Need:
- Plastic Repair Hot Stapler Kit: These kits come with the stapler gun and a variety of staple sizes and shapes.
- Rubbing Alcohol: For cleaning.
- Paper Towels or a Clean Cloth:
- Sandpaper (medium and fine grit): For smoothing.
- Safety Glasses:
Step-by-Step: Hot Stapler Repair
- Clean the Bin: Thoroughly clean the area around the crack with rubbing alcohol.
- Position the Stapler: Decide where you need reinforcement. You’ll typically be working on the inside of the bin for this method.
- For a simple crack, you’ll place the stapler over the crack so the staple straddles it.
- For a larger split, you might need multiple staples placed in a line.
- Heat and Insert:
- Insert a staple into the grooved tip of the hot stapler.
- Press the tip firmly against the plastic, ensuring the staple is positioned to bridge the crack.
- Press the trigger or button on the stapler. This heats the staple and presses it into the plastic, embedding it.
- Hold for a moment as the plastic cools around the staple.
- Release the trigger/button and gently pull the stapler away. The staple will remain embedded.
- Repeat as Needed: Place staples at intervals along the crack for optimal strength. For very long cracks, you might put them about an inch apart.
- Cool and Smooth: Allow everything to cool completely. The embedded staples will be cool to the touch. If any staple ends stick out awkwardly, you can carefully snip them flush with pliers or lightly sand them down.
- Optional Finishing: You can apply a thin layer of plastic epoxy or even a strong multi-purpose adhesive over the staples on the inside for an extra layer of protection and a smoother finish. Once cured, sand any rough spots.
Why it Works: The metal staples provide structural support, preventing the crack from spreading. The heat from the stapler also causes a minor amount of plastic to melt and fuse around the staple, creating a stronger bond.
Method 5: The Duct Tape/Heavy-Duty Tape Deluxe (For Temporary or Light-Duty Fixes)
Let’s be honest, sometimes you just need a quick fix to keep things contained until you have time for a more permanent solution. Heavy-duty tape can absolutely do this. Think of it as a superhero band-aid for your bin.
What You’ll Need:
- Heavy-Duty Repair Tape: Options include Gorilla Tape, Flex Tape, or industrial-grade duct tape.
- Rubbing Alcohol: For cleaning.
- Scissors or a Utility Knife:
Step-by-Step: Tape Repair
- Clean and Dry: Wipe down the area around the crack with rubbing alcohol and let it dry completely.
- Cut Your Tape: Cut a piece of tape that is longer than the crack. You want it to overlap the crack by at least an inch on each side. For a through-and-through crack, you’ll want to tape both the inside and the outside of the bin.
- Apply Firmly:
- Outside: Carefully align the tape over the crack. Press it down firmly, starting from the center and working your way outwards to eliminate air bubbles.
- Inside (for through cracks): Repeat the process on the inside of the bin. Ensure the tape layers on the inside and outside meet and adhere to each other for maximum hold.
- Seal the Edges: Press down on all the edges of the tape to ensure a good seal.
When This Works Best: This is your go-to for bins that won’t be subjected to significant weight or stress, or when you need to prevent small items from falling through a gap immediately. It’s a temporary solution, but a very effective one for keeping things tidy in a pinch.
Best Practices for a Lasting Repair
No matter which method you choose, a few universal tips will help your repair stand the test of time.
- Cleanliness is Paramount: I’ll say it again. Any dirt, grease, or residue will compromise the bond of your repair. Take the time to clean thoroughly.
- Test the Plastic Type: If you can, identify the type of plastic your bin is made from (look for the recycling numbers: 2 for HDPE, 4 for LDPE, or 5 for PP are common for storage bins). Some repair materials work better with specific plastics.
- Reinforce from the Back: For any repair that needs to hold weight, reinforcing the backside of the crack is a game-changer. This puts the stress on the stronger, reinforced side.
- Allow Full Cure Time: Don’t rush it! Always let your chosen adhesive or melted plastic cure for the full recommended time. Patience here prevents headaches later.
- Consider the Load: Be realistic about what the bin will hold after the repair. A bin repaired with super glue might be fine for soft items but not for heavy tools. A plastic-welded or epoxy-repaired bin will be much stronger.
- Smooth for Safety: After repairs, especially those involving welding or epoxy, sand down any rough edges or bumps. This prevents snags and makes the bin safer to handle.
The Final Word: Don’t Fear the Fix!
A cracked plastic storage bin isn’t the end of the world. It’s a chance to practice a little DIY ingenuity. Whether you’re dealing with a minor cosmetic split or a substantial fracture, there’s a method out there that will work for you.
From the quick swipe of super glue to the robust fusion of plastic welding or the reliable strength of epoxy, these techniques can save you money, reduce waste, and keep your storage solutions functioning beautifully. So, next time you spot a crack, don’t discard. Grab your tools, roll up your sleeves, and get ready to give that bin a new lease on life.
Happy fixing!
Image source: Pexels / Anete Lusina (Pexels License)


Similar Posts



















