How to Replace Shower Arm Pipe
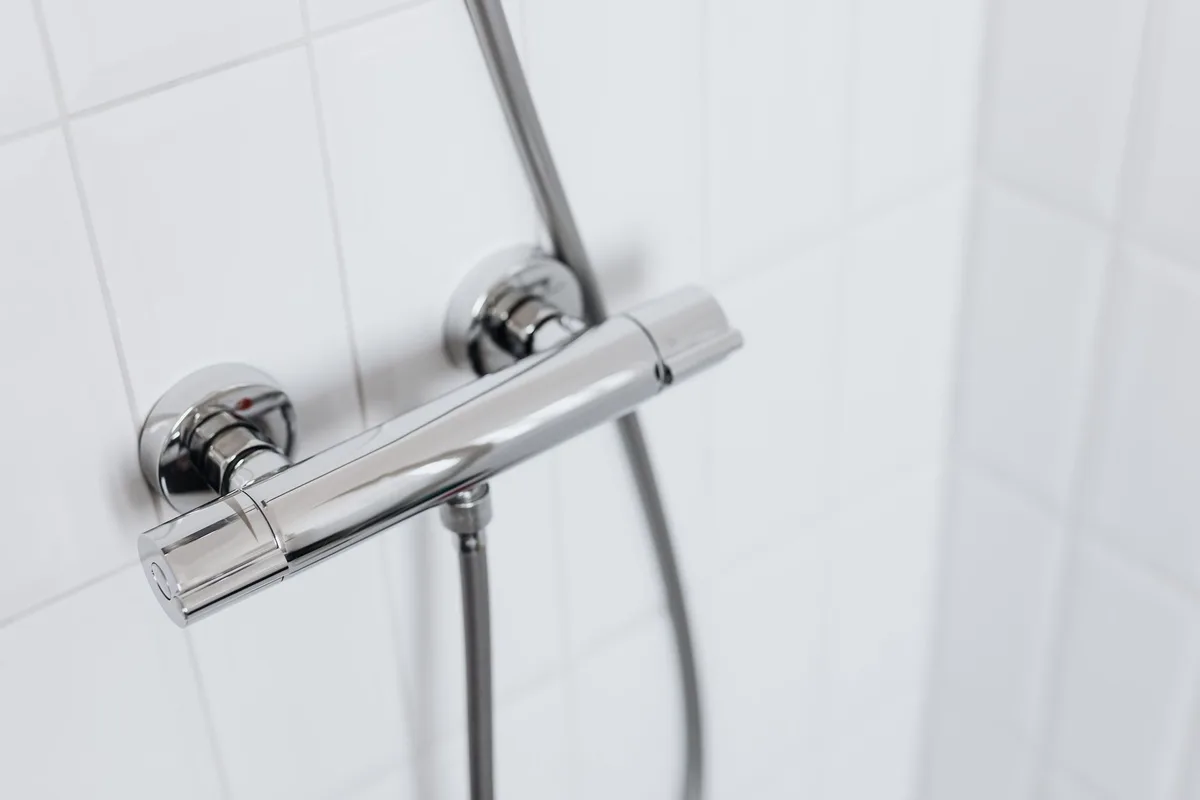
A leaky shower arm or a desire for an upgrade? Replacing your shower arm pipe is a common DIY project. It’s not as intimidating as it sounds.
With the right tools and a little patience, you can tackle this yourself. Let’s get your shower working perfectly again.
Why Replace Your Shower Arm Pipe?
There are a few good reasons you might be looking to replace your shower arm pipe. Sometimes, it’s simply a matter of wear and tear. Over time, pipes can corrode or develop leaks.
A dripping shower arm not only wastes water but can also lead to water damage in your walls or ceiling.
Beyond necessity, you might want an upgrade. Perhaps you want a longer shower arm for more comfortable reach. Or maybe you’re installing a new showerhead that requires a different type of connection.
Whatever the reason, knowing how to replace it is a valuable skill.
Essential Tools and Materials
Before you dive in, gather everything you’ll need. This makes the job go smoothly. Running out of a critical part midway through is frustrating.
Here’s what you should have on hand:
- New Shower Arm Pipe: Make sure it has the correct thread size and threading for your existing shower valve.
- Adjustable Wrench or Pipe Wrench: For gripping and turning the old pipe.
- Teflon Tape (Plumber’s Tape): Crucial for creating a watertight seal on the threads.
- Clean Rag or Towel: For wiping up any residual water or debris.
- Penetrating Oil (Optional): If the old pipe is stubborn, this can help loosen it.
- Towel or Drop Cloth: To protect your shower floor from tools or debris.
- Ladder or Step Stool (If Needed): To safely reach the shower arm.
Step-by-Step: Replacing Your Shower Arm Pipe
Ready to get started? Follow these steps carefully.
Step 1: Turn Off the Water Supply
This is the most critical safety step. You don’t want any water spraying everywhere while you’re working.
- Locate your home’s main water shut-off valve. This is usually in the basement, crawl space, or near your water meter.
- Turn the valve clockwise to shut off the water.
- Open your shower faucet (without turning on the hot water) to relieve any remaining pressure in the pipes. Let the water drain out completely.
Step 2: Remove the Old Shower Arm Pipe
Now, you’ll tackle the existing pipe. Be prepared for some resistance.
- Grip the very end of the shower arm pipe with your adjustable wrench or pipe wrench. Hold it steady.
- Use a second wrench or your hand to grip the base of the shower arm where it meets the wall pipe. Be careful not to damage the shower wall.
- Turn the shower arm counter-clockwise. You might need to apply firm pressure. If it’s stuck, a little penetrating oil can help. Apply it to the threads where the arm enters the wall fitting and let it sit for a few minutes.
- Continue turning until the pipe loosens. Once it’s free, unscrew it completely by hand.
- Wipe away any old Teflon tape or debris from the wall fitting. Use your clean rag for this.
Step 3: Prepare the New Shower Arm Pipe
Before installing the new pipe, you need to prepare its threads. This ensures a leak-free connection.
- Take your new shower arm pipe.
- Wrap Teflon tape around the threads at the end that will connect to the wall fitting. Wrap it clockwise, so it tightens with the pipe.
- Apply about 3-5 wraps of Teflon tape. Ensure the tape is snug and covers the threads completely. Don’t let it hang over the end.
Step 4: Install the New Shower Arm Pipe
This is where your new pipe goes in. It’s a reverse of the removal process.
- Gently insert the threaded end of the new shower arm pipe into the wall fitting.
- Begin screwing it in clockwise by hand. Make sure it’s threading smoothly. If you feel resistance, stop and check that you’re not cross-threading.
- Once hand-tight, use your wrench to snug it up. You generally only need to tighten it about a quarter to a half turn past hand-tight. Don’t overtighten, as this can damage the fitting or the pipe. It should feel secure.
Step 5: Check for Leaks
The moment of truth! Time to turn the water back on and see if your work paid off.
- Turn the main water supply valve back on, slowly.
- Go back to your shower and turn on the faucet. Let the water run for a minute or two.
- Inspect the connection point at the wall carefully. Look for any drips or signs of leakage.
- If you see any leaks, turn the water off again. You might need to tighten the shower arm a little more or reapply Teflon tape, ensuring it’s wrapped correctly. Sometimes a small leak can be fixed by a slight tightening.
Step 6: Attach Your Showerhead
With the shower arm pipe securely in place and leak-free, you can now attach your showerhead.
- If your new shower arm came with a cover plate (flange), slide it onto the arm before attaching the showerhead. This covers the hole in the wall.
- Wrap Teflon tape around the threads of the shower arm. Again, 3-5 wraps clockwise.
- Screw your showerhead onto the shower arm threads. Hand-tighten first, then use a wrench to snug it up if needed (check your showerhead’s instructions, some don’t require a wrench).
Troubleshooting Common Issues
Even with careful work, you might run into a snag. Here are a couple of common problems and their solutions.
Stubborn Old Shower Arm
If the old shower arm won’t budge, don’t force it too much. Excessive force can damage the pipe inside the wall.
- Penetrating Oil: As mentioned, this is your best friend. Let it soak in.
- Heat: In some cases, a hairdryer or a heat gun on a low setting can help expand the metal slightly, making it easier to turn. Be cautious with heat around plastic parts or finishes.
- Correct Wrench Placement: Ensure you’re gripping the arm firmly and at the base where it meets the wall fitting.
Leaks After Installation
If you’ve completed the installation and notice a drip at the wall connection:
- Turn off the water immediately.
- Remove the shower arm again.
- Inspect both the wall fitting and the shower arm threads. Clean them thoroughly.
- Reapply Teflon tape. Make sure you’re wrapping it clockwise and covering all threads.
- Reinstall the shower arm. Tighten it just enough to create a seal. This might take a couple of tries.
You might also want to check the condition of the shower arm pipe you removed. If it was heavily corroded, that corrosion could have weakened the fitting inside the wall. If you suspect damage to the fitting itself, it might be time to call a plumber.
When to Call a Professional
While replacing a shower arm is a manageable DIY task for most, there are situations where you should step back and call a plumber.
- If the pipe inside the wall seems damaged or loose. This could indicate a bigger plumbing issue.
- If you encounter persistent leaks you can’t resolve. A professional has specialized tools and experience.
- If you’re uncomfortable with any part of the process. It’s always better to be safe than sorry with plumbing.
- If you need to replace the entire valve system. That’s a more complex job involving cutting into walls and significant pipe work.
Upgrading Your Shower Experience
Replacing your shower arm is also a great opportunity to enhance your shower.
Choosing the Right Shower Arm
Shower arms come in various lengths and styles. Consider:
- Length: A longer arm provides more reach, which is great if you’re tall or want a more expansive shower experience. A standard shower arm is usually around 10-12 inches.
- Finish: Match your existing fixtures. Chrome, brushed nickel, and oil-rubbed bronze are popular choices.
- Features: Some shower arms have built-in diverters if you want to switch between a fixed showerhead and a handheld one.
For more on maintaining different parts of your home, understanding how often you should replace vacuum filters can be helpful for general home upkeep knowledge. And if you’re doing a larger bathroom renovation, knowledge about seasonal prep might seem out of place, but the principles of careful planning and execution apply broadly across home maintenance.
Different Types of Showerheads
Once you have your new shower arm, you can explore different showerhead options:
- Fixed Showerheads: The most common type, mounted directly to the arm.
- Handheld Showerheads: These come with a hose and mount, offering flexibility.
- Rainfall Showerheads: Larger heads designed to mimic rainfall for a spa-like experience.
- Dual Showerheads: A combination of fixed and handheld, or two fixed heads.
The right showerhead can transform your daily shower. It’s an affordable upgrade that makes a big difference.
Final Thoughts on Shower Arm Replacement
Replacing a shower arm pipe is a straightforward plumbing repair. By following these steps, you can confidently tackle this project yourself. Remember to take your time, use the right tools, and always prioritize turning off the water supply.
A well-maintained shower system not only functions better but also adds to the overall comfort and value of your home. Happy showering!


Similar Posts



















