How to Make Fabric Storage Baskets at Home
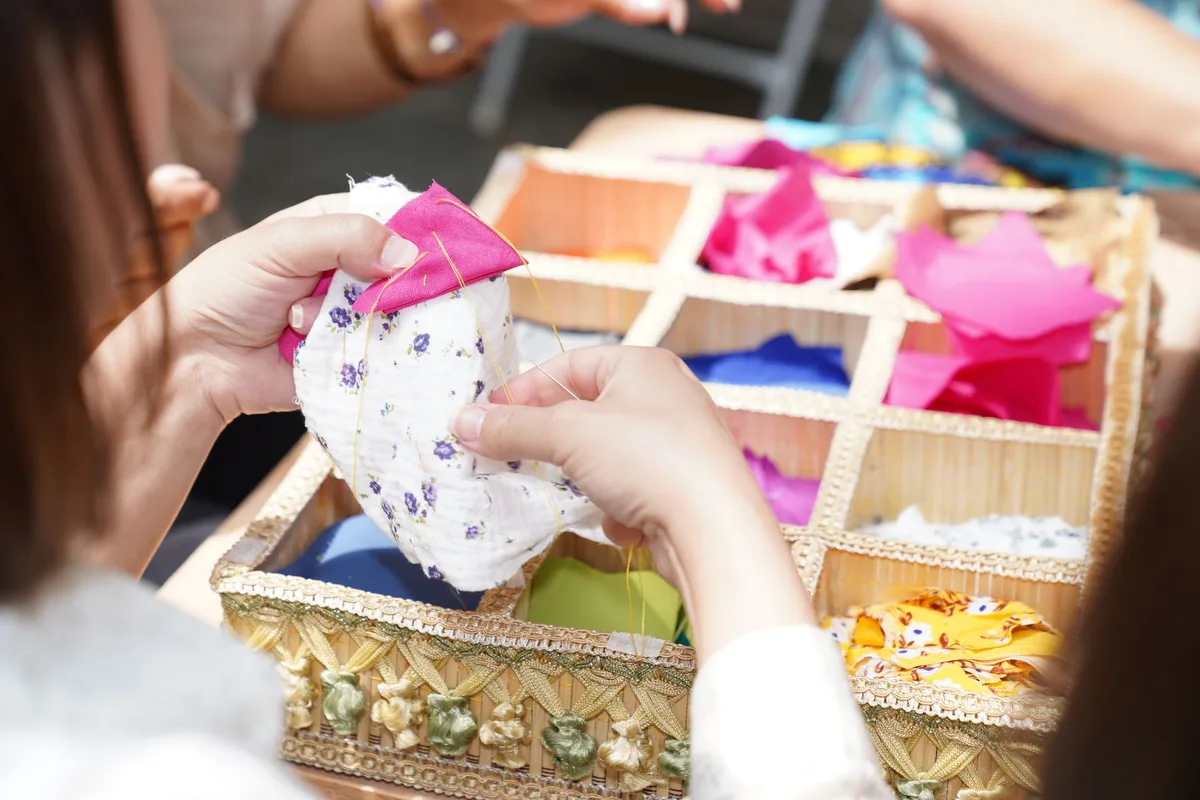
Tired of clutter? Those stray toys, craft supplies, or bits and bobs that seem to multiply overnight? Fabric storage baskets are the stylish, DIY solution you’ve been looking for.
They’re not just practical; they can seriously up your home décor game. And the best part? You don’t need to be a sewing expert to make them.
We’ll walk you through everything you need to know to create beautiful, functional fabric storage baskets right in your own home.
This isn’t about complicated quilty patterns or intricate embroidery. We’re talking about simple, straightforward methods that deliver impressive results. Imagine a tidy playroom, an organized craft corner, or even a chic way to store your throws.
All that’s within your reach. So, grab your fabric scraps, dust off that sewing machine (or get ready for some no-sew magic), and let’s get started on making your home, and your life, a little bit neater.
Why Make Your Own Fabric Storage Baskets?
There are plenty of reasons to go the DIY route with your storage solutions. Sure, you can buy baskets, but making them yourself offers a unique blend of benefits that are hard to beat.
Customization is Key
First off, customization is king. When you make your own, you control everything. The size, the shape, the fabric, it’s all up to you.
Need a tall, narrow basket for knitting needles? Easy. Want a wide, shallow one for magazines?
No problem. You can match your existing décor perfectly, choosing fabrics that complement your color palette or add a pop of personality. This level of personalization just isn’t available off the shelf.
Cost-Effective Solutions
Let’s talk budget. Fabric storage baskets can get pricey, especially the larger or more decorative ones. By using fabric scraps, remnants, or even old clothes, you can drastically cut down on costs.
This makes it a fantastic way to declutter and organize without breaking the bank. Plus, you’re giving new life to materials that might otherwise end up in landfill. That’s a win-win for your wallet and the planet.
The Satisfaction of Creating
There’s a unique sense of pride that comes with making something with your own hands. Knowing you designed and built that charming basket holding your essentials? That’s a pretty good feeling.
It’s a creative outlet, a stress reliever, and a practical skill all rolled into one.
Eco-Friendly Choices
Choosing to sew your own baskets is also an inherently eco-friendly decision. You can opt for sustainable fabrics, upcycle existing textiles, and avoid the packaging and shipping associated with mass-produced items. It’s a small step, but it contributes to a more mindful approach to consumption and home organization.
Essential Tools and Materials
Before we dive into the “how-to,” let’s get you prepped with everything you’ll need. Don’t worry; it’s not an intimidating list.
Fabric Choices
The beauty of fabric baskets is that they’re incredibly versatile fabric-wise.
- Cotton and Canvas: These are your workhorses. They’re durable, easy to sew, and come in an endless array of prints and colors. 100% cotton quilting fabric is great for lighter baskets, while a sturdy cotton canvas or duck cloth offers more structure.
- Linen: For a more sophisticated, natural look, linen is a fantastic choice. It has a lovely drape and ages beautifully.
- Denim: Old jeans can be repurposed into incredibly durable and stylish baskets.
- Upholstery Fabric: If you want something super robust and perhaps a bit more luxurious, upholstery fabric works well.
- Interfacing (Optional but Recommended): For added structure and to help your baskets stand up on their own, consider using fusible interfacing. Medium-weight is usually sufficient.
Sewing Supplies
If you’re going the sewing route, here’s what you’ll need:
- Sewing Machine: Any basic machine will do.
- Thread: Choose a strong, good-quality thread that matches or contrasts with your fabric.
- Fabric Scissors: Sharp scissors are essential for clean cuts.
- Pins: To hold your fabric pieces together.
- Measuring Tape or Ruler: For accurate cutting.
- Iron and Ironing Board: Pressing seams as you go makes a huge difference in the final look.
- Rotary Cutter and Cutting Mat (Optional): These make cutting quicker and more precise if you have them.
No-Sew Supplies
Don’t have a sewing machine or just prefer a quicker method? No problem!
- Fabric Glue or Strong Fabric Adhesive: Look for one that’s permanent and washable.
- Iron-On Hemming Tape or Fusible Webbing: These provide strong seams when ironed in place.
- Sharp Scissors: Still essential here.
- Iron and Ironing Board: Crucial for heat-activated tapes and glues.
- Binder Clips or Clamps: To hold glued seams while they dry.
Method 1: The Classic Sewn Fabric Basket (Beginner Friendly)
This method focuses on creating a sturdy, stand-alone basket. It’s perfect for beginners and uses simple straight stitches.
Step 1: Cut Your Fabric
Decide on the size of your basket. For this example, let’s aim for a basket that’s roughly 8 inches tall and 6 inches in diameter.
- For the Body: Cut two rectangles of fabric. The height should be your desired basket height plus about 1 inch for seam allowance (so, 9 inches). The width should be the circumference of your desired base plus about 1 inch (so, for a 6-inch diameter base, the circumference is approximately 19 inches, making your width 20 inches).
- For the Base: Cut one circle of fabric. The diameter of this circle will be your basket’s base diameter (so, 6 inches). Add a 1/2 inch seam allowance all around, making your circle 7 inches in diameter.
- For the Top Hem (Optional but Recommended): Cut one rectangle of fabric. The height should be about 2 inches. The width should be the circumference of your basket body plus 1 inch (so, 21 inches).
If you’re using interfacing, cut pieces the same size as your body and base fabric pieces. Fuse the interfacing to the wrong side of your main fabric pieces according to the manufacturer’s instructions.
Step 2: Sew the Basket Body
- Take your two body rectangles. Place them right sides together.
- Pin along one of the long edges. This will become your back seam.
- Sew a straight stitch along this edge, about 1/2 inch from the raw edge.
- Now, you need to form the cylinder. Take one of the short raw edges and align it with the opposite short raw edge, forming a circle. Pin these two raw edges together. This is where your side seam will be.
- Sew along this pinned edge with a 1/2 inch seam allowance. Backstitch at the beginning and end for security.
- Trim excess fabric if needed, especially at the corners of the seam allowance.
- Turn the tube right side out. You should have a fabric cylinder with one open end and one closed end.
Step 3: Attach the Base
- Take your fabric circle for the base. If you haven’t already, mark quarter points around the circumference of the circle.
- Now, take your fabric cylinder (the body) with the closed end down. Mark quarter points on the raw edge of this opening.
- With the basket body right side out, place the fabric circle (the base) right side up inside the opening.
- Align the raw edges of the body with the raw edge of the base. Place the quarter marks on the circle onto the quarter marks of the body. Pin securely at these marks.
- Continue pinning around the entire circumference, easing the fabric as needed. The circle might seem slightly smaller or larger than the opening, but pinning at quarter points helps distribute it evenly.
- Sew around the pinned edge with a 1/2 inch seam allowance. Go slowly, especially around the curve of the base. Backstitch at the start and end.
- Turn the basket right side out. The base should now be attached. Press the seam where the base meets the body.
Step 4: Create the Top Hem
- Take your hem strip and place it right sides together with the top raw edge of the basket. Align the raw edges.
- Pin along the raw edge.
- Sew with a 1/2 inch seam allowance.
- Press the hem strip upwards, away from the basket body, along the seam line.
- Fold the hem strip down towards the inside of the basket, wrong sides together. Press firmly to create a crisp fold.
- Tuck the raw edge of the hem strip under so it’s hidden. Pin in place.
- Topstitch around the top edge of the basket, about 1/8 inch from the folded edge, to secure the hem. This also gives a nice finished look.
Your classic sewn fabric basket is complete! It should stand up on its own thanks to the double layers of fabric and the structured base.
Method 2: The No-Sew Fabric Basket (Quick & Easy)
If you’re looking for speed and don’t own a sewing machine, this no-sew method is a lifesaver. It uses fabric glue and hemming tape to create a similar result.
Step 1: Cut Your Fabric
The cutting dimensions are the same as Method 1.
- For the Body: Cut two rectangles. Height: desired height + 1 inch. Width: circumference of base + 1 inch.
- For the Base: Cut one circle. Diameter: desired diameter + 1 inch.
- For the Top Hem: Cut one rectangle. Height: 2 inches. Width: circumference of basket body + 1 inch.
If using interfacing for structure, you’ll still need to fuse it to the wrong side of your fabric pieces, if possible. If fusing isn’t an option, you might need to use a thicker fabric or a double layer of fabric for the body without interfacing.
Step 2: Glue the Basket Body
- Take your two body rectangles. Place them right sides together.
- Along one of the long edges, apply a generous bead of fabric glue. Ensure it goes all the way to the edges and corners.
- Press the two fabric pieces together firmly. Use binder clips or clamps to hold the seam in place while the glue dries, following the glue manufacturer’s recommended drying time.
- Once the first seam is dry and secure, you have a double-layered tube. Now, you need to create the side seam. Take one short raw edge and align it with the opposite short raw edge, forming a cylinder. Apply fabric glue along this edge.
- Press firmly and clamp/clip until dry. You now have a fabric cylinder with one open end.
Step 3: Attach the Base (No-Sew)
- Take your fabric circle for the base. Apply fabric glue around the raw edge of the fabric cylinder (the open end). Make sure the glue goes all the way around.
- Carefully place the fabric circle onto the glued edge, aligning the centers as best as you can.
- Press firmly. You might find it easier to insert the base inside the cylinder before gluing. Apply glue to the raw edge of the cylinder and then carefully insert the base circle, pressing the edges together from the inside and outside.
- Use clamps or clips to hold the base securely in place while it dries completely. This can take several hours depending on the glue.
Step 4: Create the No-Sew Top Hem
- Apply fabric glue along the top raw edge of the basket body.
- Take your hem strip and align its raw edge with the glued edge, right sides together. Press firmly. Let it dry thoroughly.
- Once dry, fold the hem strip up and away from the basket body.
- Fold the upper raw edge of the hem strip inwards, creating a clean, folded edge.
- Apply fabric glue to this folded edge and press it down firmly onto the inside of the basket, concealing the raw edge.
- For extra security and a neat finish, you can use iron-on hemming tape here. Fold the hem strip and the raw edge inwards as described, then run an iron over it to secure the fold. The heat will activate the tape. For a cleaner look, you can apply fabric glue one last time to the inside seam of the hem and press firmly, using binder clips to hold it in place while drying.
This no-sew method yields a surprisingly sturdy and attractive basket. It’s a fantastic option for quick organization projects or when you don’t have sewing equipment readily available.
Method 3: The Bucket-Style Basket (Minimalist Design)
This variation offers a simple, clean bucket shape, ideal for storing items like toys, yarn, or even office supplies. It’s also very straightforward to make.
Step 1: Cut Your Fabric
- Body Fabric: Cut one rectangle. For a basket that will finish around 10 inches tall and 8 inches in diameter: Height = 10.5 inches (desired height + 1/2 inch seam allowance). Width = 26.5 inches (circumference of base + 1 inch seam allowance for circumference + 1 inch seam allowance for the single side seam).
- Base Fabric: Cut one circle with a diameter of 8 inches.
- Interfacing (Optional): Cut interfacing for your body rectangle and base circle, minus the seam allowances.
Step 2: Prepare the Body
- Fuse interfacing to the wrong side of your body rectangle if using.
- Fold the body rectangle in half lengthwise, right sides together, so the short edges meet. Pin and sew this short edge with a 1/2 inch seam allowance. This creates a large fabric tube with your seam running down one side.
- Press the seam allowance open flat.
Step 3: Attach the Base
- Mark quarter points on the raw edge of the open end of your fabric tube.
- Mark quarter points on your base circle.
- With the body tube right side out, place the base circle right side up inside the opening.
- Align the raw edges and pin the quarter points together first.
- Continue pinning around the entire circumference, easing the fabric to fit.
- Sew with a 1/2 inch seam allowance. It’s crucial to sew carefully here to avoid puckering the base.
- Turn the basket right side out. Press the seam where the base meets the body.
Step 4: Finish the Top Edge
For a simple, clean finish, you can:
- Fold and topstitch: Fold the top raw edge down by 1/2 inch towards the inside, press, then fold down another inch, press again, and topstitch close to the folded edge. This creates a neat hem.
- Add a simple binding: Cut a strip of fabric about 1.5 inches wide and long enough to go around the top edge. Fold it in half lengthwise and press. Align the raw edge of the binding with the raw edge of the basket top and sew with a narrow seam allowance. Fold the other edge of the binding to the inside and stitch in place.
This bucket-style basket is incredibly versatile and looks fantastic in solid colors or simple patterns.
Tips for Making Your Fabric Baskets Even Better
- Pre-wash Fabrics: Always pre-wash your fabric before cutting. This prevents shrinkage and color bleeding after your basket is finished.
- Use a Walking Foot: If your sewing machine has a walking foot, use it for sewing thick layers of fabric or fabric with a lot of structure. It helps feed the layers evenly.
- Taller Baskets: For very tall baskets, you might want to reinforce the side seams by sewing a second line of stitching parallel to the first.
- Handles: If you want to add handles, cut two strips of fabric (e.g., 1.5 inches wide by 12 inches long). Fold and sew them like you would a fabric tie or strap. Attach them securely to the sides of your basket during the hemming process or by hand-stitching them firmly afterwards.
- Decorative Touches: Don’t be afraid to add embellishments! Pockets, ric-rac, appliqué, or contrasting fabric for the inside can all add personality.
- Stabilize the Base: For extra sturdy bases, consider cutting your base from a thicker material like canvas or even adding an extra layer of interfacing.
Common Challenges and How to Solve Them
Even with simple projects, you might run into a snag or two. Here’s how to tackle them:
Basket Won’t Stand Upright
- Problem: Your basket isn’t firm enough and flops over.
- Solution: This is usually due to insufficient interfacing or a lack of structure in the fabric used. For solved baskets, you can try using a spray starch to stiffen the fabric, or internally add a stiff layer like a plastic canvas cut to size (though this will make it less flexible). For future baskets, definitely use interfacing or a sturdier fabric like canvas.
Uneven Base Attachment
- Problem: The base looks lumpy or doesn’t lie flat.
- Solution: This often happens when pinning the circular base to the rectangular body. Make sure you’ve marked and aligned quarter points accurately. Sew slowly and use clips to hold the fabric taut as you stitch. If it’s already sewn and lumpy, you might carefully unpick a section and re-sew, paying closer attention to easing the fabric.
Fabric Puckering
- Problem: Your seams look gathered or puckered.
- Solution: This can be caused by too much tension on the sewing machine, sewing too fast, or the feed dogs not working properly. Ensure your machine is set to a medium stitch length and tension. If you’re sewing thick layers, a walking foot can prevent this.
Getting Creative with Your Fabric Baskets
Once you’ve mastered the basic construction, the possibilities for creativity are endless.
The Medley Basket
Use up small fabric scraps by cutting them into strips or squares. Piece them together to create a unique, patchwork-style fabric for your basket body or base. This is a fantastic way to use up remnants and create truly one-of-a-kind pieces.
The Reversible Gem
Make your basket reversible by creating two identical basket shells (body and base) and sewing them together, leaving a small opening to turn them right side out. Then, hand-stitch the opening closed. This gives you two different looks in one basket!
The Decorative Planter Cover
Line your fabric basket with a waterproof material like a plastic tablecloth or a silicone liner. Now it’s perfect for holding small potted plants, adding a touch of handmade charm to your greenery.
The Nursery Essential
Soft fabric baskets are perfect for a nursery. Use gentle, washable fabrics and skip stiff interfacing if you want a super-soft feel for storing diapers, wipes, or baby toys.
Final Thoughts on DIY Fabric Storage
Making fabric storage baskets at home is a rewarding project that combines practicality with personal style. Whether you’re a seasoned sewer or a curious beginner looking to try a no-sew method, there’s a technique out there for you. You’ll declutter your space, save money, and create beautiful, functional items that add warmth and personality to your home.
So, why wait? Gather your supplies and start transforming your living space, one cozy fabric basket at a time.


Similar Posts



















