How to Replace Toilet Seat Plastic Nuts
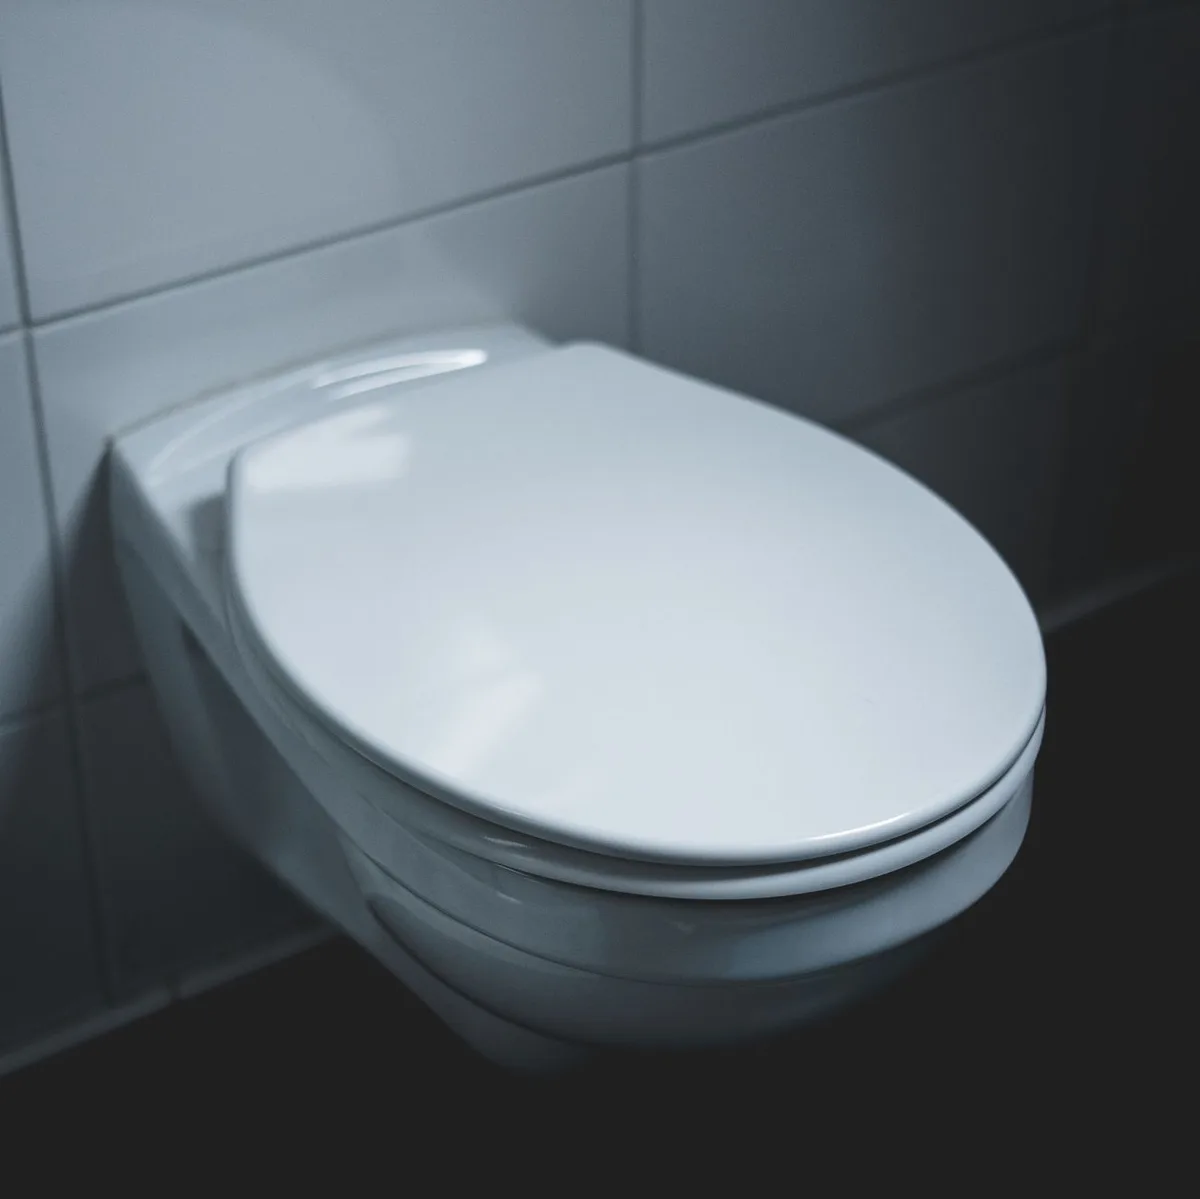
That wobbly toilet seat. It’s an annoying inconvenience nobody wants to deal with. More often than not, the culprit isn’t a broken seat itself, but those little plastic nuts holding it in place.
They can become loose, brittle, or even strip over time. The good news? Replacing them is a straightforward DIY job.
You don’t need to be a plumber or a handyman to tackle this. In fact, it’s one of the simpler home maintenance tasks you can accomplish.
This article dives deep into exactly how to replace those often-fussy plastic toilet seat nuts. We’ll cover everything you need to know, from identifying the right parts to getting your new seat snug and secure. We’ll break down the process step-by-step, ensuring you can complete this task with confidence and ease.
No more wiggling, no more awkward adjustments. Just a solid, stable toilet seat.
Why Your Toilet Seat Nuts Need Replacing
Toilet seat nuts, typically made of plastic, are designed to be lightweight and corrosion-resistant. They secure the toilet seat hinge arms to the toilet bowl. Over time, several factors can lead to their failure:
- Wear and Tear: Constant use, up and down motion, and even cleaning can stress the plastic. This friction can cause the threads to wear down.
- Brittle Plastic: Exposure to cleaning chemicals, or simply aging, can make the plastic brittle. Brittle plastic is prone to cracking or breaking.
- Over-Tightening: Forcing the nuts too tight can strip the threads, making them unable to hold the seat firmly.
- Under-Tightening: Conversely, loose nuts are the most common reason for a wobbly seat. If they aren’t tightened enough initially, or if they loosen over time, you’ll notice the instability.
- Chemical Exposure: Harsh toilet bowl cleaners or disinfectants can degrade the plastic over time, making it weak and prone to breaking.
You’ll know it’s time for a replacement when your toilet seat feels loose, wobbles excessively, or if you hear cracking sounds when you sit down. Sometimes, you might even see visible cracks or damage on the nuts themselves.
What You’ll Need: Your Toilet Seat Nut Replacement Toolkit
Before you start, gather these simple tools. You likely have most of them already.
- Replacement Nuts and Bolts: Most toilet seats come with kits that include these. If yours didn’t, or you’ve lost them, you’ll need to purchase a new universal toilet seat bolt kit. These are readily available at hardware stores and online. Make sure the new hardware is compatible with your existing seat.
- Pliers (Adjustable or Regular): These are essential for gripping and turning the old nuts. Some nuts have ridged edges designed for pliers. If yours have a wingnut-style head, pliers are your best bet.
- Screwdriver (Flathead or Phillips): Depending on the type of screw head on the top of your toilet seat hinge, you might need a screwdriver to hold it steady while you loosen or tighten the nuts underneath.
- Rag or Old Towel: To protect the porcelain from any accidental scratches and to catch any drips.
- Gloves (Optional but Recommended): For hygiene.
- Penetrating Oil (Optional): If the nuts are really stuck, a little penetrating oil can help loosen them.
Step-by-Step: How to Replace Toilet Seat Plastic Nuts
Let’s get down to business. This process is surprisingly quick.
Step 1: Clear the Area and Prepare for Access
First, ensure you have a clear workspace around the back of the toilet. You’ll be working underneath the toilet bowl rim. It’s a good idea to lay down a rag or towel underneath the working area.
This protects the floor and helps catch any small parts that might fall.
Step 2: Locate the Existing Nuts
The plastic nuts are located underneath the toilet bowl, directly behind the hinge arms of the toilet seat. You’ll see the bottom of the bolts protruding through the toilet bowl.
Step 3: Loosen and Remove the Old Nuts
This is where your pliers come in. Gently grip one of the plastic nuts. Most of these nuts are designed to be twisted counter-clockwise to loosen.
- If your seat has a retaining screw on top: You might need to use a screwdriver to hold the bolt head steady from the top of the seat while you turn the nut from the bottom. This prevents the entire bolt from spinning.
- If the nuts are very tight or stuck:
- Try a little penetrating oil. Apply a small amount around the threads of the bolt. Let it sit for a few minutes.
- Apply steady, firm pressure. Avoid jerky movements, which can strip the plastic.
- If the plastic is brittle and breaking: You might need to carefully break the nut apart with pliers. Be cautious not to damage the toilet bowl.
Once a nut is loose enough, you should be able to unscrew it by hand. Repeat this process for the other side.
Step 4: Lift Off the Old Toilet Seat
With both nuts removed, the old toilet seat should now lift away from the toilet bowl. If it feels stuck, check for any remaining tension or debris.
Step 5: Clean the Mounting Area
This is the perfect time to give the area around the bolt holes a good clean. Toilet seats accumulate grime, so a little scrub here will make the new installation much cleaner. Use your disinfectant spray and a cloth.
Step 6: Position the New Seat (or Hinges)
Take your new toilet seat bolts (or the bolt kit if you’re just replacing nuts and bolts) and thread them through the hinge arms of your new or existing toilet seat.
Step 7: Insert the Bolts into the Toilet Bowl Holes
Align the bolts with the holes in the toilet bowl. Gently lower the seat into place, guiding the bolts through the holes.
Step 8: Attach the New Plastic Nuts
From underneath the toilet bowl, thread the new plastic nuts onto the bolts. Start by hand-tightening them as much as you can. This helps ensure the threads catch properly and avoids cross-threading.
Step 9: Tighten the Nuts Securely
Once the nuts are hand-tight, use your pliers to tighten them further.
- The Goal: You want the seat to be snug and stable, but not so tight that you risk cracking the new plastic nuts or damaging the toilet bowl.
- Test for Wobble: As you tighten, periodically check the seat for stability. Give it a good wiggle. When there’s minimal to no wobble, you’ve reached the right tightness.
- If your seat has retaining screws: Again, use a screwdriver to hold the bolt head steady from the top while you tighten the nuts from underneath.
Congratulations! You’ve successfully replaced your toilet seat plastic nuts. Your seat should now be stable and secure.
Troubleshooting Common Toilet Seat Nut Problems
Even with careful work, you might run into a few hitches. Here’s how to handle them:
The Nuts Won’t Budge
This is common, especially with older installations. The plastic can become fused to the bolt threads due to mineral buildup or chemical residue.
- Penetrating Oil is Your Friend: Apply a generous amount of penetrating oil. Let it soak for at least 15-20 minutes, or even overnight if necessary. Reapply and try again.
- Heat (Carefully): A hairdryer on a low setting can sometimes help loosen stubborn plastic. Apply heat to the nut for a minute or two, then try to loosen it with pliers. Be very careful not to overheat or melt the plastic, and avoid getting water near any electrical outlets.
- Cutting the Bolt: As a last resort, you might have to cut the bolt. Use a small hacksaw or a rotary tool with a cutting disc. Be extremely careful not to nick the porcelain of the toilet bowl. Cut on either side of the nut, or through the bolt shaft itself to break it free.
The New Nuts Won’t Tighten Properly
This usually means the threads are stripped, either on the nut or the bolt, or you’ve cross-threaded them.
- Check for Damage: Carefully inspect the threads on both the bolt and the new nut. If either looks damaged, you’ll need to try a different bolt or nut.
- Start by Hand: Always start threading the nuts by hand. This feels the threads and ensures they’re engaging correctly. If you feel any resistance, stop, back it off, and try again. It’s much easier to re-seat a partially threaded nut than to fix one that’s cross-threaded.
- Ensure Alignment: Make sure the seat and hinges are perfectly aligned with the holes in the bowl before you start tightening. A slight angle can lead to cross-threading.
The Seat Still Wobbles After Replacement
You’ve tightened everything, but it’s still not stable?
- Check the Bowl: Is the toilet bowl itself perfectly stable on the floor? A rocked bowl can make any seat feel wobbly.
- Are the Brackets Worn? Sometimes, the plastic brackets on the toilet seat itself can wear down, especially if they’ve been rattling around for a long time. If the brackets look damaged or excessively loose where they attach to the seat, you might need to replace the entire toilet seat. Maintaining other home appliances, like ensuring your vacuum filter is clean, can prevent you from having to deal with recurring issues.
- Uneven Tightening: Ensure you’ve tightened both nuts evenly. Overtightening one side before the other can create a tension that feels like a wobble.
- The Toilet Seat Itself: Is the toilet seat warped or damaged? If the underside of the seat where it meets the bowl isn’t flat, it can cause instability.
Types of Toilet Seat Fasteners
While we’re focusing on plastic nuts, it’s worth noting that toilet seats use various fasteners. Understanding these can help you identify what you have and what you might need for a replacement.
- Plastic Nuts and Bolts: The most common type. The nuts are usually wingnuts or have a simple octagonal or hexagonal shape designed to be gripped by pliers. The bolts typically have a wingnut head (for hand tightening) or a slot for a screwdriver on the top.
- Quick-Release Systems: Many modern toilet seats feature quick-release mechanisms. These often have special plastic levers or buttons that allow the seat to be detached for easier cleaning. The mounting hardware underneath these can vary, but often still involves a form of plastic nut and bolt.
- Metal Fasteners: Some heavy-duty or older toilet seats might utilize metal nuts and bolts. These are more durable but can be prone to rust.
When purchasing replacements, ensure you get the correct type and size for your specific toilet seat. Universal kits are widely available and designed to fit most standard toilets. For more specific needs, always check the manufacturer’s recommendations, much like when you’re trying to figure out how to choose vacuum for hardwood floor, ensuring compatibility is key.
Maintaining Your Toilet Seat for Longevity
Once you’ve got your new nuts tightened and your seat stable, a little ongoing care can extend its life.
- Gentle Cleaning: Avoid harsh abrasives or strong chemicals directly on the plastic nuts and bolts. Stick to mild household cleaners.
- Regular Checks: Every few months, give your toilet seat a gentle wiggle test. If you notice any looseness developing, tighten the nuts slightly. It’s much easier to prevent a wobble than to fix a loose seat.
- Don’t Force It: Avoid slamming the toilet seat down or putting excessive weight on one side, which can stress the mounting hardware.
Replacing toilet seat plastic nuts is a simple fix that makes a big difference in comfort and stability. With this guide, you’re well-equipped to tackle the job yourself and enjoy a perfectly fitted toilet seat. Happy fixing!


Similar Posts



















