How to Hide Trash Can
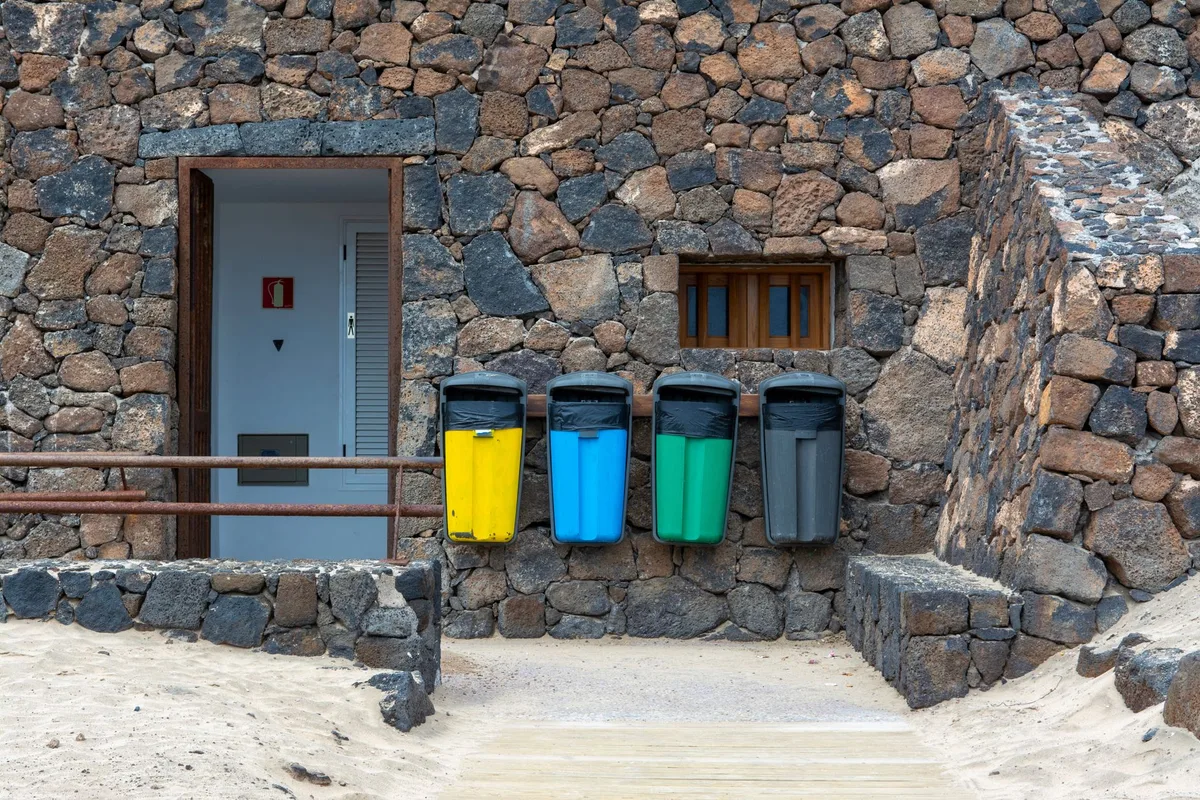
Let’s be honest: nobody wants a trash can as the centerpiece of their outdoor space. But we all need one. The challenge is balancing function with aesthetics.
You want easy access for daily use, but you don’t want the neighbors to see your bin collection from the sidewalk.
I’ve spent years helping homeowners solve this exact problem. Whether you’ve got a single can by the back door or a row of recycling bins in the alley, there’s a solution that fits your space, budget, and style. In this article, I’ll walk you through the best methods to hide a trash can, from simple DIY screens to custom-built enclosures.
You’ll learn what works, what doesn’t, and how to get it done without overcomplicating things.
Image source: Pexels / Jan van der Wolf (Pexels License)
Why Bother Hiding Your Trash Can?
It’s not just about curb appeal, though that’s a big part of it. A visible trash can can make your yard look cluttered and unkempt. It attracts pests, smells, and can even lower your property value if it’s in plain sight.
But there are practical reasons too.
First, a well-hidden trash can is easier to maintain. When it’s tucked away in a dedicated enclosure, you’re less likely to trip over it or have it knocked over by wind or animals. Second, it keeps the area cleaner.
Cans exposed to direct sunlight degrade faster, and the heat can cause odors to ripen. Third, if you live in an HOA or a neighborhood with strict rules, hiding your trash can might be required.
I’ve seen homeowners who just threw a tarp over their bins. That works for a week, maybe two. Then the tarp rips, the wind catches it, and you’re back to square one.
A proper solution lasts years and actually makes your life easier.
Assess Your Space First
Before you buy anything or build anything, take a hard look at where your trash can lives. Measure the area. Note the sun exposure, the ground surface, and the path you take to get the bin to the curb.
Ask yourself these questions:
- How many cans do I need to hide? (One? Two? A recycling bin plus a compost bin?)
- How often do I need access? (Daily kitchen scraps? Weekly bulk pickup?)
- Is the ground level or sloped? Concrete, dirt, or grass?
- Do I need to wheel the can to the street, or does the truck come to me?
These answers will guide your choice. A narrow side yard between the house and fence calls for a different solution than a wide-open back patio. You don’t want to build a beautiful enclosure that’s impossible to roll the can in and out of.
I once helped a friend who built a massive wooden box, only to realize the lid was too low for the can to slide out. He had to lift the can over the front lip every week. That gets old fast.
Always factor in the height of the can plus the lid clearance.
Top Methods to Hide a Trash Can
I’ve broken down the most effective strategies into categories. Each has its pros and cons, so pick the one that matches your skill level, budget, and space.
1. Using a Storage Cabinet or Deck Box
This is the easiest solution for most people. You buy a pre-made cabinet or deck box, pop your trash can inside, and you’re done. Many of these units are designed specifically for trash cans, with a hinged lid or a door that opens for easy access.
The key is to pick a cabinet that’s large enough to hold your can and allow airflow. Trapped moisture leads to mold and smells. Look for models with ventilation slots or a gap around the lid.
Also, check the material: resin or plastic cabinets are lightweight and weather-resistant. Wood cabinets look nicer but require annual sealing or painting.
I’ve used a resin deck box for my recycling bins for three years. It sits on the side of the house, matches the siding, and no one even knows it’s there. The lid flips up, and I can toss in bottles and cans without opening a separate door.
For a single trash can, you can find these boxes for under $100 at big-box stores.
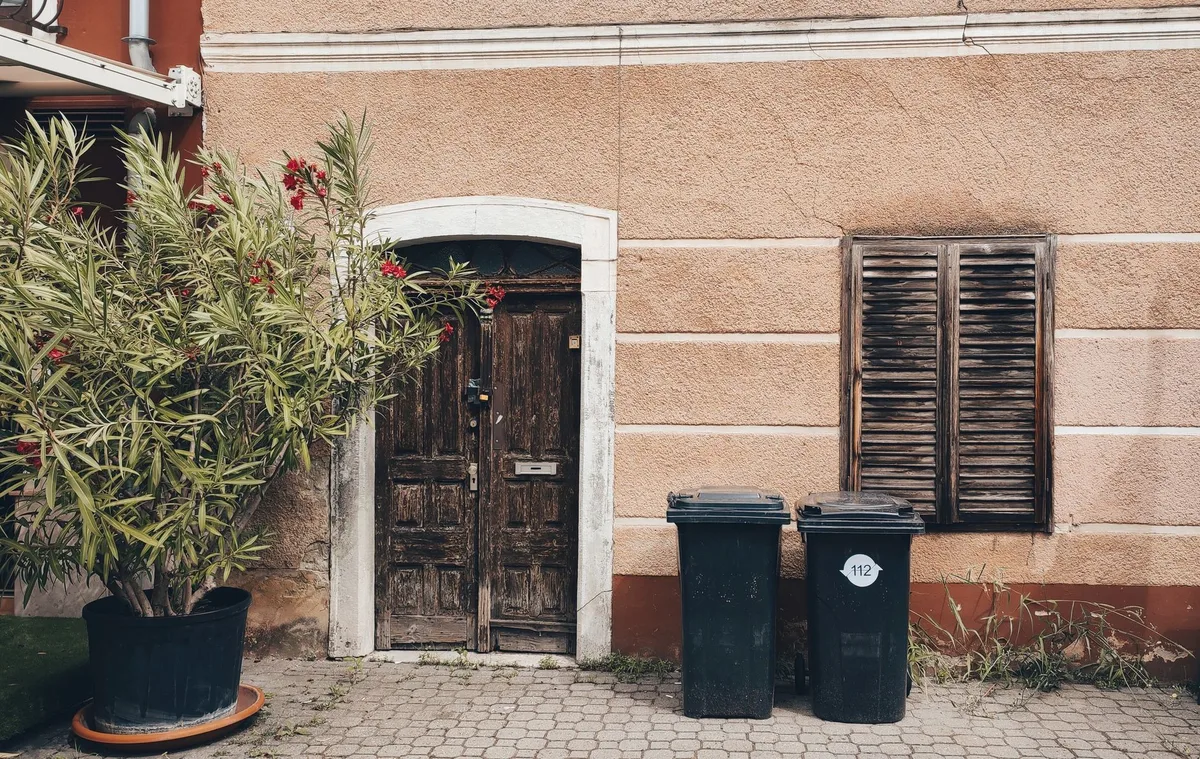
Image source: Pexels / Jade Sandra (Pexels License)
Pros:
- Zero DIY skills required.
- Portable, you can move it if you rearrange your yard.
- Often comes with a lockable lid, keeping animals out.
Cons:
- Limited size options. You may need a larger cabinet for a standard 32-gallon can.
- Can look cheap if you buy the thin plastic ones. Spend a little more for a sturdy model.
- Not ideal for very tall cans (like the 96-gallon rolling bins used in many cities).
Where to place it:
Against a wall, under a window, or at the end of a patio. Avoid placing it directly in the sun if possible, the heat inside the box can get intense.
2. Building a Freestanding Screen or Pergola
If you want something more permanent and custom, a freestanding screen is the way to go. This is a simple structure, a few posts, some lattice or slats, and a roof if you want. It creates a defined area that hides the can while still allowing airflow.
I built a 4-foot-tall screen out of cedar lattice for my own backyard. It took a weekend, cost about $80 in materials, and now it screens my compost bin and trash can from the patio. The lattice lets air circulate, so smells don’t get trapped.
And because it’s not a solid box, it doesn’t feel like a fortress.
For a more finished look, you can add a pergola-style roof with crossbeams. That gives you a place to hang planters or string lights, turning a functional screen into a garden feature. The key is to make the screen tall enough to hide the can but not so tall that it blocks light or feels oppressive.
Image source: Pexels / Phalgunn Maharishi (Pexels License)
Pros:
- Fully customizable. You decide the height, width, and material.
- Can double as a trellis for climbing plants.
- Often cheaper than a pre-made cabinet if you have basic tools.
Cons:
- Requires some DIY skill. You’ll need to cut wood, set posts, and possibly concrete the base.
- Not portable. Once it’s in the ground, it’s staying.
- May need a permit if it’s attached to the house or over a certain height.
Materials to consider:
- Cedar or redwood: naturally rot-resistant, looks great.
- Pressure-treated pine: cheaper but needs sealing.
- Metal or PVC lattice: low maintenance, modern look.
Pro tip:
Make the screen at least 4 inches wider than the trash can on each side. That gives you room to easily lift the can in and out. Also, leave a slight gap at the bottom so you can hose out the area if needed.
3. Enclosing the Can in a Built-In Structure
For the ultimate hiding solution, build a permanent enclosure. This is a dedicated structure, often attached to the house, garage, or fence, that completely conceals the trash can. Think of it as a small shed or a cabinet that’s built into the landscape.
I’ve designed these for clients who had a blank wall next to their garage. We framed a 3-foot-deep box, clad it in the same siding as the house, and added a flat roof with a slope for drainage. The front door opens wide enough to roll the can in and out.
Inside, we added a small shelf for extra bags or deodorizer.
This approach is the most expensive and labor-intensive, but it’s also the most seamless. If done right, it looks like an original part of the house. The trash can disappears.
Pros:
- Highest aesthetics. It blends into the architecture.
- Very secure, you can lock the door.
- Can include ventilation, lighting, and even a built-in hose bib for cleaning.
Cons:
- Requires construction skills or a contractor.
- Permits may be needed, especially if it’s attached to the house.
- Not easily moved or changed. Think carefully before committing.
Tips for a successful built-in:
- Use the same materials and colors as your house or fence.
- Ensure the floor is slightly sloped toward the door for drainage.
- Install a vent or a small fan to prevent odors.
- Make the door wide enough for the can to roll through without scraping.
4. Using Plants and Landscaping
Sometimes the best hiding method is green. Use tall shrubs, ornamental grasses, or a hedge to create a natural screen around your trash can area. This is a softer approach that adds life to your yard.
I’ve seen people plant a row of arborvitae along the side of the house, then place the cans behind them. The evergreens provide year-round coverage. For a quicker solution, use large potted plants like bamboo or ficus that you can move around.
Pros:
- Enhances the landscape.
- Low cost if you already have plants.
- Natural and organic look.
Cons:
- Takes time for plants to grow tall enough.
- Seasonal, deciduous plants lose leaves in winter.
- Doesn’t block odors or pests as well as a solid structure.
Best plants for trash can screening:
- Arborvitae (narrow, fast-growing, stays green).
- Boxwood (dense, low maintenance).
- Ornamental grasses (tall and airy, good for summer).
- Holly (prickly leaves deter animals).
Pro tip:
Place the cans on a concrete pad or gravel to prevent mud. Then plant the screen around the pad. That way, you still have a clean, dry surface for the cans.
5. Adding a Simple Lattice or Trellis
If you already have a spot where the trash can sits, but you just want to break up the line of sight, a lattice or trellis panel is a quick fix. Mount it to the wall or fence, and let it extend a few feet out. Then train a climbing vine like ivy or jasmine over it.
This is a halfway solution. It doesn’t fully hide the can, but it draws the eye away. For a small side yard, it can be enough.
Pros:
- Very cheap and easy.
- Adds vertical interest.
- Can be removed or changed later.
Cons:
- Not a complete concealment.
- Vines need maintenance.
- Won’t block wind or rain.
How to Make Your Trash Can Hideout Actually Work
Hiding the can is step one. Making it functional and pleasant is step two. Here are the non-negotiable details.
Ventilation
I can’t stress this enough. A sealed box with no airflow turns into a sauna for your trash. In summer, the heat accelerates decomposition, and the smell can be overwhelming.
Every enclosure, whether it’s a cabinet, screen, or built-in, needs ventilation.
If you’re building a box, add a few louvers or a gap at the top and bottom. For a cabinet, leave the lid slightly ajar or drill a couple of 1-inch holes in the back. If you’re using a pre-made deck box, check if it has vents.
If not, drill some yourself.
Drainage
Spills happen. Rain gets in. If your enclosure has a floor, make sure it slopes or has a drain hole.
Otherwise, you’ll end up with a smelly puddle at the bottom. I’ve seen enclosures that turned into mosquito breeding grounds because of standing water. A simple gravel base or a plastic grate can solve this.
Access
Think about the daily action. You need to open the lid, toss in a bag, and maybe roll the can to the curb. If the enclosure makes any of these steps hard, you’ll stop using it.
That’s a failed solution.
For a cabinet, the door should open at least 180 degrees. For a screen, the opening should be wide enough to walk through with the can. For a built-in, the door should be tall enough to accommodate the can’s lid when it’s open.
Odor Control
Even with ventilation, trash smells. Consider adding a liner inside the enclosure that’s easy to clean. A removable plastic tray or a bucket-style liner works well.
You can also place a small bag of activated charcoal or a commercial deodorizer inside. Some people add a few drops of essential oil to the wood or plastic.
Common Mistakes to Avoid
I’ve seen plenty of well-intentioned projects go wrong. Here are the biggest pitfalls.
Making the enclosure too small.
You measure your can, build a box to those exact dimensions, and then realize you can’t fit your hand inside to grab the handle. Always add at least 4 inches of extra width and depth. And remember the lid clearance.
Forgetting about the wheels.
If your trash can has wheels, the floor of the enclosure needs to be smooth and level. A bumpy surface will make it hard to roll the can in and out. Concrete or pavers are ideal.
Gravel can work, but it’s harder to push over.
Using materials that rot.
Outdoor enclosures take a beating. Rain, snow, sun, bugs. Don’t use untreated wood.
Use cedar, redwood, or pressure-treated lumber. If you’re painting, use exterior-grade paint. If you’re using metal, make sure it’s galvanized or coated.
Blocking access to the can’s lid.
Some enclosures have a top that’s too low. You can’t open the trash can lid all the way, so you have to lift the bag out sideways. That’s a mess waiting to happen.
Make sure the enclosure’s lid or roof is high enough to allow the trash can’s lid to open fully.
Not securing the enclosure.
Wind can knock over a lightweight screen. If you’re using a freestanding cabinet, anchor it to the ground or wall. Otherwise, a storm will send it tumbling, and your trash can will be exposed anyway.
Real-World Examples
I worked with a client in a tight urban row house. She had a tiny backyard, maybe 10 feet wide. The trash can sat next to the back door, visible from the kitchen window.
She hated it. We installed a small lattice screen on the fence, about 3 feet tall, and planted a climbing hydrangea. The screen cost $40.
The plant cost $15. Two years later, the hydrangea covers the entire screen, and the trash can is invisible from the house. It’s one of the cheapest solutions I’ve ever seen, and it works beautifully.
Another client had a large family with three cans, trash, recycling, and yard waste. They built a custom wooden enclosure attached to the garage. It has double doors, a sloped roof, and a concrete floor.
Inside, they added a pressure-treated shelf for extra bags. The whole thing cost about $600 in materials (they did the labor themselves). It looks like a small shed, but it’s less than 4 feet deep.
The cans roll out easily, and the enclosure matches the house’s white trim. Five years later, it’s still holding up.
Maintenance Tips for Your Trash Can Hideaway
Once you’ve got your solution in place, don’t set it and forget it. A little maintenance keeps it working and looking good.
- Clean the enclosure regularly. Hose it down every few months. If you have a solid floor, scrub it with a mild bleach solution to kill bacteria.
- Check for pests. Ants, spiders, and rodents love dark, warm spaces. Look for signs of nests or droppings. Seal any gaps.
- Re-seal wood annually. If you used wood, apply a weatherproofing oil or stain once a year. Cedar and redwood need less frequent treatment, but they still benefit from a coat of UV protectant.
- Replace any damaged parts. A broken hinge, a cracked panel, a torn screen, fix it right away. Small problems become big ones fast.
- Keep the area around the enclosure clear. Don’t pile up extra bags or yard waste next to it. That defeats the purpose.
Budget Comparison
Here’s a rough breakdown of what you can expect to spend.
| Method | Cost Range | DIY Difficulty | Time to Complete |
|---|---|---|---|
| Pre-made cabinet / deck box | $60 – $300 | Easy | 30 minutes |
| Lattice or trellis screen | $30 – $100 | Easy | 1–2 hours |
| Freestanding screen (built) | $80 – $250 | Moderate | 1–2 days |
| Built-in enclosure | $300 – $1,500+ | Hard | 2–5 days |
| Landscaping (plants) | $20 – $200 | Easy | 1–2 hours (plus growth time) |
These are material-only costs. If you hire a contractor, add 50, 100% for labor.
Final Thoughts on Hiding Your Trash Can
You don’t need to be a master carpenter or spend a fortune. The best solution is the one that fits your space, your habits, and your style. Start with the simplest option, a deck box or a lattice screen, and see how it works.
You can always upgrade later.
The goal is to make your trash can disappear without making your life harder. If you can’t access the can easily, you’ll stop using the enclosure. If it smells, you’ll avoid it.
Keep it functional first, beautiful second.
I’ve hidden my own trash can for years with a simple cedar screen. It’s not fancy, but it does the job. Every time I walk past it, I don’t even notice it.
That’s the point.
For more detailed guidance on building codes and outdoor structures, check the USDA’s guidelines on residential waste management. For specific advice on choosing rot-resistant wood, the University of Minnesota Extension has excellent resources on wood durability.
Now go hide that trash can.


Similar Posts



















